another year of schnibbles begins now

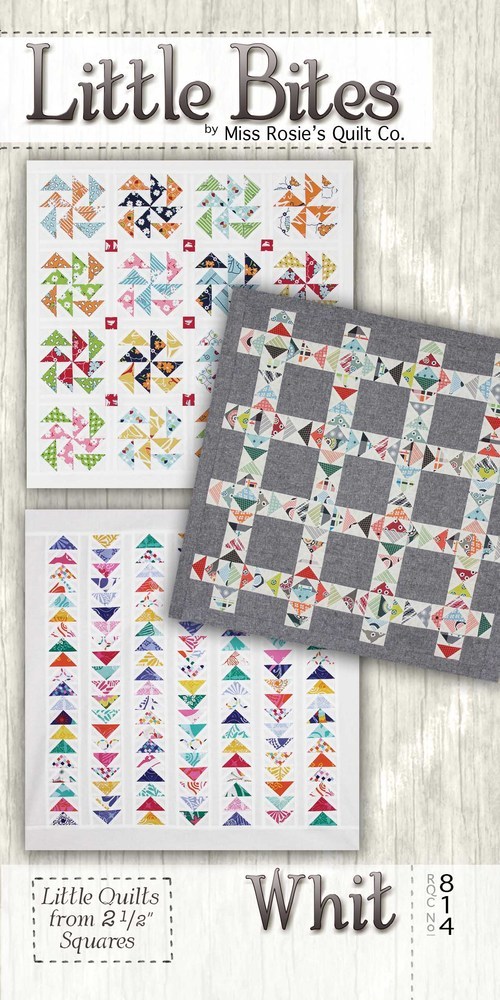
It's a new sew along! Another Year of Schnibbles has just started. So what's a Schnibble? They're small scale quilts made with 5" charm squares plus some background fabric. And now there are new Little Bites quilts made with 2.5" mini charm squares. The patterns are designed by the talented Carrie Nelson of Miss Rosie's Quilt Co. They're a great way to showcase a new fabric collection without a big time commitment. Or, of course, you can use your stash. There's a monthly project assignment, and at the end of each month there is a parade of finished quilts with PRIZES. The quilt along is hosted by Sinta of Pink Pincushion and Sherri of A Quilting Life. Doesn't this sound like fun? You can get the full details here and here if you'd like to consider sewing along with us, and the pattern is here

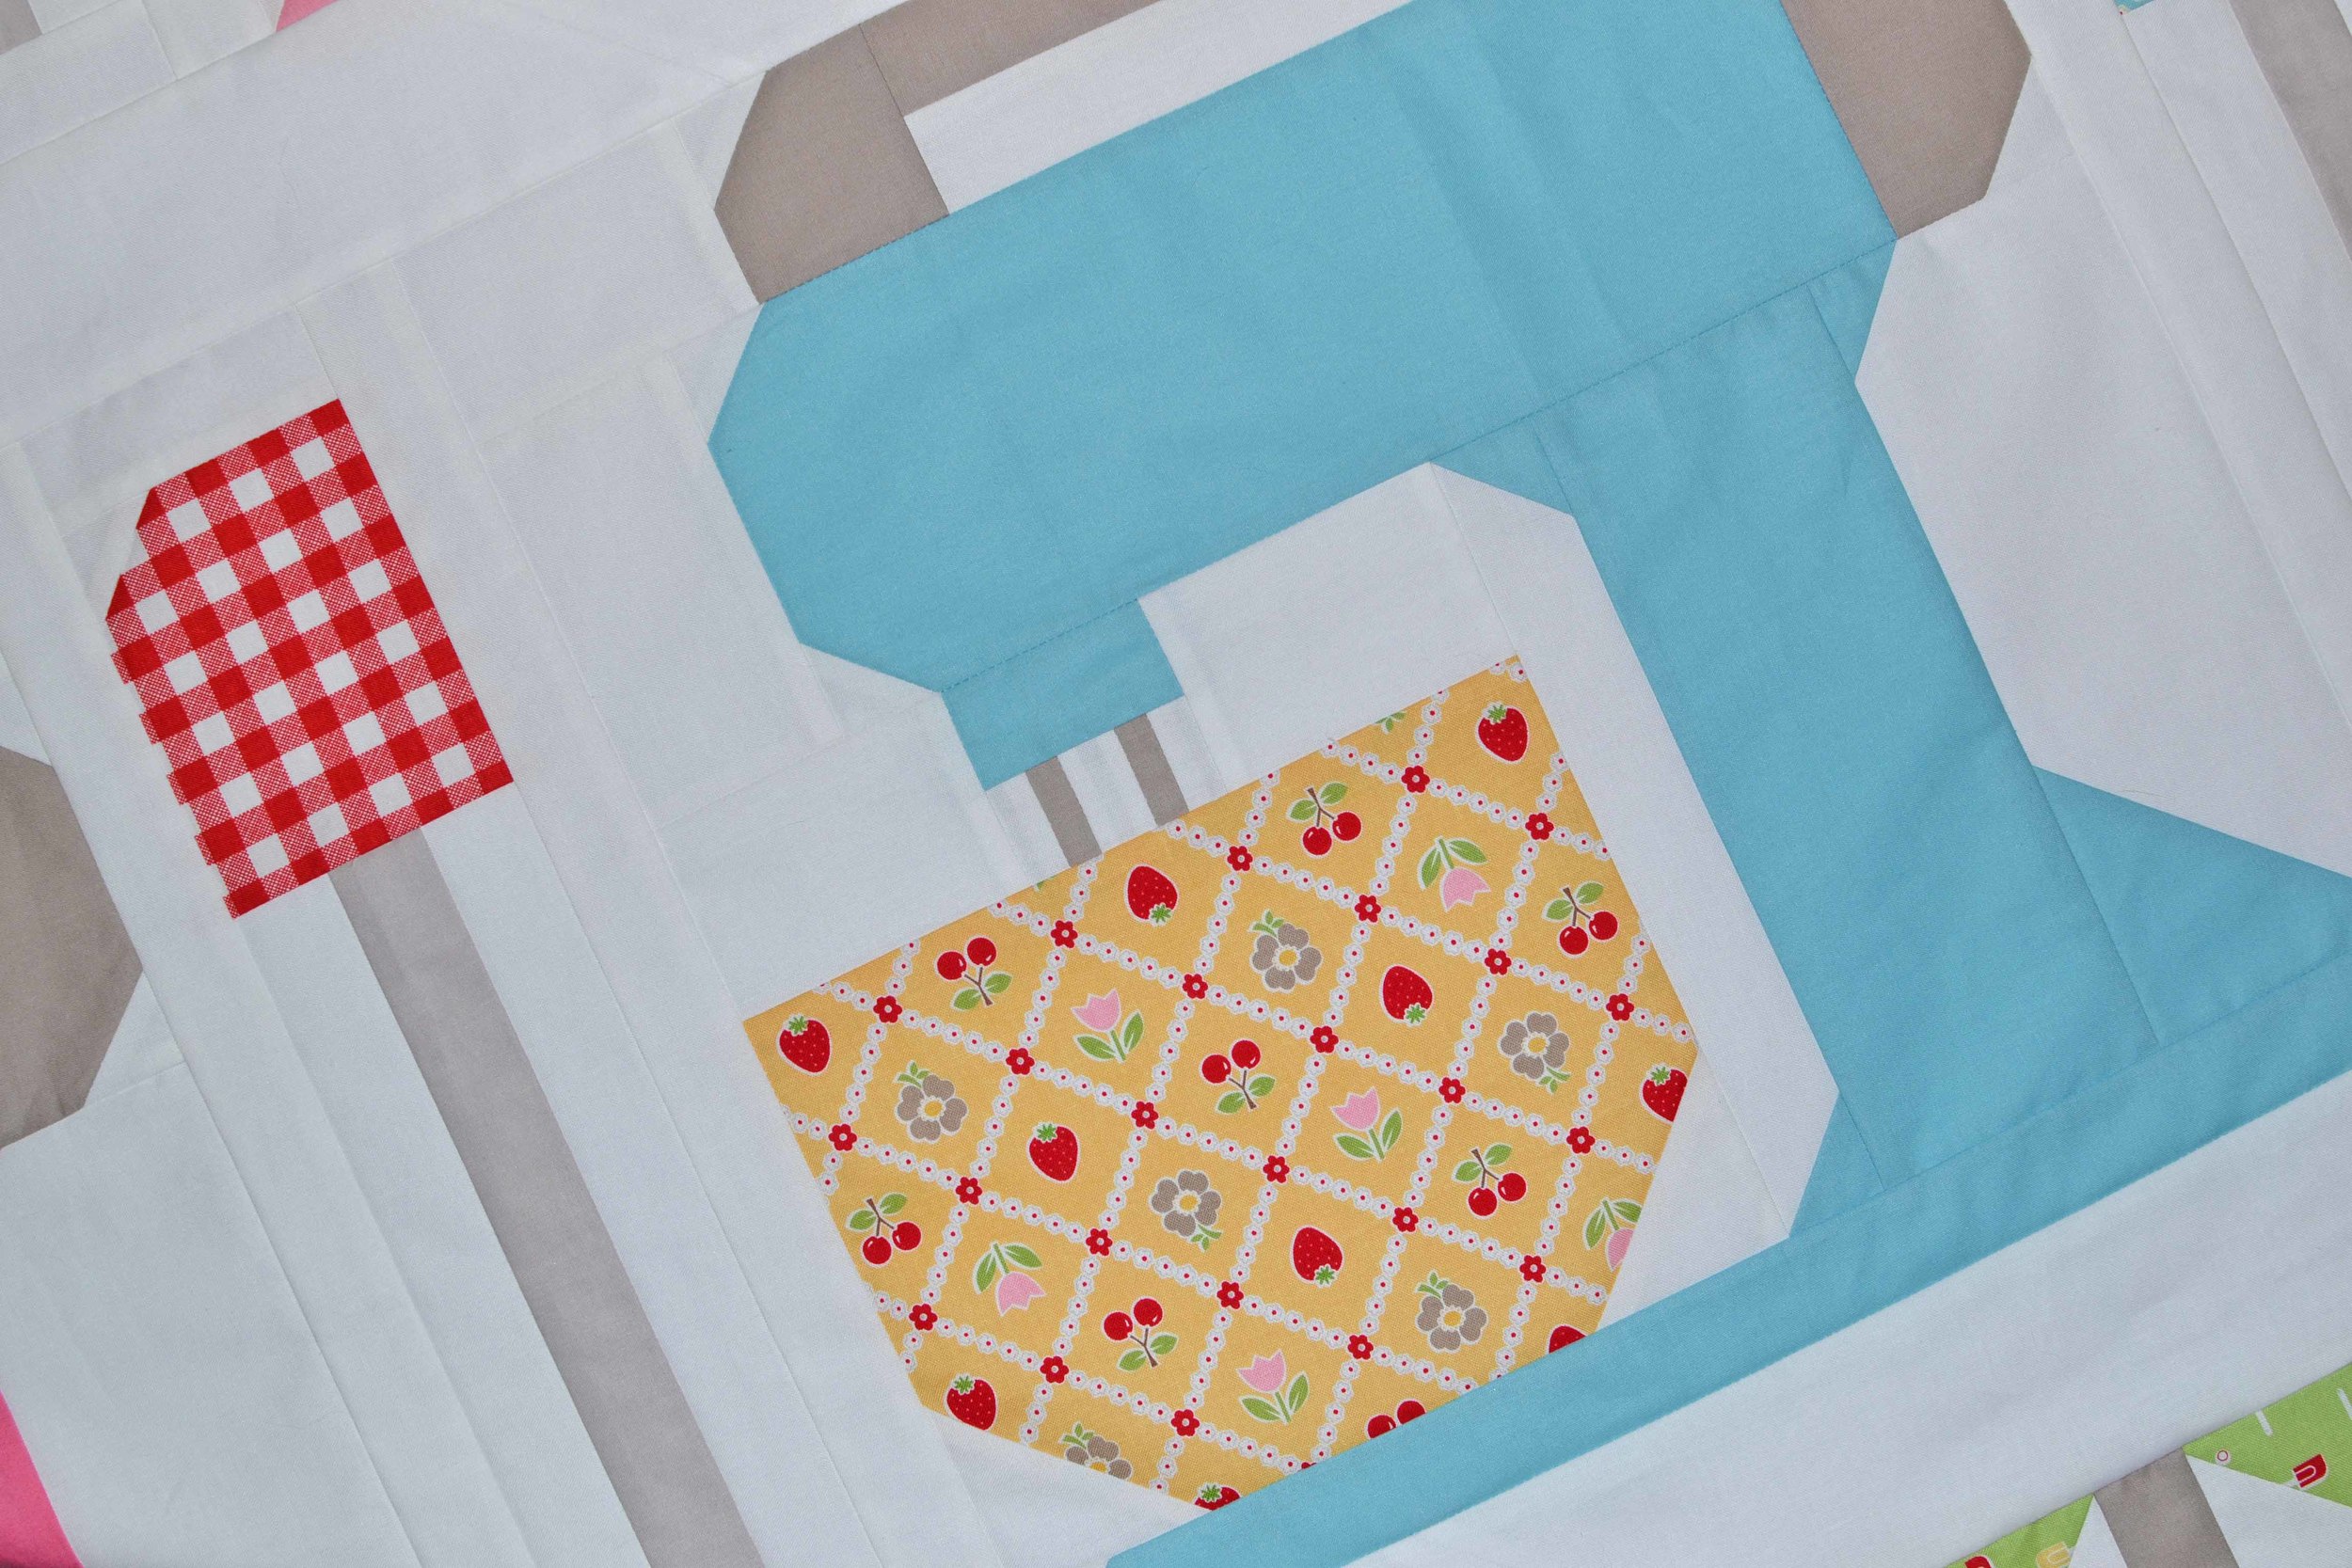
I joined the group at the end of the spring season, right before the summer break. You might remember that I made the X Rated Schnibble quilt using Fig Tree's Mirabelle fabric.

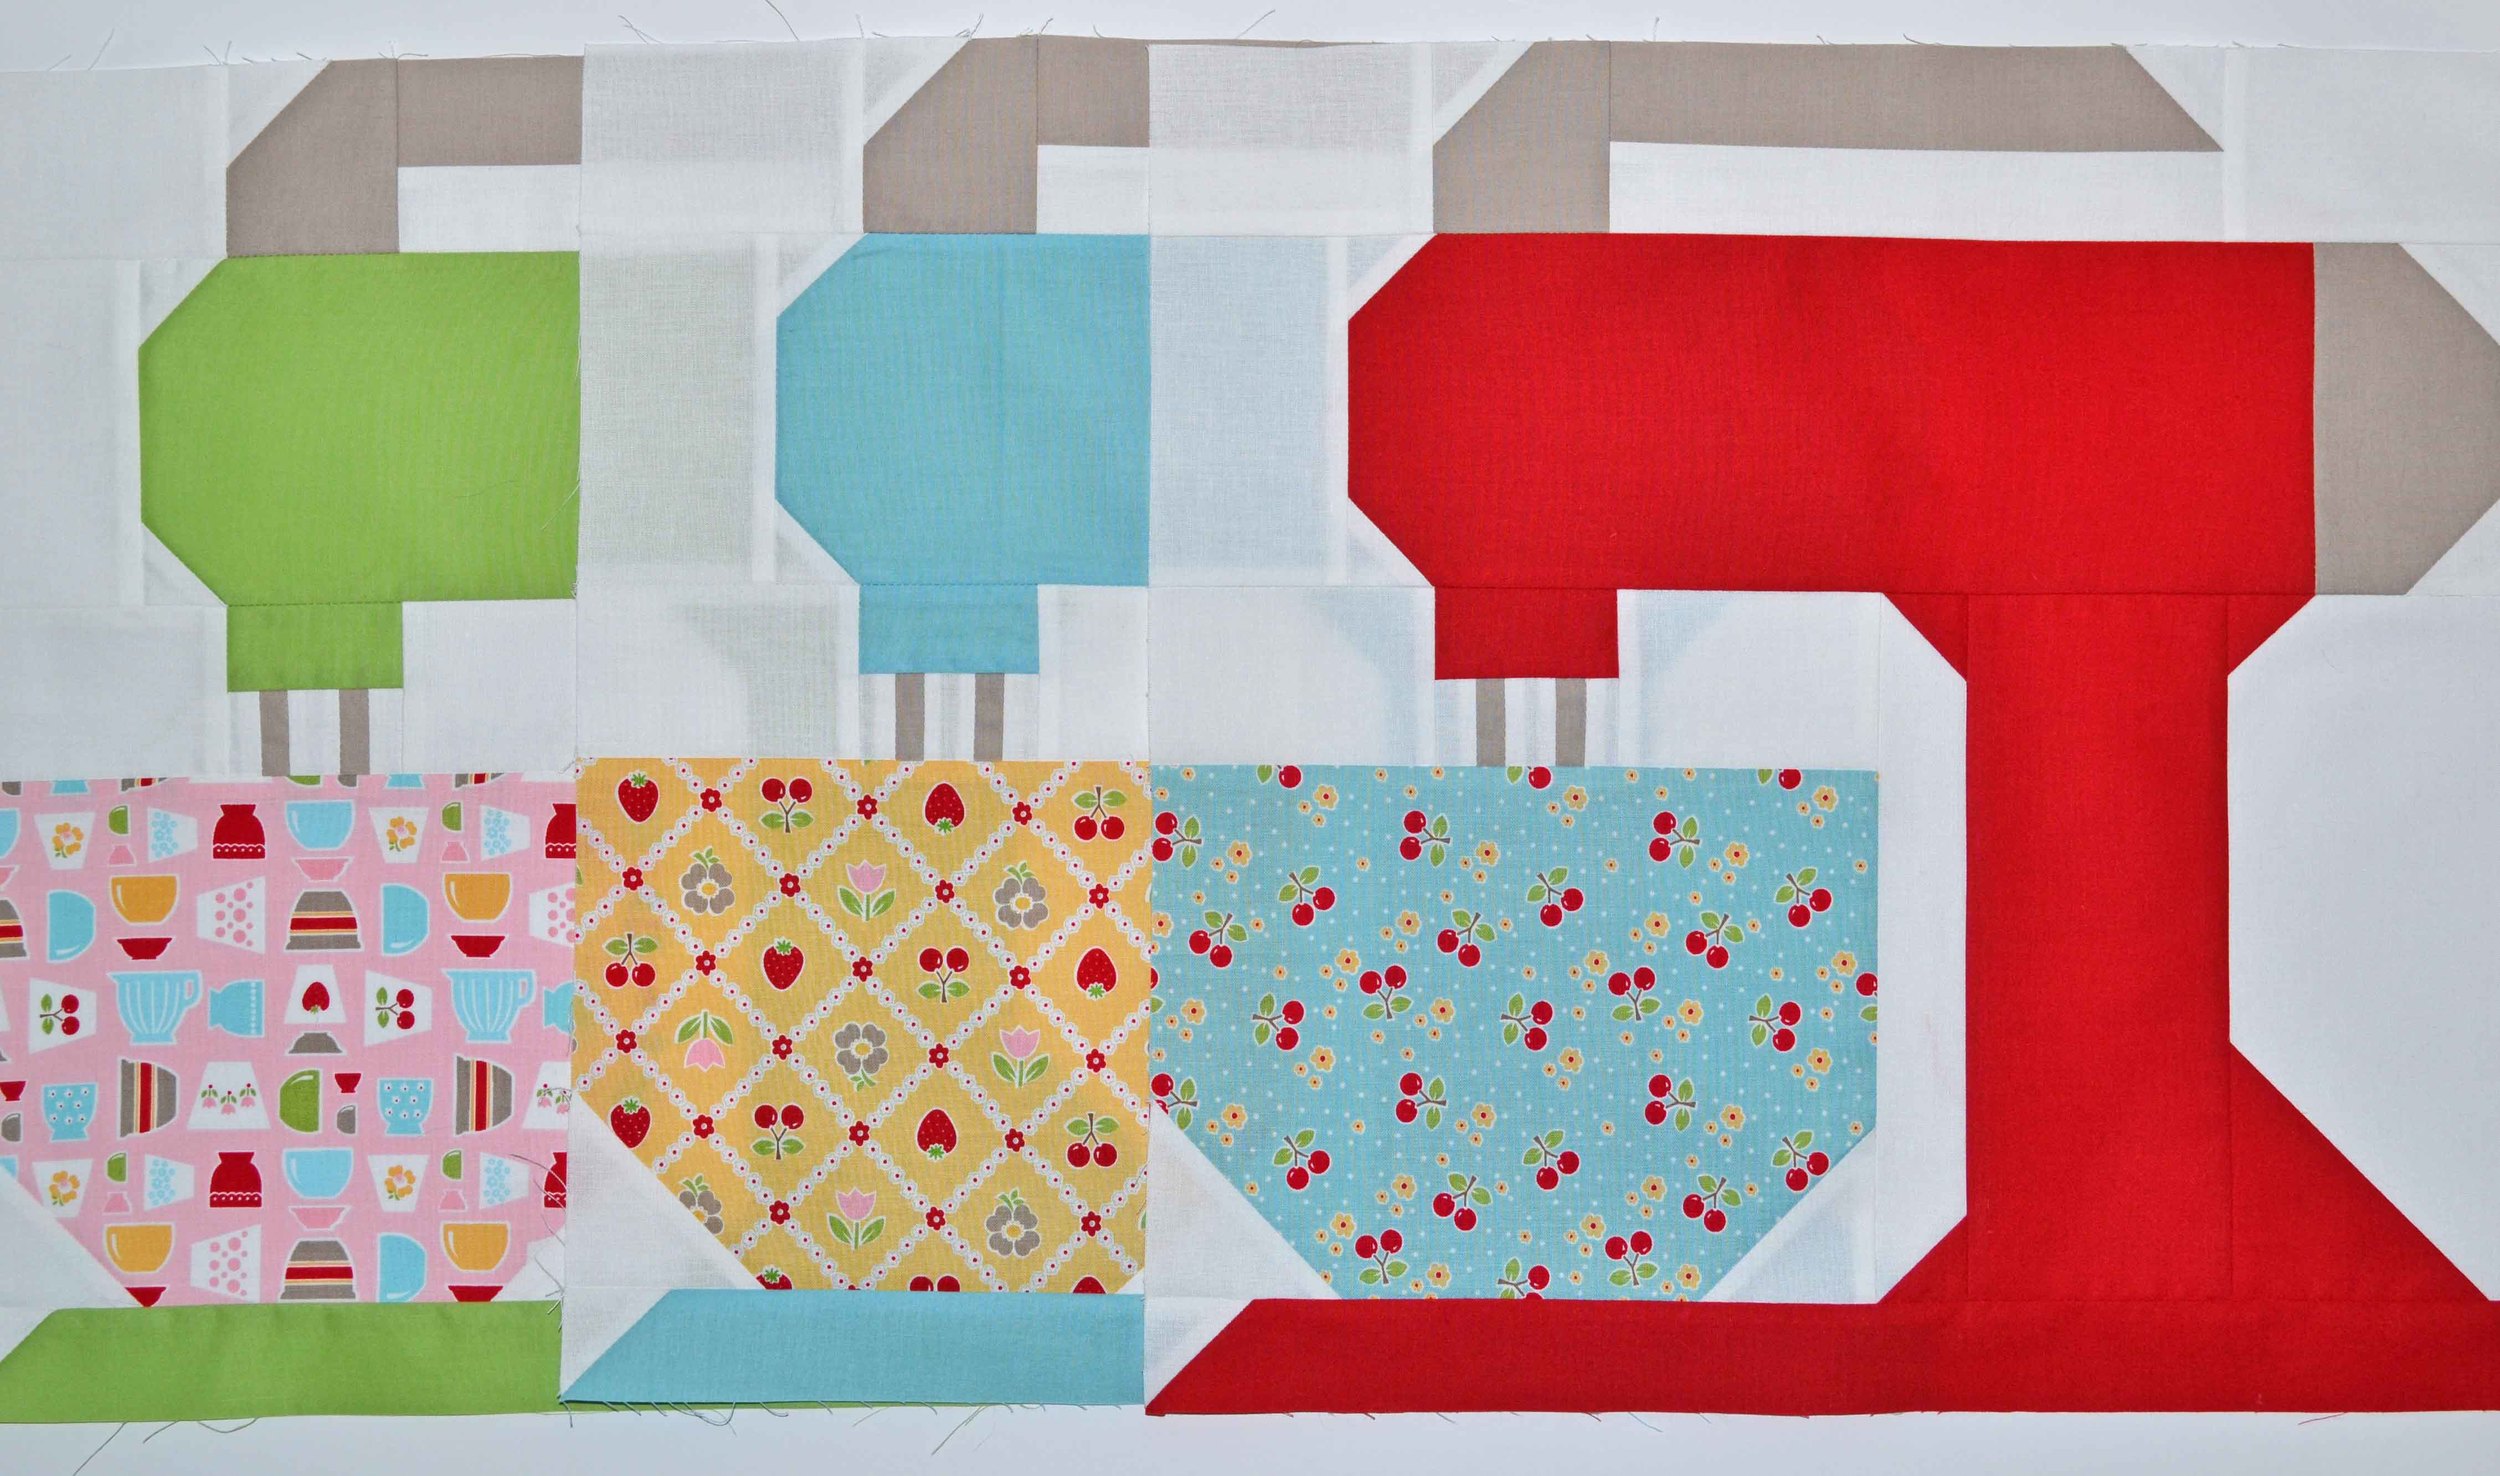
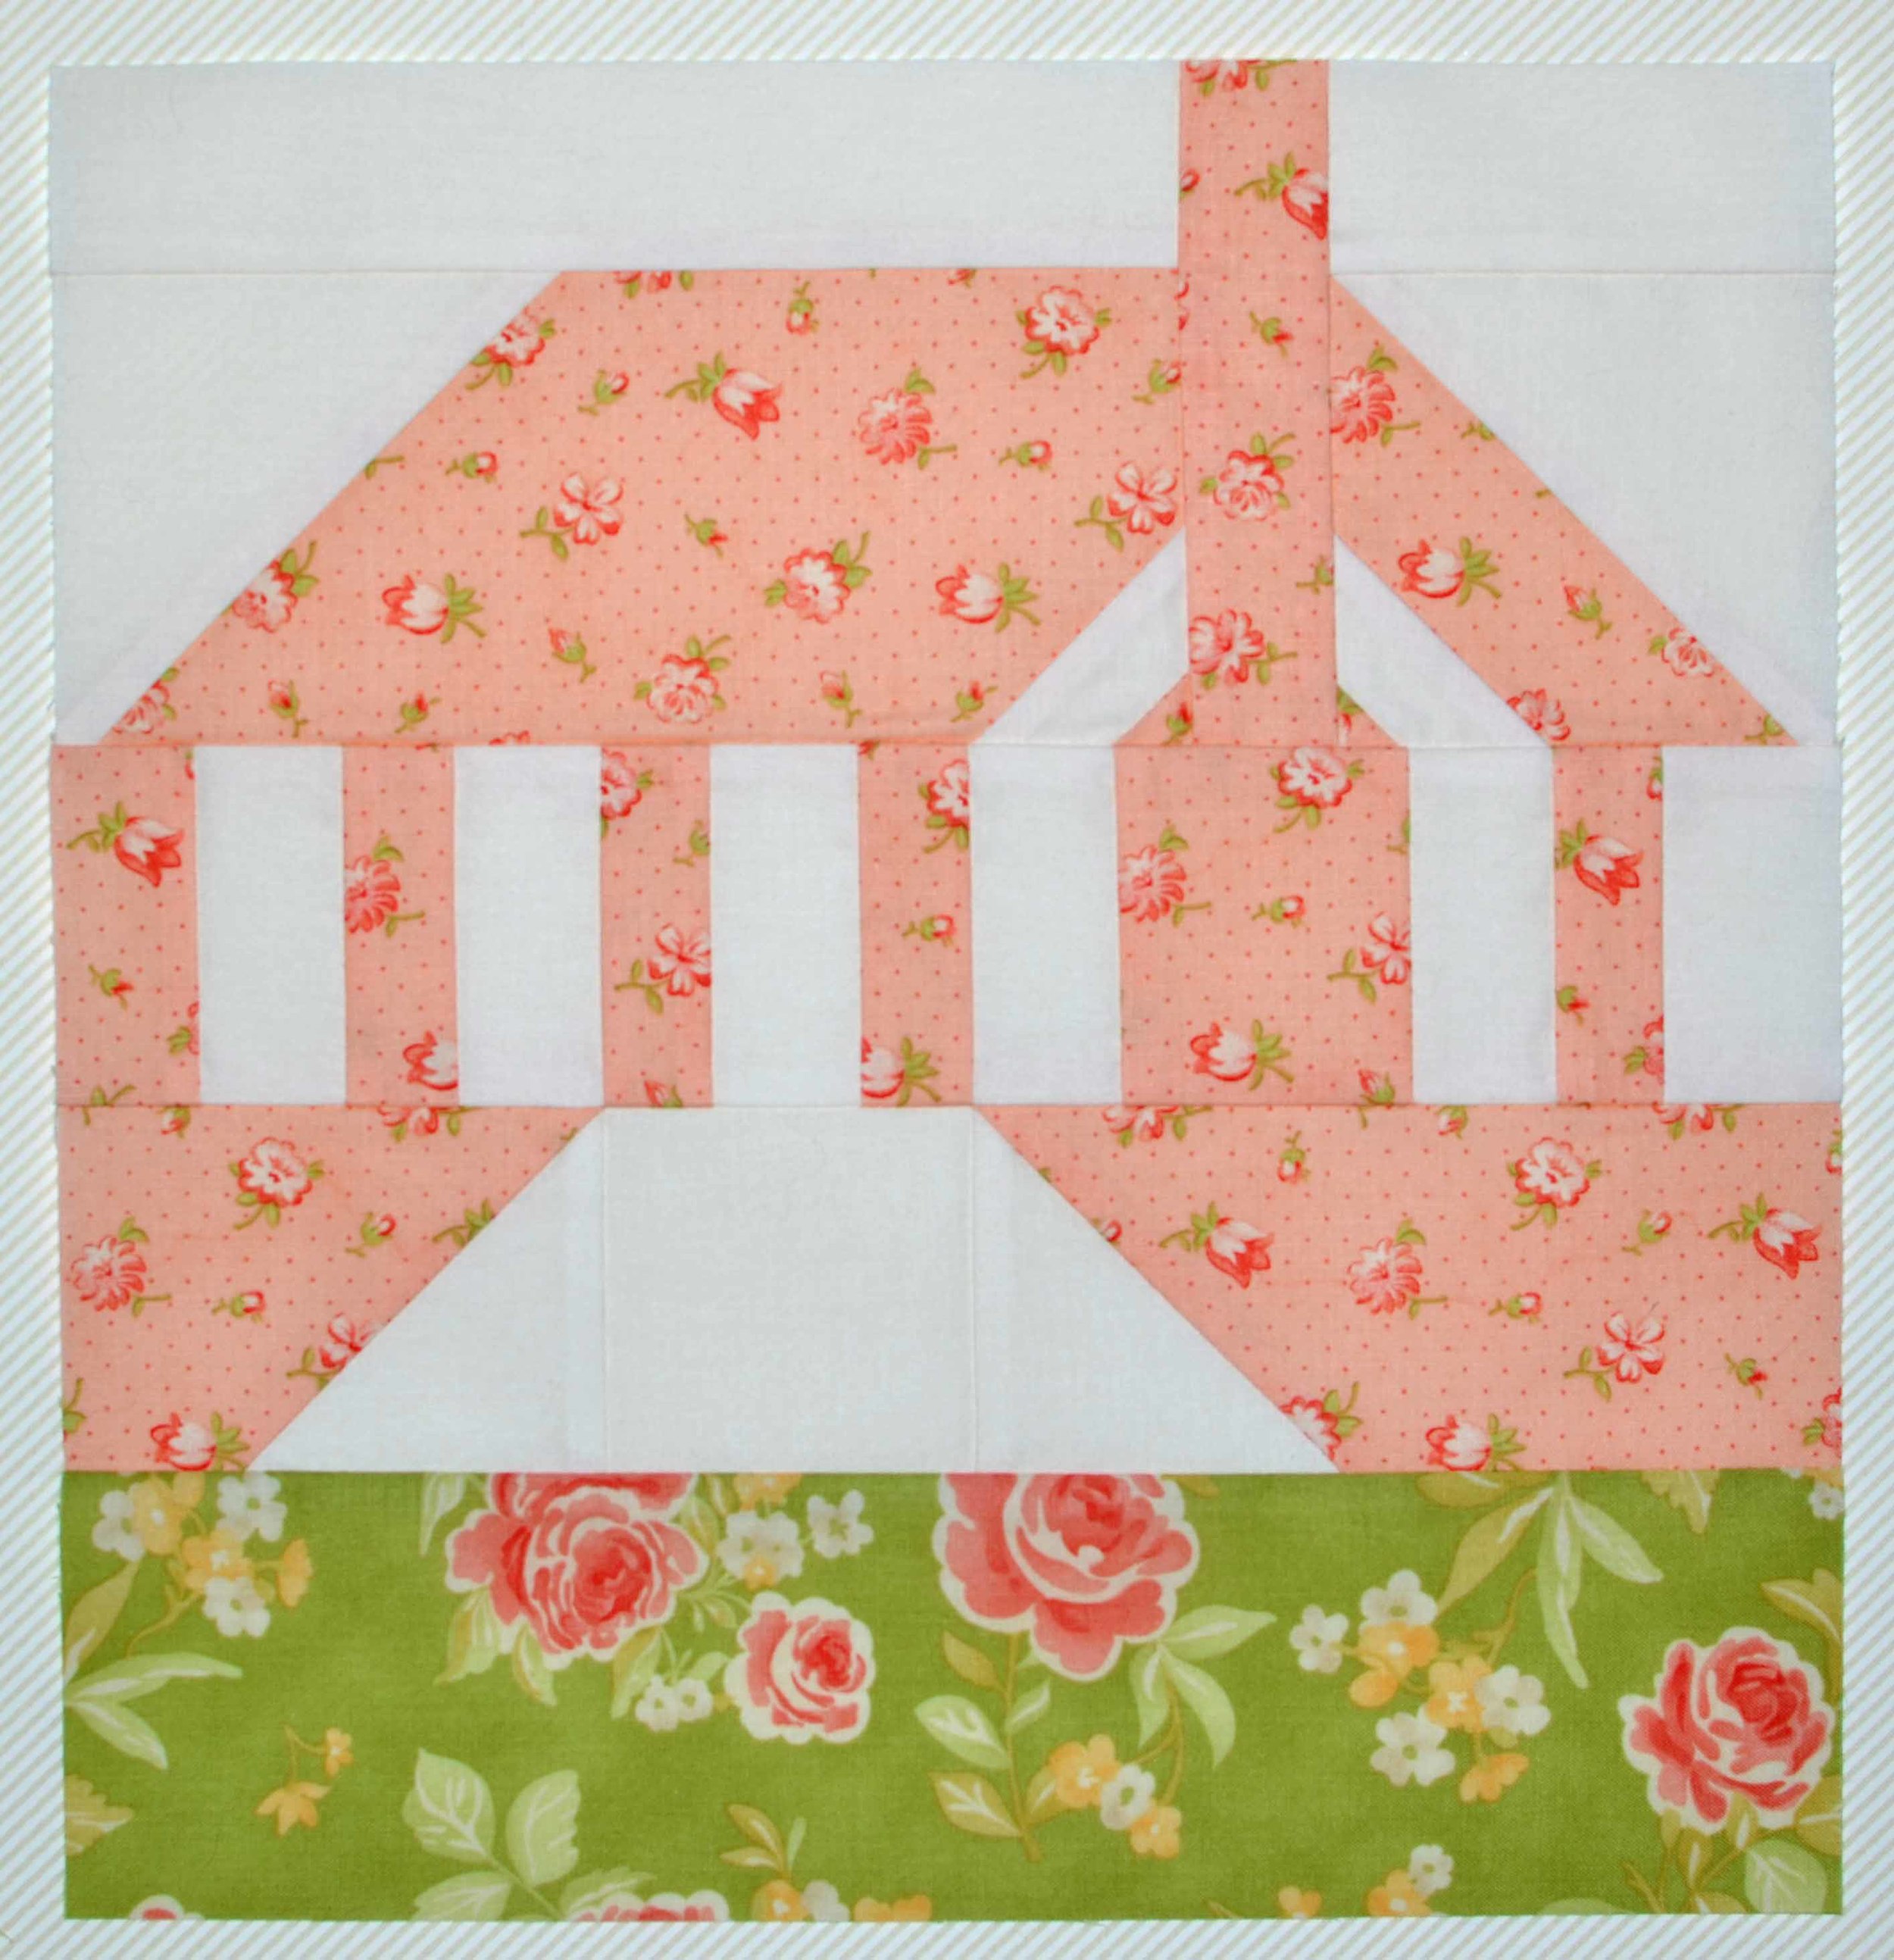
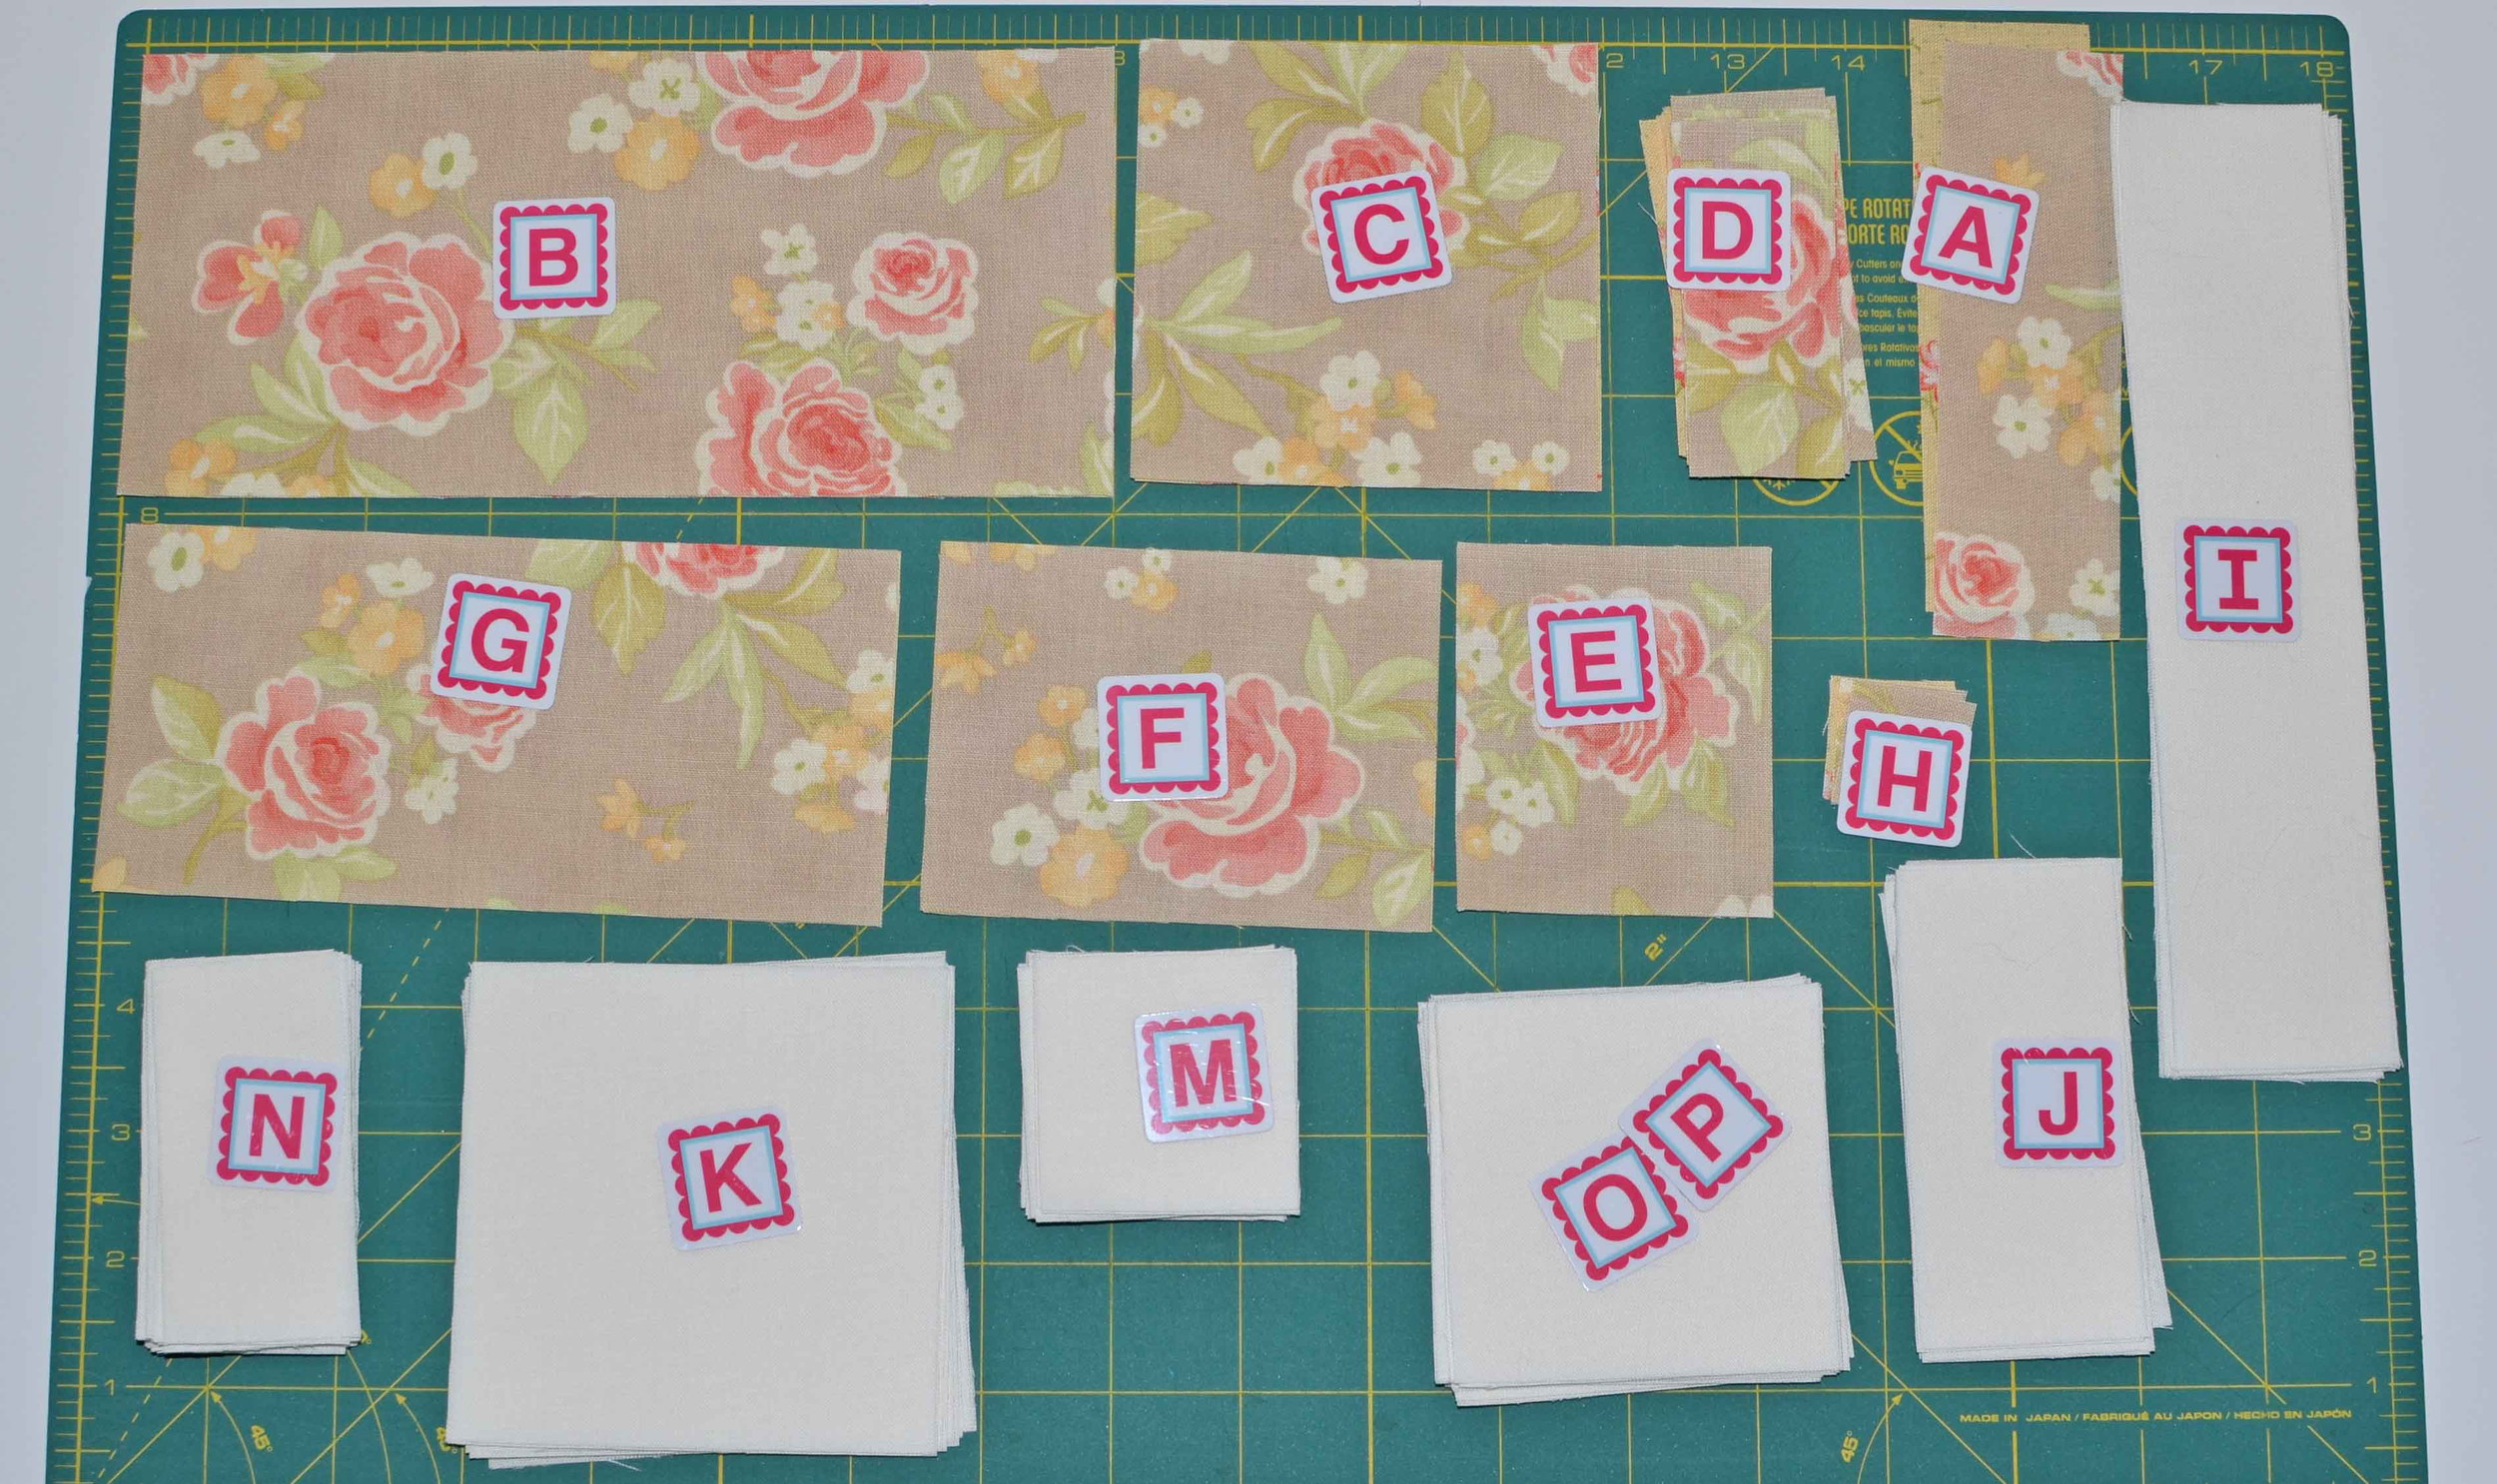
And now September's project is Whit, which is shown at the top. The pattern includes three variations. I'd love to just copy Carrie's Dutchman's Puzzle quilt (upper left corner) using Lori Holt's Vintage Happy fabric. But that wouldn't be too original! I'm almost sure that I'll do the version with vertical flying geese using an assortment of Lecien's Flower Sugar fabric. I just ordered a white floral background from Donna, and I can start sewing the geese as soon as it arrives. 

We also got a preview of October's project! It will be Harvey. I'm already thinking about my fabrics for this one! Christmas-y, maybe? Or fall harvest colors?


back at the ranch

I have been quietly piecing the Fig Tree Homestead quilt blocks throughout the past few months. They help me to avoid other sewing projects. Whenever I have a quilt top that needs the dreaded borders, well, it's easier to stitch up a few houses! Fourteen houses are now done, with another six still to be built. 

The latest batch of three blocks just did not want to cooperate with me! Sometimes the simplest piecing can get messed up really fast. These blocks are constructed in three layers. There's the roof section, the middle window and door section and then the walkway and grass. The middle row is just a bunch of rectangles. Should be simple, right? I stitched them over and over and over and over. First the strips were too short - I mean, 3/4" too short in the length! And then they became 1" too long. I ripped and resewed them. I cut more fabric and sewed them again. And then I sewed them together in the wrong order. Whaaaat? Well, I finally figured it out. My sewing machine needle was bent just a teeny bit, but it was enough to turn my scant 1/4" seam allowance into a generous 1/4" seam allowance. A new needle solved the problem. Now why didn't I think of that several hours earlier? (I can't even tell you how long the last 3 blocks took to sew! It's too embarrassing! But I did win this battle.)

And here's the house lineup so far! First, the blues!

The pinks and greys!

The reds!

And the aqua and yellow houses. 

I'll continue to work on these in between other quilts. I just need to get the border sewn onto the Jumping Jacks quilt and I'll have another finish soon!

quilt finish - mixing it up

It feels great to finish the Mixing It Up quilt top!  Once the weather cools off (it was 91 degrees in NYC today!) I'll think about baking again. Did you see the recipe for browned butter M&Ms chocolate chip cookies on Pioneer Woman's blog today? Yummy. I can't wait to try them!

Ok, back to the quilt. Cookie time will be later. 

Just looking at this quilt top makes me happy! There are all those colorful mixers, ready to whip up some amazing desserts. I had lots of fun just selecting the fabrics for each mixer. And do you remember how I bought the pale pink KitchenAid the same night that I sewed the pink block? 

The Mixing It Up pattern is by Lori Holt, and it's super-easy to understand, with lots of those easy-corner-triangles. The mixers are 15" square so you just need a few of them to make a big impact. I used mostly Bake Sale fabric with a little bit of Polka Dot Stitches mixed in, and solids from Riley Blake. I almost didn't make the mustard yellow mixer (come to think of it, Mom probably had a hand-held mustard mixer in the 70's). And yet, I found that I really needed the mustard just for the right color balance so that it wouldn't become too pink/red or too blue/green. 

I love the pieced "beater" border blocks. But I hate sewing borders. Let's just blame it on the extreme lack of space in my apartment. That's why these blocks sat around since February! I really, really wanted to just slap some fabric borders on this and call it done, but a quilting friend reminded me about how cute it would be if I followed the instructions. She was right. It's infinitely cuter with the pieced border. Borders are better!

Now I think that I've earned a special dessert tonite! Hummm maybe a cupcake instead of the cookie... 

catching up

Hi everybody! I hope that you had an enjoyable weekend! I've had some time to do a little bit of catching up on my sewing projects.

First, I finished August's four 6" blocks for the Moda Modern Building Blocks BOM quilt - Fig Tree style. 

Look at how small they are when put next to the giant 36" block! I had to fold the large block into quarters just to fit it into the photo.

I'm making the HSTs using my usual method instead of sewing triangles together as the pattern suggests - I'm sewing two squares on the diagonal, cutting in half, pressing open and trimming down to the exact size. I'm also using the Mini Fit To Be Geese ruler by Monique Dillard to construct my flying geese. The ruler really helps to make sure that they're sized perfectly and that I don't accidentally cut off my points. Monique has a nifty tutorial video on the Open Gate Quilts website about how to use the ruler. Basically, you sew two oversized "sky" triangles to an oversized "goose" triangle, and then use the ruler to trim it down to the right size. You might want to check this out if you've ever had problems sewing little 1 1/2" x 2" flying geese using other methods. I use the mini ruler and the full sized ruler to make almost all of my flying geese. 

And now I need to be patient and wait until the September fabric pack arrives from Fig Tree Quilts. I wonder if there will be some of Joanna's new Somerset fabric mixed in with the Moda Bella solids? But of course I need to work on something now. And so, this is the perfect time to finish my Mixing It Up quilt! Do you remember this quilt that I started in FEBRUARY?

And how about the spatulas?

It's called Mixing It Up, and the pattern is by Lori Holt for Bee In My Bonnet. I'm using an assortment of Lori's Bake Sale and Polka Dot Stitches fabric collections, with solids by Riley Blake. It's time to get this finished! I went from just a few of the border blocks to all 48 in three days. I can get stuff done when I focus! (Ok, I gotta admit a small flaw with my "focus" - I made two extra blocks because I wasn't paying attention.)

I've started to sew the blocks into border strips, and I think that I'm going to have a finish by the end of this month!

moda modern building blocks

Hi everybody and happy Monday! I hope that you had a great weekend. I was able to spend some time with friends enjoying barbeque in Brooklyn and saw the new movie Magic in the MoonlightLoved it. Set in the French Riviera in the late 1920's, it's the story of a famous magician (Colin Firth) who sets out to prove that a medium who conjures the dead (Emma Stone) is a fraud and a con artist. Go see it for a fun, light-hearted, grown-up movie with absolutely no explosions, no superheroes and gorgeous scenery. But right before all of that, I started a new quilt! It's the Moda Modern Building Blocks quilt, Fig Tree style. Here's a rendering of the quilt that I borrowed from the Fresh Figs blog.

I liked the original quilt when I first saw photos of it from the Pittsburgh quilt market. You might have already seen that version, in quite a rainbow of solid fabrics. Joanna Figueroa then reinterpreted the quilt in Fig Tree colors. What I really love about this version is that there are some subtle tone-on-tone fabrics mixed in with the solids. Her quilt is being done as a block-of-the-month. But it was very popular and it sold out before I could sign up. Then when I was in Florida a few weeks ago, Joanna posted a photo of it on Instagram and mentioned that a few slots had opened up. But I was in meetings and didn't see that message until hours later! Luckily I was able to get into the program. Whew. The first month's shipment arrived late last week.

Three fabrics came with the first installment - Moda Bella solids in Royal, Carribean and Ivory. They look just like my Delray Beach photos! The quilt includes 48 blocks in measurements ranging from 6" all the way up to 36", with the finished quilt measuring 84" x 96".  (The Fig Tree version is now sold out, but there are kits for the original version at several online retailers. You can also buy just the pattern and use your own fabric. Just do a search for Moda Modern Building Blocks.)

I never thought that I'd make a 36" square block out of a bunch of oddly sized triangles and actually like it. Yes, a square yard!

I was SO happy when this block turned out perfectly. I didn't know if I could do it! There are also four 6" blocks to be made this month. I've done two of them already.

The 6" blocks remind me of the Farmer's Wife blocks. And the construction method is similar. The Moda pattern provides cutting directions and a diagram showing how the pieces of each block fit together. It does not include instructions on how to construct or press the blocks, so an understanding of block construction is needed. I'm making HSTs and flying geese units with my own method instead of cutting triangles wherever possible (I love using the Mini Fit To Be Geese ruler for absolutely perfect flying geese).

I might customize my quilt even further by substituting some of my Fig Tree stash for a few solids. You know... just to be different. 

I've seen that a few other quilters are planning to do two versions of this, one in solids and one in prints. I can be completely happy with just this one quilt. But I'm also dreaming about a second version in pastels and florals - for example, Lori Holt's upcoming Flower Patch collection would be perfect for this. Then I could gift one quilt and keep one for myself. But can I fit it all in to my schedule?! I'm going to be optimistic!

a week at the beach

I recently spent a week in Delray Beach, FL. I've had a few requests for photos, so here's what my week was like!

My team from work met for 2 1/2 days to plan the introduction of new luxury cosmetic and fragrance products for 2015. It also gave us a chance to celebrate recent promotions and new hires within my group and to eat fancy dinners.

I was finally able to relax after our meetings wrapped and everybody else flew home. Then it was MY beach time!

Delray Beach is a 20 minute drive from West Palm Beach, and 25 minutes from Ft Lauderdale. My hotel was literally on the beach and perfectly situated amongst all the shops and restaurants. Many of the shops were closed for the season, but I did fall in love with Snappy Turtle. It's the perfect beachy preppy store - everything is pink and green and navy and monogrammed. Lots of zigzags, bright paisleys and whale prints. And of course it's right across the street from the Lilly Pulitzer shop. 

I ate so casually. Lots of conch fritters and ice cream.

My days consisted of breakfast, beach, lunch, pool, snack, beach, dinner, beach, pool. Repeat those steps for three days! 

I saw lots of quilty inspiration. Inspiration like sailboats and beach umbrellas.

Big fancy houses on the beach. Wouldn't these pastel house hues be pretty combined into a quilt with blues, aquas and sands?

It was the most blissful time imaginable. It's not often that New Yorkers just stop all activity and do nothing. Well, I need to do that more often. 

In fact, I was too relaxed to even work on my hand-quilting project that I brought! It's time to get this pillow finished. It's made of Fig Tree's California Girl, from a pattern by Happy Zombie. I pieced this two years ago, but isn't it interesting how it really reflects the colors of my Florida trip?

I'm grateful that I had a break, but I'm glad to be home in my own bed, too. I need to close my eyes and remember the feeling of being on the beach, alone, whenever I feel stressed. 

I will be back very soon with a whole NEW quilting project. I'm so excited about the first block that I just pieced and I can't wait to share it with you!

I leave you today with something that greeted me on the beach one morning. The beach was deserted. Just me and this... um, creature. 

some assembly required

All twelve Jumping Jacks blocks are done! 

Here they are - a dozen Union Jack quilt blocks are ready to be assembled! This is the very first time that they've been lined up! I made each block by pulling my favorite fabric combinations, hoping that they would all work together. I'm super happy with the result. 

Have I already mentioned 5 times that these blocks are fun to sew? And that I love them all?

Now it's time to audition sashing fabric. I think that these Tanya Whelan floral prints will play nicely with a pink dot on cream background from the Pam Kitty Picnic collection. I'm considering white floral sashing posts from one fabric to help unify the blocks. And I've reserved a pretty paisley print for the border, in either white or aqua.

Now I'm just gonna sit back and look at the blocks for awhile!

still jumping

I've had a jolly productive week! Five new Jumping Jacks blocks!

I'm having a great time with the Jumping Jacks quilt along. I can now make the whole block without looking at the pattern. I've been listening to British 80's new wave radio on iTunes while sewing. I've imagined the Dowager Countess (Maggie Smith) rolling her eyes at my quilt and tossing off one of her icy barbs. How long do we need to wait for the next season of Downton Abbey?!

The most creatively challenging part is coming up with each fabric combination. I am so loving using these Tanya Whelan prints. I think that they bring the perfect, almost-but-not-quite-shabby look to the blocks. And here's where I get weird. You know me and my over-analysis! I love the dots, but I can't let the dots take over the quilt. I really wanted to incorporate striped stripes and plaid stripes, but I needed to figure out how to cut them. Does anybody else overthink their fabric combos?!  And then that little voice in my head tells me to just DO IT. 

And the blocks that I thought wouldn't work ended up becoming my favorites. How did that happen? I'm really surprised by how much I like the huge cabbage rose blocks.

I've got just three more blocks to make! My fabric combos are sitting on my cutting mat. There might even be a red, white and blue flag in the works!

It's been fun sewing along with the group on Instagram. You can check out what everyone has been creating by searching for #jumpingjacksqal. And I'm @greydogwoodstudio.

Breaking news! Joanna Figueroa of Fig Tree Quilts has just released a MINI version of this quilt pattern! It's available here, along with the original, full-size pattern that I'm using.

Happy weekend, everybody! Hope you have something fun planned!

jumping along

I'm back from my short break! And I'm back to the Jumping Jacks quilt along!

Last week I needed to take a short break from sewing because of work responsibilities. My team met in Delray Beach, FL to begin strategizing about 2015. After the conference ended and everybody flew home, I spent the next few days on the beach. Just me and the sand and the waves. It was blissful. No work, no sewing machine. I was very inspired by the colors, scents and sounds of the beach, and I continually thought about how to capture the experience in a quilt. I'll have some pics of my trip in a few days  - yeah, there I was in the ocean with my Nikon camera.

And by Saturday night I was home and got right back into the Jumping Jacks quilt along!

I've added two new Union Jack flags for my quilt, using a pattern called Jumping Jacks by Fig Tree Quilts. This playful re-interpretation of the Union Jack isn't too literal, but hopefully, it's still respectful of the amazing history and culture of the United Kingdom. I love how easily each block comes together. Tanya Whelan's fabrics sure do make this easy!

After doing three blocks with polka dot center stripes, I wanted to try something new - a heart print stripe! My next block will have a "striped" stripe.

The Jumping Jacks quilt along is currently in progress on Instagram and was started by Joanna Figueroa. Anybody can join, although you'll need a copy of the pattern. Just upload your images using #jumpingjacksqal.

london calling - jumping jacks quilt

It's time for the Jumping Jacks quilt! 

This is perfect for my love of all things British. Well, maybe not all things, but the pretty and tasty ones. Like Liberty of London fabric, Spode porcelain, Cath Kidston kitchenware and those yummy butter biscuits from Harrods (Have you had those biscuits? They come in butter, lemon and ginger. Seriously, have somebody bring back a tin when they visit London!) And don't even get me started on the new wave music from the 1980's or Downton Abbey.

I saw Union Jack quilts popping up all over blogland a few years ago. I loved them - all of them. But I didn't like the patterns that I bought. The most popular pattern had lots of fabric waste, and all the edges were on the bias. Another pattern was paper pieced. I find paper piecing to be too time consuming, and I hate the paper removal process - I'm one of those people who picks out the paper that surrounds each stitch with tweezers. Finally, I discovered the Jumping Jacks pattern by Fig Tree Quilts. It has almost no fabric waste and the finished block is on the straight grain. But first I needed to make a large USA red, white and blue quilt! With the recent finish of my Butterscotch Tart quilt, I felt that I could now move on to the Union Jack quilt.

My fabric is mostly assorted Tanya Whelan prints that I've been collecting. There's lots of Rosy, some Delilah and even a piece of French Hatbox. And I forgot to add the Valentine Rose fabrics into these pictures. I'm sure that they won't all end up in the finished quilt but will be inspiration throughout the project. The finished quilt contains 12 blocks and measures 71" x 84". 

The pattern is very clearly written and the blocks are easy to sew. However, the sub-units needs to be trimmed before they're sewn into the finished block. If you try this pattern, I would recommend that you read it through completely before starting. And then read it again. It's not hard, but I find that I do need to really pay attention to the direction that I'm sewing each piece. There have been a few mistakes that I'm not showing here!

There are a few of us sewing along together and posting our blocks on Instagram. You'll find them there under #jumpingjacksqal. But don't worry - I'll be showing all of my blocks right here, too!

Thanks for visiting. I'd like to let you know that I have a super-busy work week coming up. I've got lots of meetings to attend and a presentation that I need to give this week (how to increase prestige fragrance sales with movie theater and radio advertising!) This means less sewing time. I'll try to post mid-week if possible. But otherwise, I promise to be right back here with you in just one week! 


friday finish - christmas dresden plate quilt!

Ok folks, crank up the Christmas music and pour yourself a glass of eggnog, because we have a Christmas in July quilt finish!

It all started with a Dresden plate quilt tutorial by Bunny Hill. Dresdens have always been one of my favorite designs, but I thought that they were too difficult for me. Anne Sutton's pattern sure looked easy. Just use this ruler to cut wedge shapes, sew them inside out and then flip them to the right side, stitch them all together and applique them down to a foundation. But I had a few problems. I didn't have that much experience with sewing odd shapes, and I can't do needleturn applique. I wanted it to be nearly king sized. And I had no idea what colors to use! I just looked at this as a fun challenge and a way to expand my skills. So first I printed 2 copies of the black and white pattern and taped them together to make a larger quilt pattern. Then I grabbed my colored pencils and started playing. Here's my final draft.

See how my sketch had alternating red and white centers? I went with all red centers in my final design. And I had absolutely no idea how much fabric I would need. I pulled all of my Fig Tree Quilts reds, greens and creams. I love how most of Joanna Figueroa's collections really do work together - the challenge is to break up those fat quarter stacks and play with color! This quilt has fabric from many of her collections including Patisserie, Gypsy Rose, Butterscotch & Rose, Strawberry Fields, California Girl, Tapestry and Avalon. Each plate contains 20 sections, and I used at least 40 prints in this quilt so no two plates are identical. They were hand-appliqued using Kimono silk thread. Eek, that silk thread is fine. It's like sewing with hair! The background is a printed cream, which has a slightly glazed appearance. It's sashed in a cream Tapestry print and bordered in a candy-apple red Avalon floral, and it measures approximately 95" x 105".

This was started in December 2012 during the Christmas holiday break from work. I sewed, sewed, sewed like a maniac for a few weeks and then spent months doing the applique. I shipped it across the country to my longarm quilter, Melissa, with compete trust that she'd find the perfect custom design for it. (I neglected to tell her just how large it is!) And I really love the design that she came up with. I always do, and it's a nice surprise to open the box when the UPS man delivers it.

I can't wait for November to arrive so that I can start working on more Christmas quilts! But now I need to pack up the reds and greens for a few months. And stop playing Christmas music, and stop drinking eggnog. 

Thanks for visiting with me today! I'm linking with Finish It Up Fridays at Crazy Mom Quilts. Be sure to stop by to see what other quilters have finished this week.

christmas in july

Do you celebrate Christmas in July? I do!

Here's just a sneak peek of a Christmas Dresden quilt that I'm finishing up this week. It's big! It's heavy! It's all Fig Tree fabrics! And I'm just about finished with all 392" of the hand-stitched tomato red binding. Yikes. 

Normally I only like to work on quilts in season. This means that in September and October I'll eat candy corn and burn pumpkin candles while working on Halloween quilts. In November and December I'll play Christmas music (nonstop) while sewing Christmas quilts. But there's something kind of fascinating about Christmas in July. This Friday is the 25th - exactly 5 months from Christmas. It will be my third Friday finish this month! I'll have the full details for you about the design inspiration, construction, size, etc - and I even found my original draft sketch.

There's even more Fig Tree goodness this week. I've added another two Homestead houses to the collection. First, a little pink house in Strawberry Fields. All lawns should look like this, right?

And an aqua house in Avalon. I want to live here.

Eight houses have been built, with another 12 still to be constructed. Maybe I'll try to squeeze in a few red and green houses before the end of the month. It's that Christmas in July thing, you know?

Thanks so much for visiting today. See you in a few days with the finished Christmas quilt!

scrappy crossroads

I was at a crossroads this past weekend. Should I work on more Fig Tree Homestead houses? I made two of them. Should I work on the border blocks for my Mixing It Up quilt? I made ten of them. And should I start a new project?!

Lori Holt hosted a sew along on Instagram on Saturday by posting tutorial photos throughout the afternoon. I watched from my iPhone while I was out and about.... fun stuff like a trip to the new, improved Chelsea flea market, the quilt shop (I spent $60 on a trip to buy white thread! Kinda like going to the grocery store for milk and coming home with all that other stuff), and the brand new Michael's Crafts. This is our first true craft store in NYC. The entire store is in a basement, but never mind. Now at least I know where to go when I need neon glitter or unfinished bird houses or a pound of acrylic yarn or a bag of pompoms. You never know!

Then when I got home I started cutting! This is a great quilt to use up your scrappy 2 1/2" squares. I cut enough fabric to make at least 4 blocks.

All that's needed is eight easy-corner-triangle squares and eight four patches. I used a fun white-on-white recipe print from Pam Kitty Picnic for my background.  

Seams are pressed open for an extra-flat block. 

All ready for assembly!

This block seems positively huge at 16", but that means that fewer blocks are needed for a quilt!

You can see Lori Holt's blog entry about this sew along here, and you can find the full directions on Instagram at #scrappycrossroads.

And since it's Monday, I'm also linking up with other quilters on the Design Wall at Patchwork Times!

friday finish - strawberry social!

It's done! The Strawberry Social top is completely assembled!

strawberry social 023.JPG
One of my all time favorite Flower Sugar prints. 

One of my all time favorite Flower Sugar prints. 

It's always an extra-good Friday when I finish a quilt top, and this is my second finish this month! I know that I say I love all my quilt tops, but I really, really love this one. I had fun sewing every single berry. I used all my favorite reds and pinks from Pam Kitty Morning, Lori Holt, Flower Sugar and Bonnie & Camille. The pink-on-white dotted background is from the Pam Kitty Picnic collection. 

The pattern is Strawberry Social by Margot Languedoc's The Pattern Basket. Her instructions are very clear and easy to understand, although the leaf portion takes a bit of concentration.

I also made my quilt larger than the pattern. I think that it's the perfect sofa size. My top contains 36 berries and measures 62" x 75" - the pattern measures 53" x 66" and has 25 berries. 

Remember the two experimental blocks? I decided that they weren't ripe enough for this quilt, and so I turned them into jam. Ha ha! I'm glad that I tried something quirky, but, um, no... just too weird. 

I love this recipe print from Lori Holt's Bake Sale collection.

I love this recipe print from Lori Holt's Bake Sale collection.

Yes, that's a strawberry covered in cherries!

Yes, that's a strawberry covered in cherries!

Thanks for taking the time to visit with me today! I'm linking up with Finish It Up Fridays at Crazy Mom Quilts. I'll check out what everybody else finished this week after lunch. And maybe dessert. A strawberry sundae? A strawberry shake? I saw strawberry cream filled Twinkies at my grocery store last night, but they scare me.

socializing with strawberry social

I spent some time socializing with the Strawberry Social quilt blocks last night. I'm aiming for two quilt finishes this month! 

Here they are on my "design floor." I almost started to sew them randomly (it's hot and humid and I'm lazy) but I knew that the only way to evenly distribute the pinks and reds was to do the layout. Then the berries were sewn into vertical strips with more of that cute pink dot from Pam Kitty Picnic. 

And of course, the rows are marked with color coordinating Post-it notes. Actually, that was just a happy coincidence! Six rows of fresh berries! I'm making my quilt larger than the pattern, so I have 36 berries set 6 across and 6 down. 

Soon I'll need to choose border fabrics! Here are the leading candidates. I'm thinking of a narrow inner border of the green print and a wider outer border of the white wreath print. The two plaids are the binding options. I'm sure that the quilt will tell me what it needs once it's fully sashed. Your quilts talk to you, too, right?!

Can I have a second Friday finish for July? Stay tuned! And see what other quilters are working on this week at Design Wall Monday at Patchwork Times.

Finally, thanks so much for all the Butterscotch Tart quilt love! I really appreciate the nice comments and emails. Making that quilt was a fun challenge, and I'm glad that you enjoyed watching my progress.

friday finish - butterscotch tart!

Guess what? It's D-O-N-E! The Butterscotch Tart quilt is finished! It's time for some fireworks!

I hope that you'll allow me to gush about my own quilt. I love everything about this! The goal was to do a patriotic quilt, but without any patriotic fabrics. There are no stars or fireworks here, but there are plenty of dots, flowers, cherries and strawberries. And then I dared myself to add light blue and pink. 

I feel a little bittersweet now that this is completed. I was in a big rush to complete it (yeah, I missed my July 4 goal), and yet, I felt a bit of sadness when I sewed that last border strip. Sadness as in, oh no, it's done and I won't get to sew any more of these cute blocks!

The quilt pattern is Butterscotch Tart by Fig Tree and Co and measures 66" square. I used a happy fabric mix from Pam Kitty Morning and Lori Holt. Special thanks to my Instagram buddies who cheered me on throughout the whole process. You can follow me there at @greydogwoodstudio to see daily updates of my projects. 

And, just for fun, I put the quilt onto my bed. It blends in perfectly with my collection of new and vintage Ralph Lauren bedding. The red and white faux drunkard's path was the second quilt that I ever made, and it's hand quilted with Baptist fans and dated November 98 - November 99. I'll never tire of red, white and blue quilts!

I'm linking up today with Finish It Up Fridays at Crazy Mom Quilts. Hop over there to see what other quilters have finished this week. And happy weekend, everybody!

assembling the butterscotch tart quilt

Finally! I have started to put it all together!

As you can see, it's always helpful to have a friend. (Ok, maybe not so much!) I like to use LOTS of pins. I pin about every half inch, and even more if it's a tricky block. And I even have a color coded system. The blue pins are removed just as the needle approaches the presser foot. But the yellow pins anchor hidden seams that point away from the presser foot, and I sew right over them to hold the seams flat. 

Putting these together takes a little longer than I'd like (you know that I'm dying to work on the house blocks, right?!) but I pin and go slowly to make sure that I don't accidentally chop off any star points. 

I think that these little pinwheel setting stones are just so cute. They add the right amount of movement without distracting from the larger blocks. 

The next three rows are ready to be sewn. I have my hopelessly old fashioned way of keeping everything organized. The row number is always pinned to the left block of each row. It helps to keep my layout accurate without having to look at the blurry photo on my iPhone. 

And now I need to stay focused so that I can finish this. I started exactly one month ago today, and I'm really looking forward to the big finish!

Butterscotch Tart is a quilt pattern by Fig Tree Quilts, and my fabrics are a mix of Pam Kitty Morning and Lori Holt. Thanks for stopping by today!

homesteading with a unicorn

This sure was a busy weekend! Lots of Fourth of July festivities and social events here in Grey Dogwood Studio land. I didn't have much time for sewing, but I managed to squeeze in three new Homestead blocks. First was the aqua house in Fig Tree's Avalon fabric. Then I decided to work on two blocks at the same time. I thought that it might be faster to make them together, but it clocked in at the same time as if I had made them separately. I'm relying on the Alphabitties to help keep all of my pieces clearly marked for sewing. 

I also learned a nifty new trick with these two houses! Pam Kitty Morning recently asked readers if they baste before sewing. I read it and thought nope, no way, I'm never going to waste my time with that. But I have to admit that matching the four key points on these houses can be challenging. I wondered if maybe Pam's idea might work. So I dialed up a really long stitch length and sewed the problem seam, checked for accuracy and made a few adjustments, and then sewed over that line using a shorter stitch length. She's right, of course. It was much easier, and there was less seam ripping and resewing! I'm glad that I learned a new shortcut.

Then the weekend began! The torrential rain lifted just in time for Friday night's NYC fireworks (you might have seen them on the Macy's NBC broadcast). All 5 billion of us at the waterfront park loved them. Eek I don't think I've ever seen this many people! Then on Saturday was a backyard cookout brunch and the perfect time to catch up with friends and neighbors. To burn off the calorie intake from the grilled soy sausages (I learned that they aren't so bad if you smother them with mustard and sweet relish!), we went for a walk in Central Park. The park is just three blocks from my apartment (and Grey Dogwood Studio!) so I jokingly consider it my glamorous backyard. I had to go say hi to my turtle friends at Turtle Pond - they're so cute, just poking their heads out of the water to greet me. And then a walk around the Delacorte Theater (home of Shakespeare In The Park), the lake with rowboats and my favorite part, the Bethesda Fountain. 

After Sunday brunch in Harlem we visited The Cloisters in Fort Tryon Park. It's a branch of  the Metropolitan Museum of Art on the very upper tip of Manhattan. The Cloisters contain the museum's very extensive collection of Medieval art. Of course this requires a hike though a park, up a mountain with no signage, and past the fat woodchuck who was clearly oblivious to us. We just had to hope that we were going the right way! Why all this fuss? I needed to visit the Unicorn Tapestries. They're a series of seven tapestries done in the late 1400's which depict noblemen in pursuit of a unicorn. They're brilliant. I've loved them for many years. The tapestries take up entire walls, and the jewel is the unicorn tapestry itself. 

The amount of fine detail is amazing. Berries, dragonflies, lillies, tulips and other flora are all depicted in wool and metallic threads. An outer courtyard is planted with the fruits, herbs and berries that are depicted in the tapestries. 

And isn't it fun to find quilt pattens everywhere? I found a hexagon window!

Now that the long weekend is over I'll get back to some serious sewing. This week's goal is to sash the Butterscotch Tart blocks! And I hope that you enjoyed the holiday weekend, too! 

I'm linking up with Design Wall Monday at Patchwork Times where other quilters share what they're working on this week.

let freedom ring

Some things endure, like my love of American flags and house quilts. They're timeless, authentic classics. And while my taste in fabric has changed over the years, I still love basic, vintage designs. As I work on the Homestead house blocks and the Butterscotch Tart blocks, they're really just a fresh update of my early quilts.

These were two of the earliest quilts that I made in 1999. The pattern is from the book Little Quilts All Through The House by Alice Berg, Mary Ellen Von Holt and Sylvia Johnson. I customized my quilts even back then by adding the outer ticking print border. I tea dyed them like the authors suggested. Yeah, that washed out fast. And so did the dye... the red bled and turned the cream stripes into pink. I'm happy that today's fabrics have much more stable dyes, because I never prewash my fabrics.

These two flags were on a wall in my kitchen until last fall. I think that I was just too lazy to remove them. But they also served as a remembrance of 9/11. Many of us in the city wore red, white and blue ribbons right after the event, and I pinned them onto my flags. My little flag quilts truly became a symbol of freedom. 

I'm so glad that I signed my quilts even back then. Today I like to create labels, but back then I just wrote directly onto the backings.  Check out the date that these were completed!

Happy Fourth of July!

the homestead grows

Happy Monday, everybody! I hope that you had a great weekend. I did have that sushi on Friday night. Actually, it turned into a whole weekend of eating! Let's see... there was a homemade strawberry marshmallow and a homemade "Ring Ding." And then there was the artisanal pizza at Dellarocco's in Brooklyn and chocolate cake. And finally a cupcake at Georgetown Cupcake in Soho. EEK! I never did get around to that vacuuming. Now what was I supposed to tell you about? Oh, yeah. I built more houses!

I had fun pulling fabrics for the remaining 19 houses in the new Fig Tree pattern called Homestead. I'm aiming for a clean, summery beach look. I'm using mainly the larger and brighter prints from Fig Tree's Avalon collection (I edited out the smaller prints, the creams and the stripes). I also finally broke down and mixed in some of my prized Fig Tree Strawberry Fields fat quarters. I've always felt that they're too special to use, but I can't see them when they're on the back shelf in the closet!  

Joanna Figueroa's pattern uses just one green for the grass. But I don't have enough of one green, and I prefer controlled scrappy anyway.

This little red house happened on Sunday night. Maybe it was the sugar rush that caused me to make a few mistakes...

I KNEW that something was wrong with the right part of the roof, but I couldn't see it until after sewing this section together. And because I had already trimmed out the underlayers of fabric, the only solution was to redo it.

Ah, that looks better.

I wasn't sure if the big red Avalon floral would work here but I'm thrilled with how it looks. I actively planned the fabric cuts to make sure that I had plenty of full roses showing. 

And tonight I built the house that just had to be made. Pink and green and strawberries. Had to do it!

If you happen to be in NYC within the next few months, there are two excellent fashion exhibits that you might want to check out. Exposed: The History of Women's Lingerie is at the Museum of the Fashion Institute of Technology until November. The exhibit focuses on the evolution of undergarments from the late 1700's through the present. It explores the technological developments that made their construction possible, as well as the changes to meet designer and consumer demands. I visited the show over the weekend thinking that it would be something to do (I studied design at FIT, and I enjoy visiting all of their museum and gallery shows) but I actually learned something, too. Included are undergarments which gave shape to Christian Dior's New Look dresses of 1947, bustle cages and a pair of Twiggy stockings. (Alas, no quilts here!) Also definitely worthy of a visit is the Metropolitan Museum of Art's Charles James: Beyond Fashion exhibit which puts a dazzling spotlight on America's greatest (and until now, forgotten) couturier. Visual animations and x-rays trace and recreate the dressmaker's patterns on digital screens alongside the actual gowns. It's on exhibit until August, and I'll definitely return for a second visit.