classic yuletide block of the month, or, the tale of the big, scary star block
/
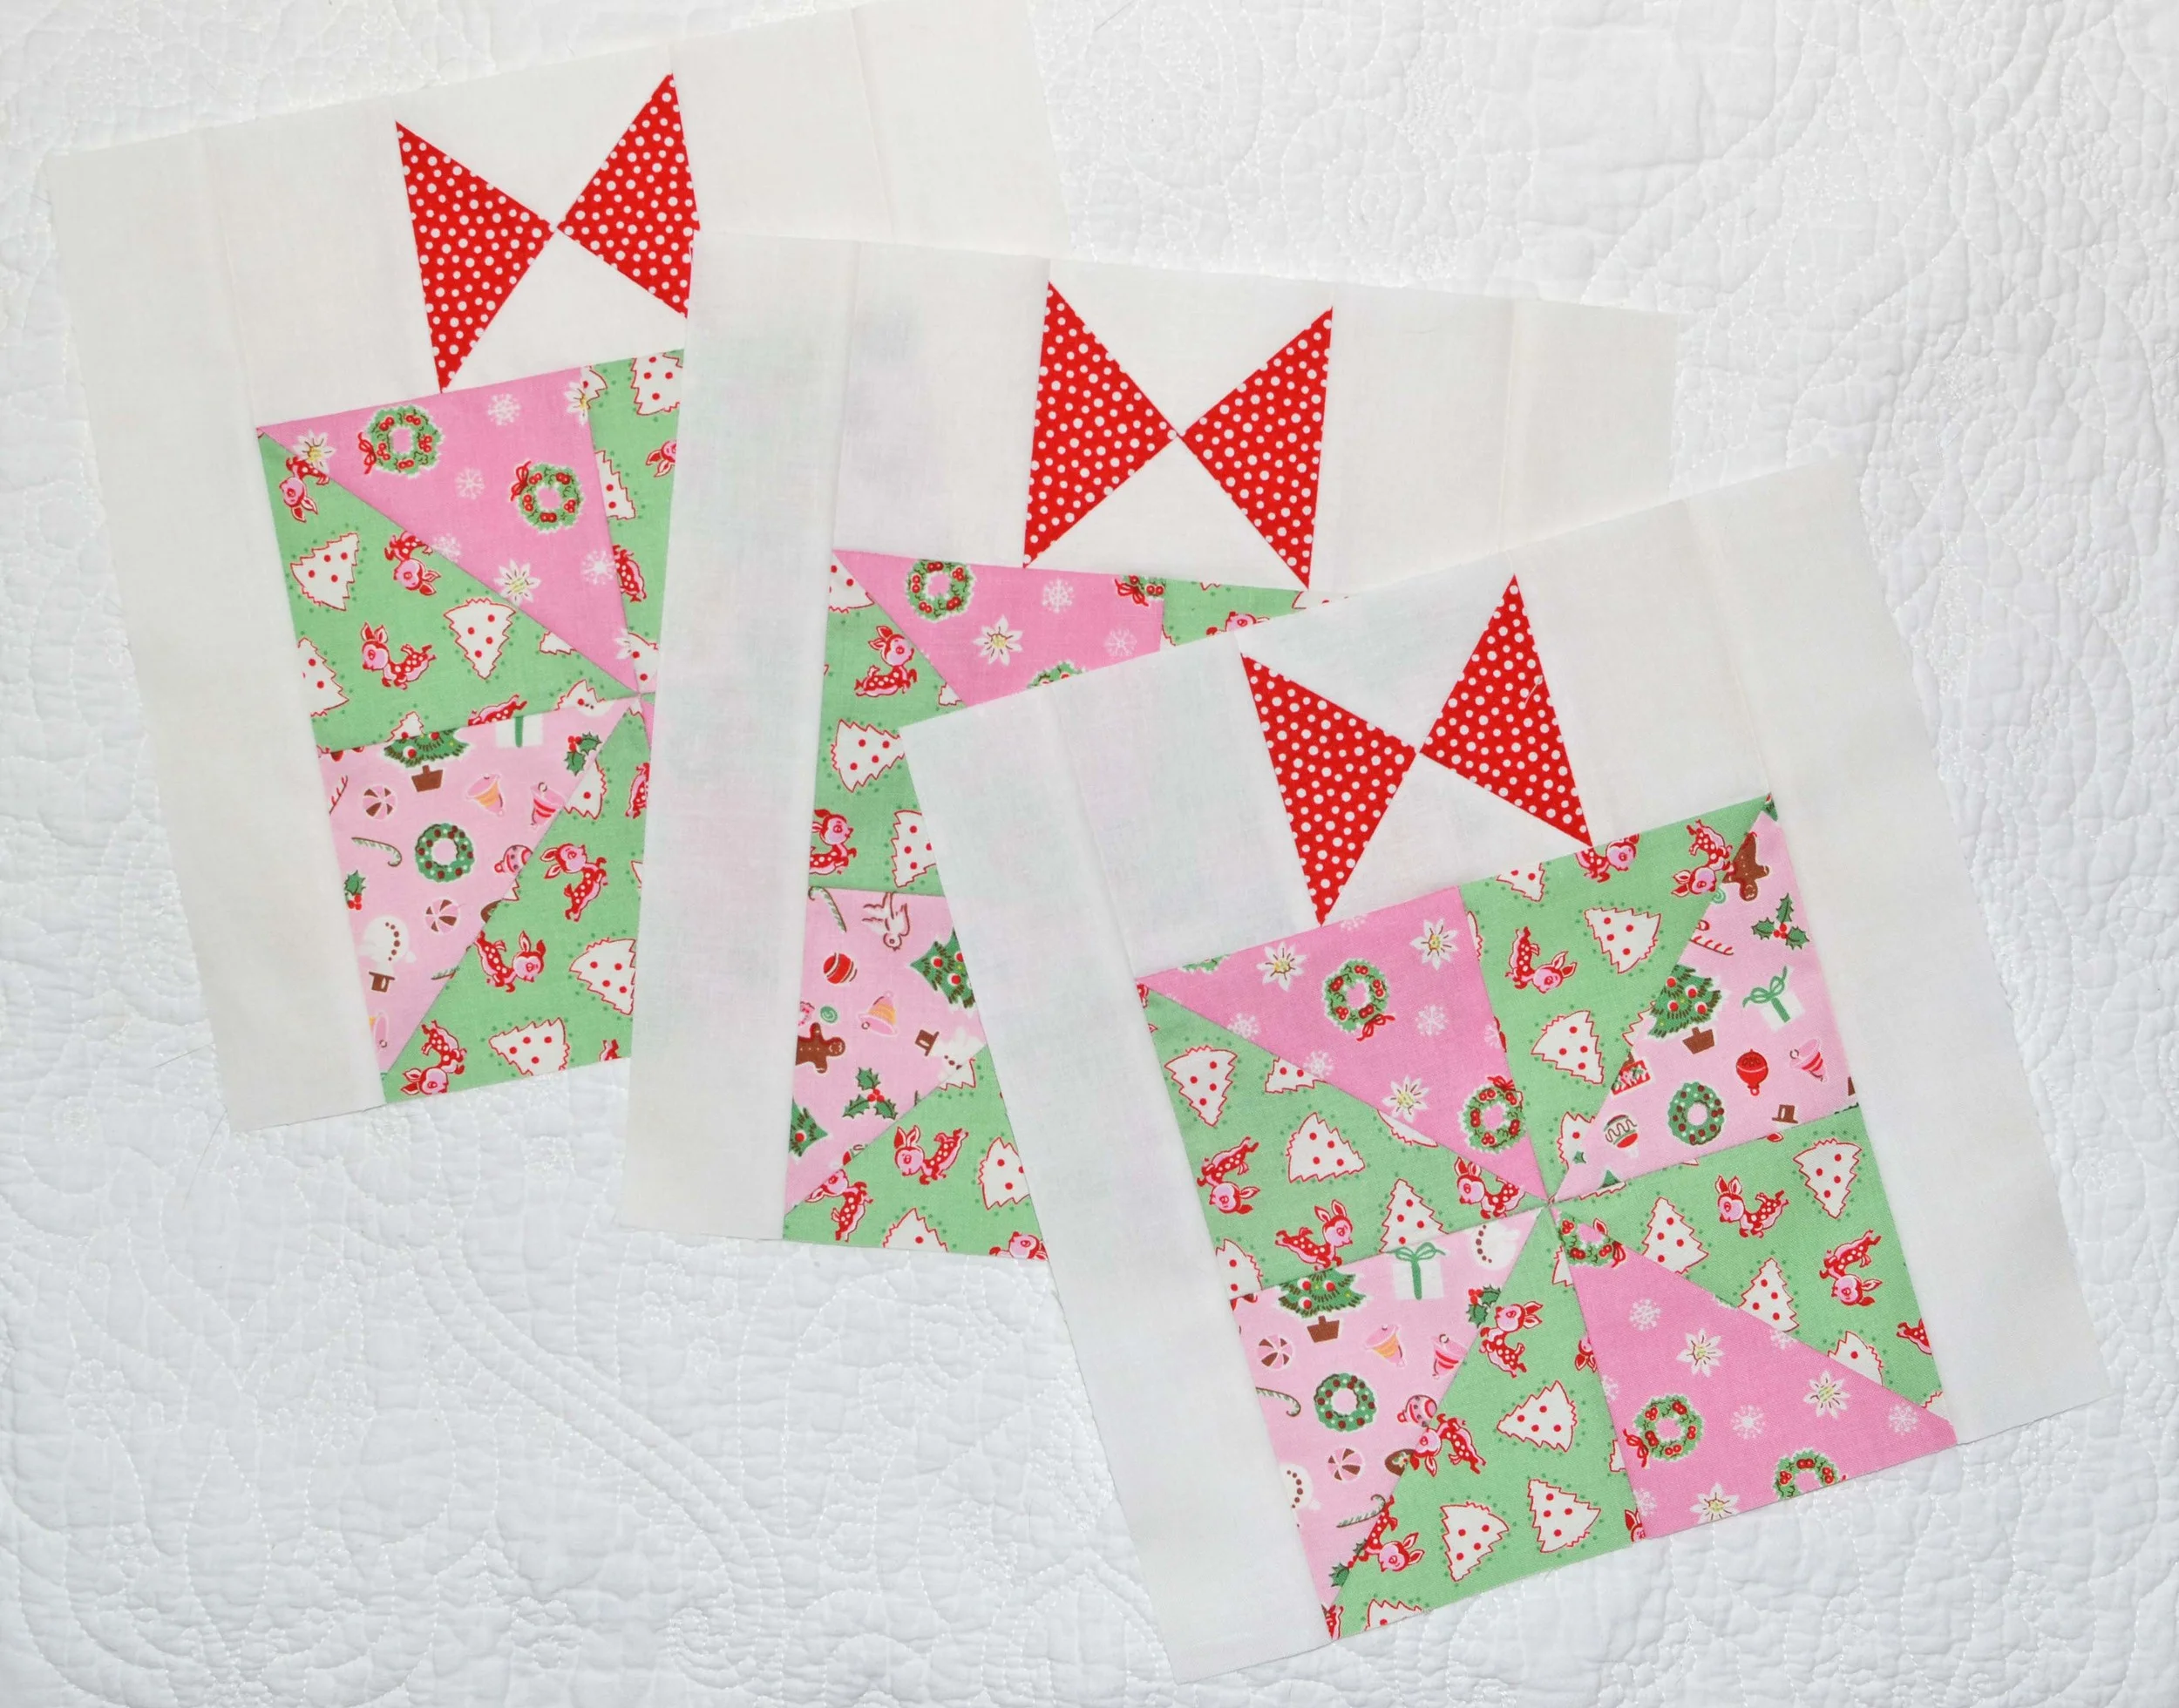
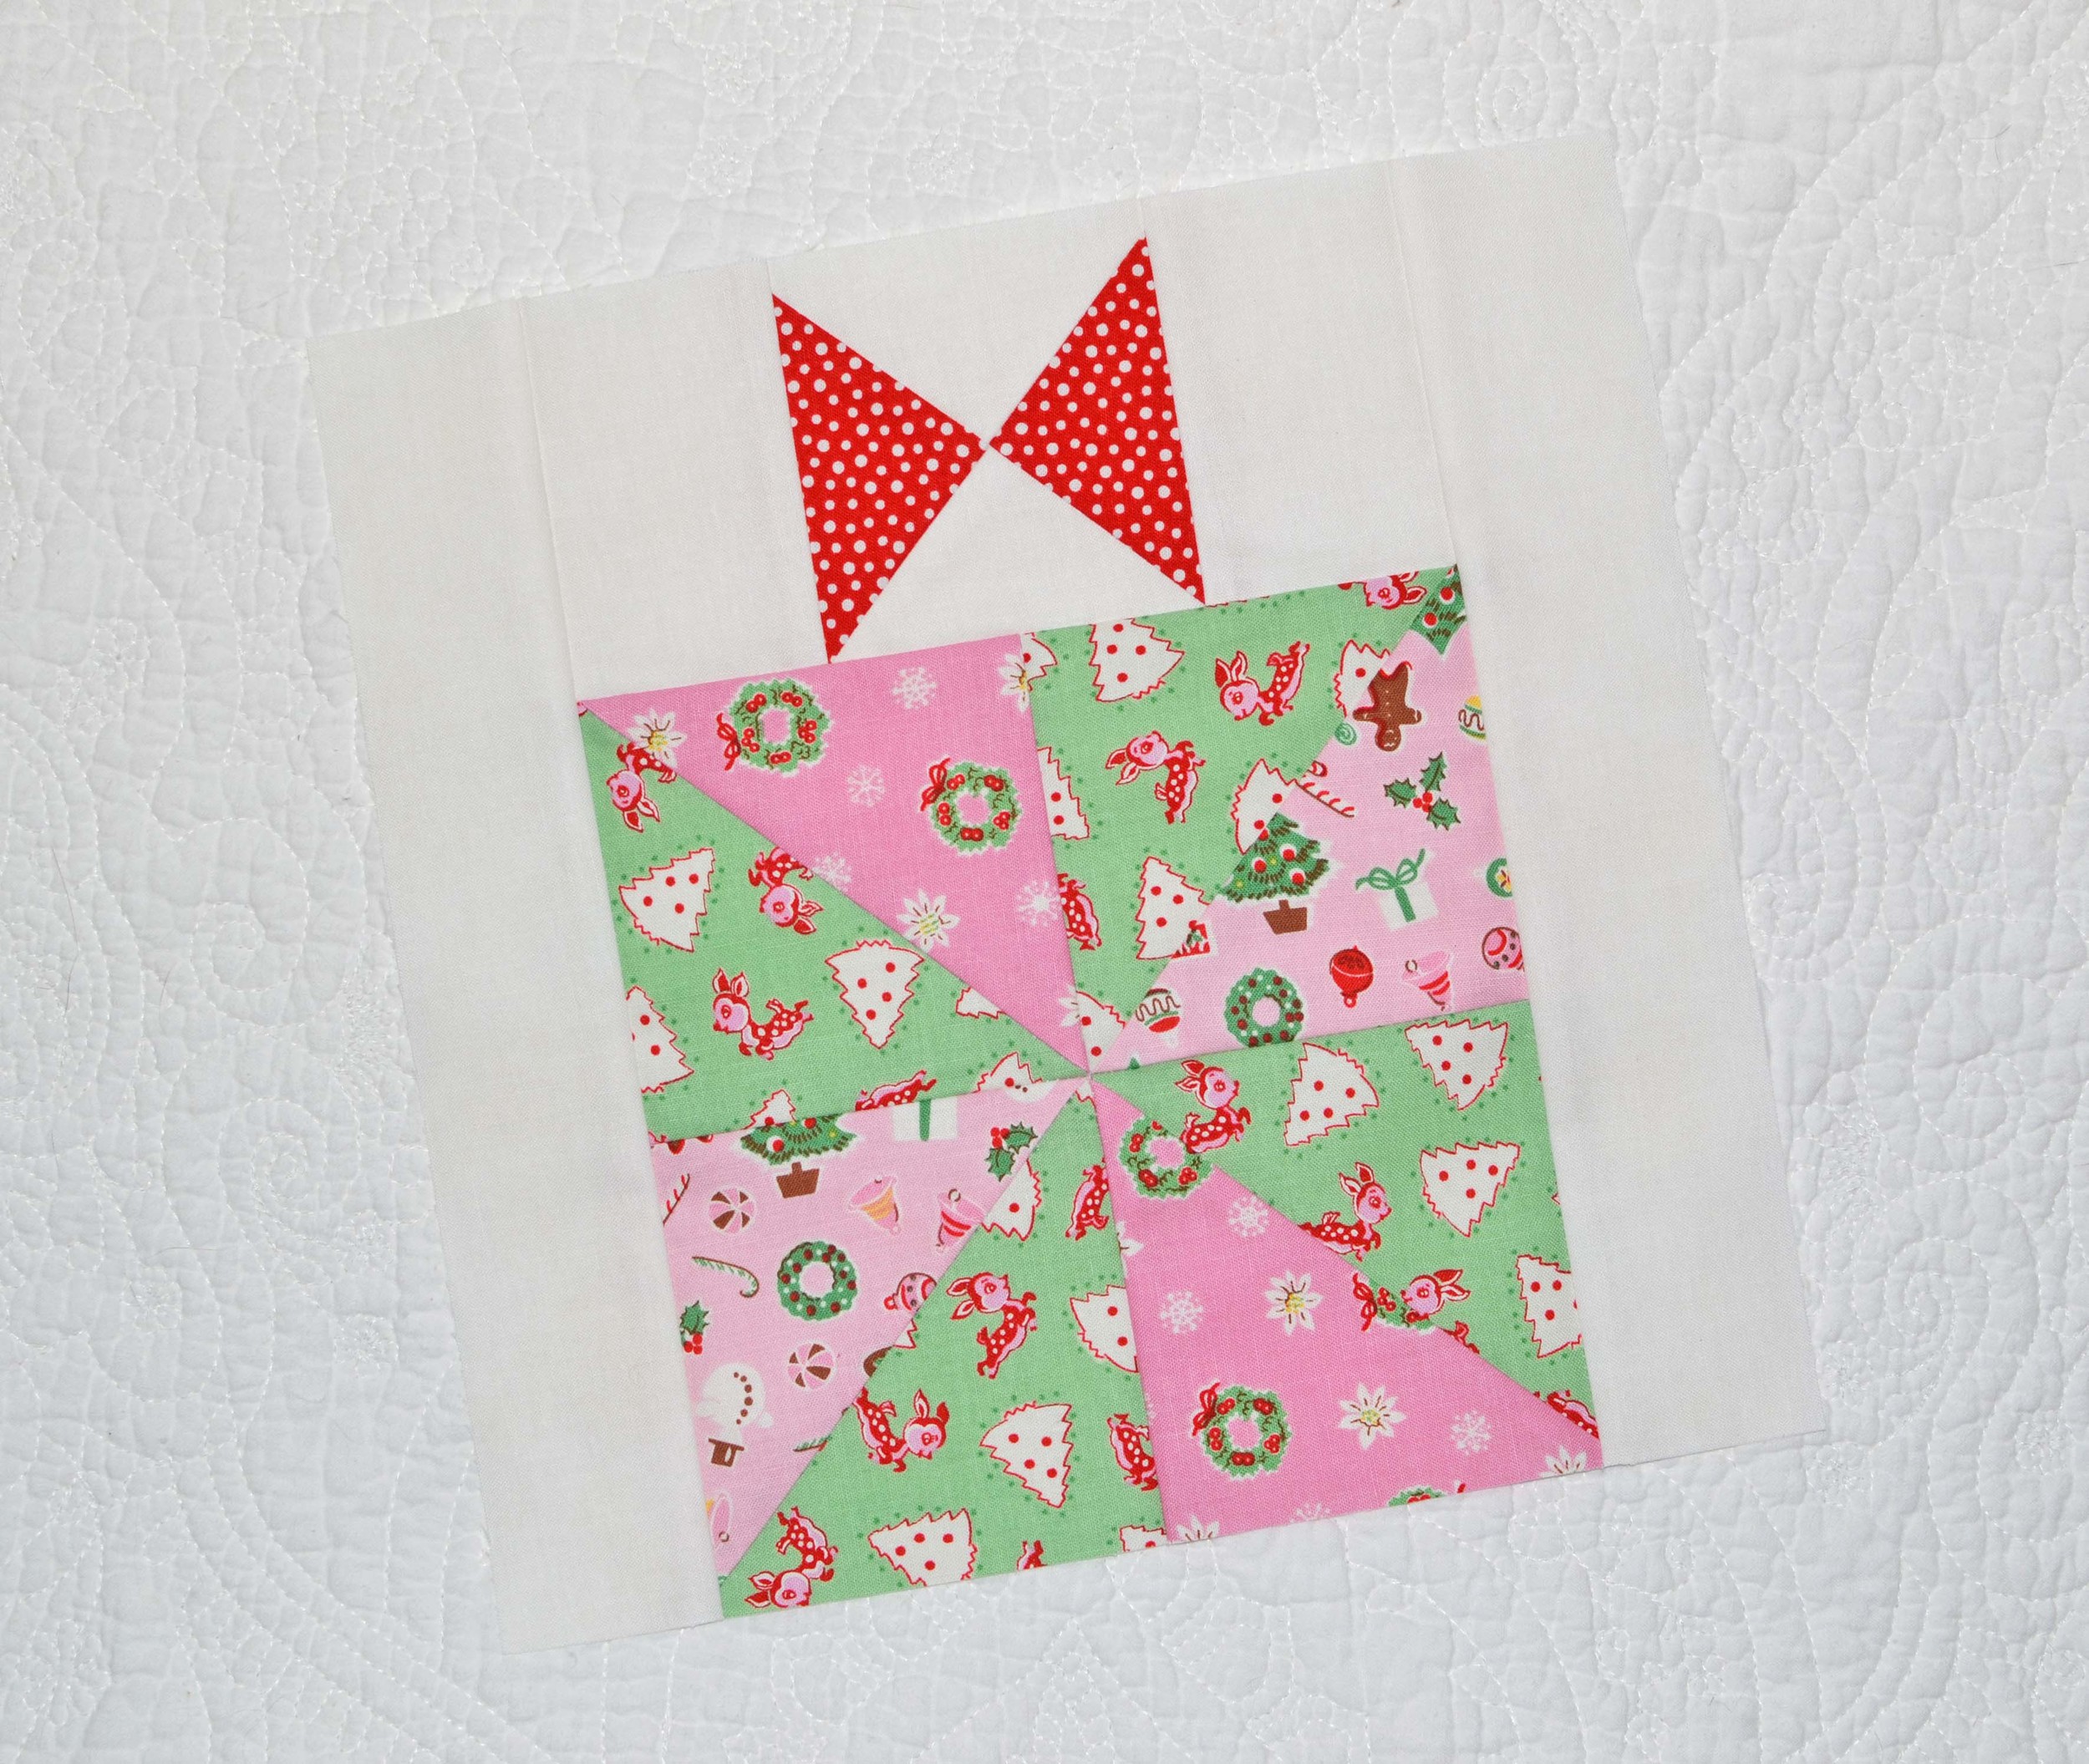
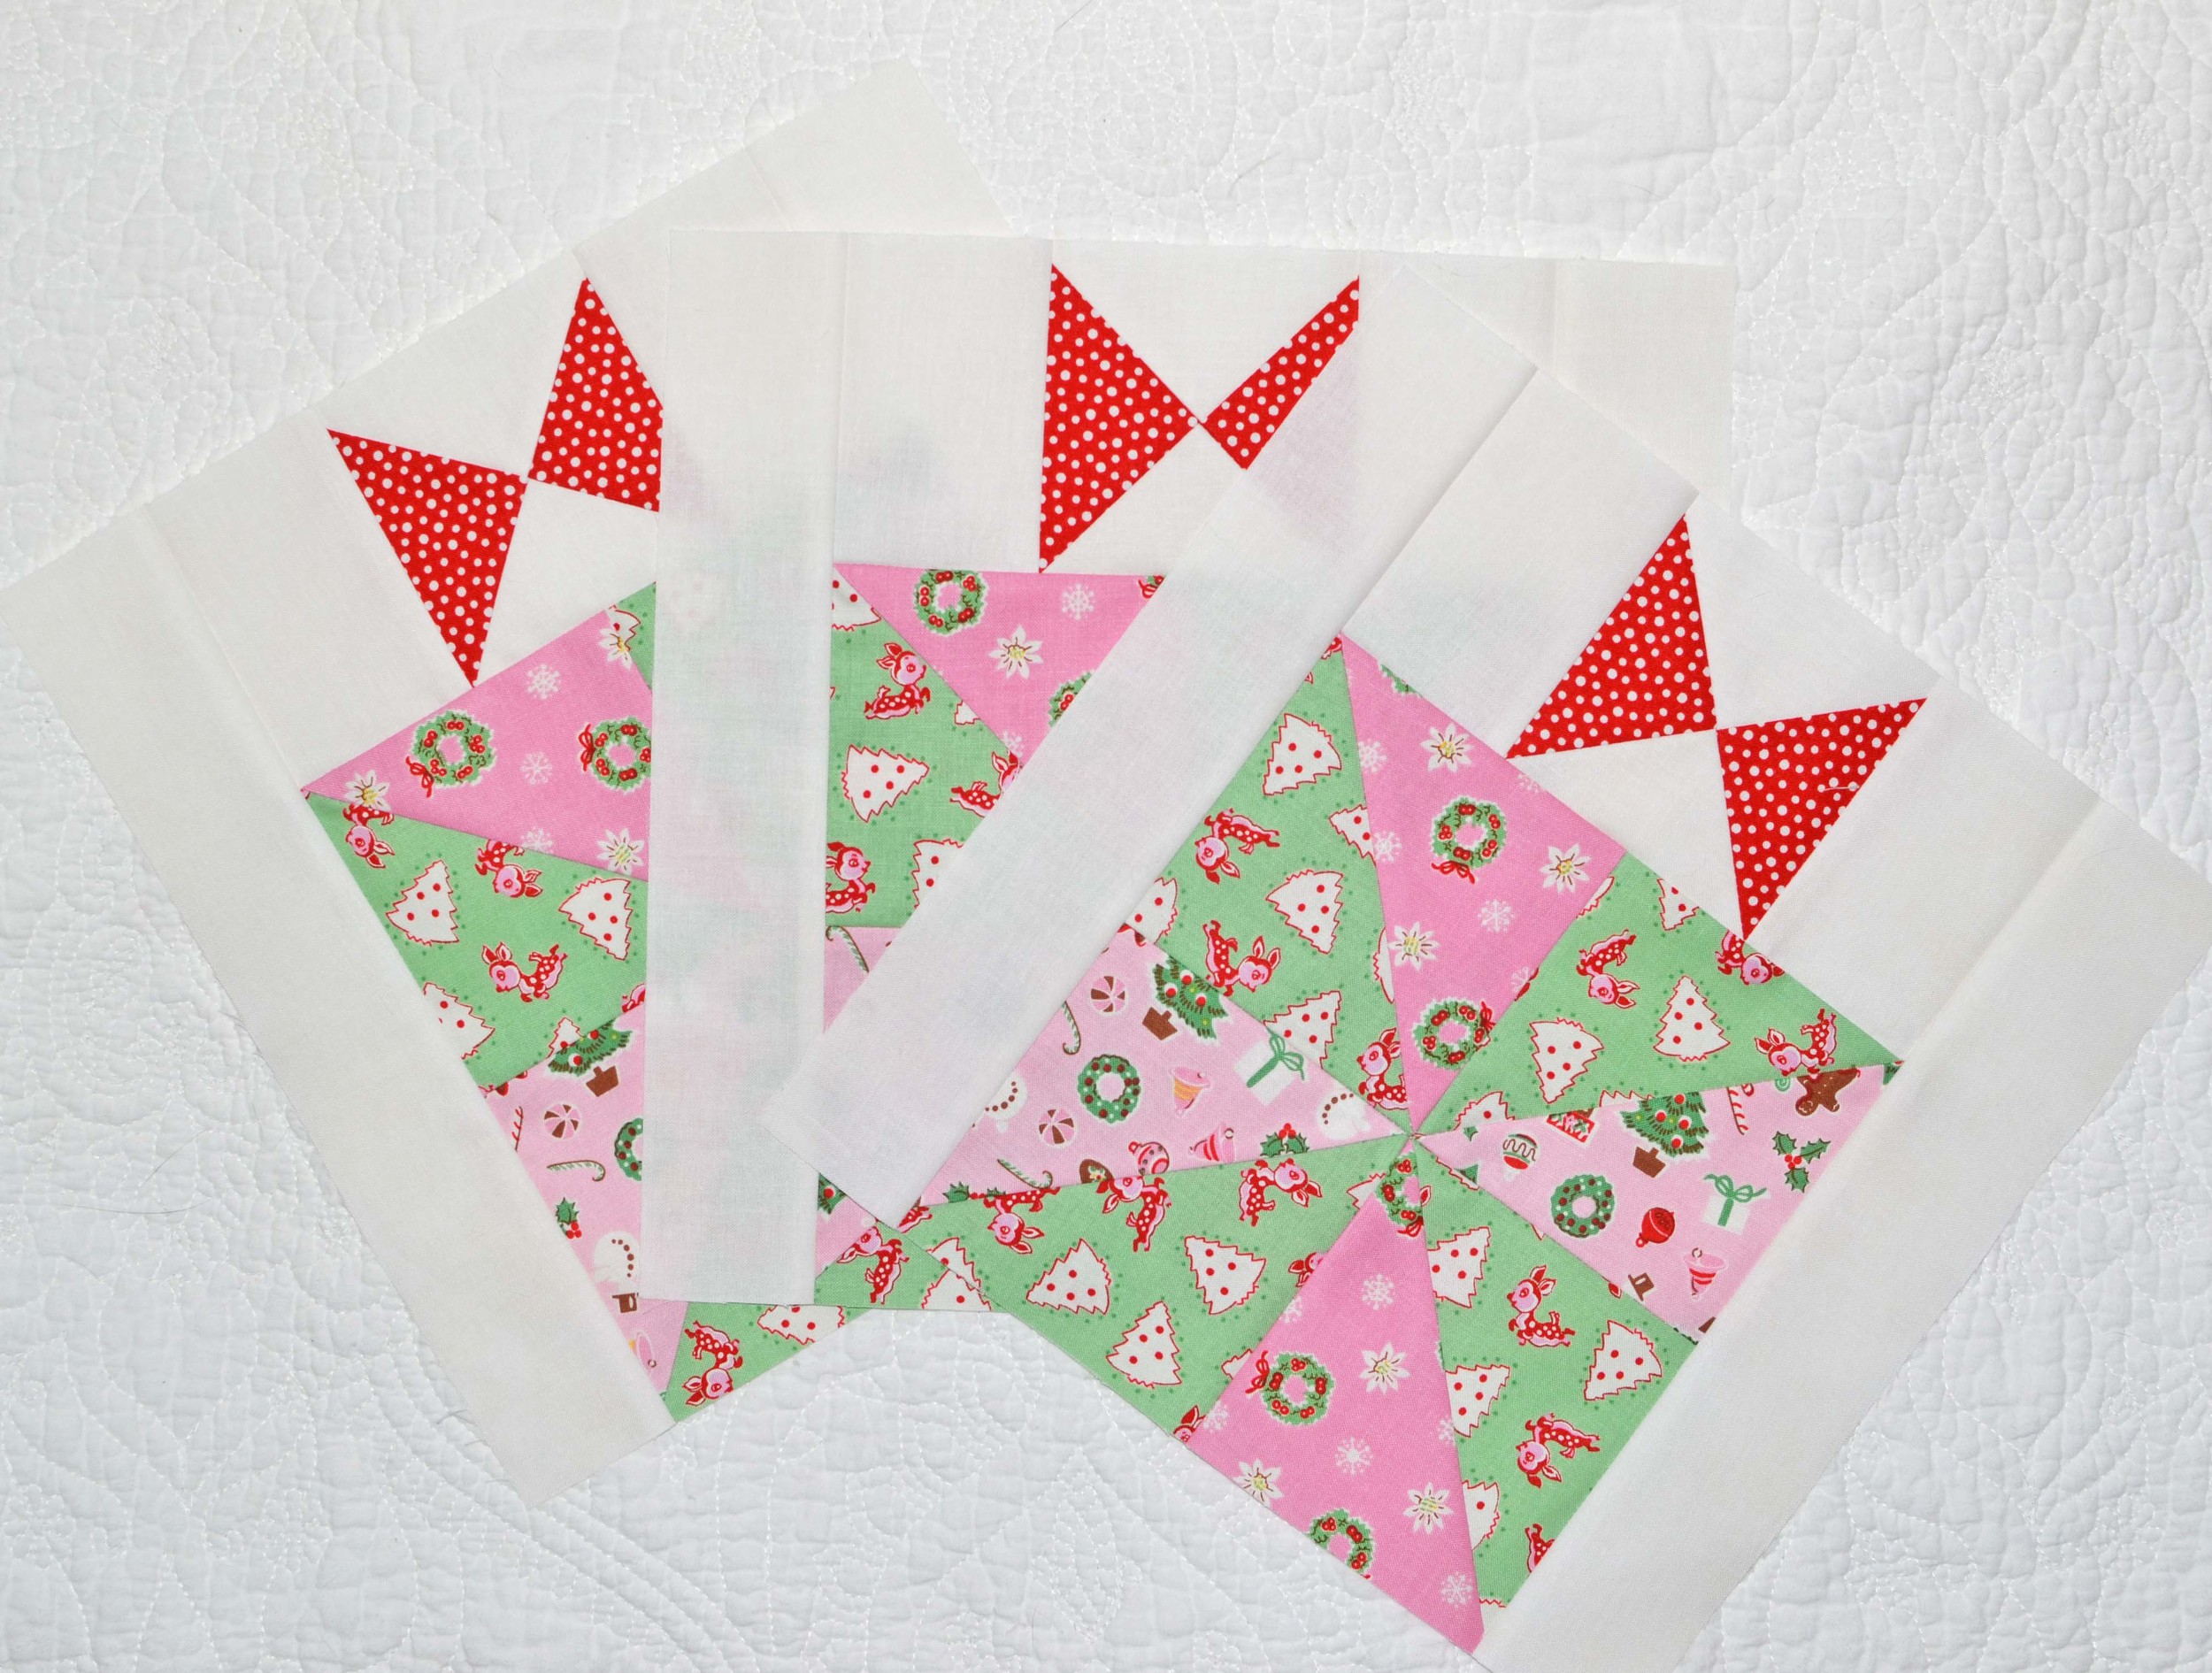
Block 1 Puzzle Star

Block 2 Carolina Lily Variation
Did I ever tell you about the Fig Tree Classic Yuletide block of the month? I think I totally forgot about it! So, this started in April 2015. I loved sewing the first two blocks - Puzzle Star and Carolina Lily Variation. And then May's block patterns arrive in the mail, and they included a big, scary Feathered Star. I choked. I despaired. I stuck the fabric into a box. (That always makes a problem go away, right?!) Then, the monthly packages piled up and I felt guilty. I'm a little weird in that I like to sew my blocks in the right order, and that meant that I wasn't going to do any of the other blocks until I got over my fear of the big, scary Feathered Star. I KNEW that I needed to just get it done when I saw Sherri's finished quilt. So beautiful! And now, here's the star block!
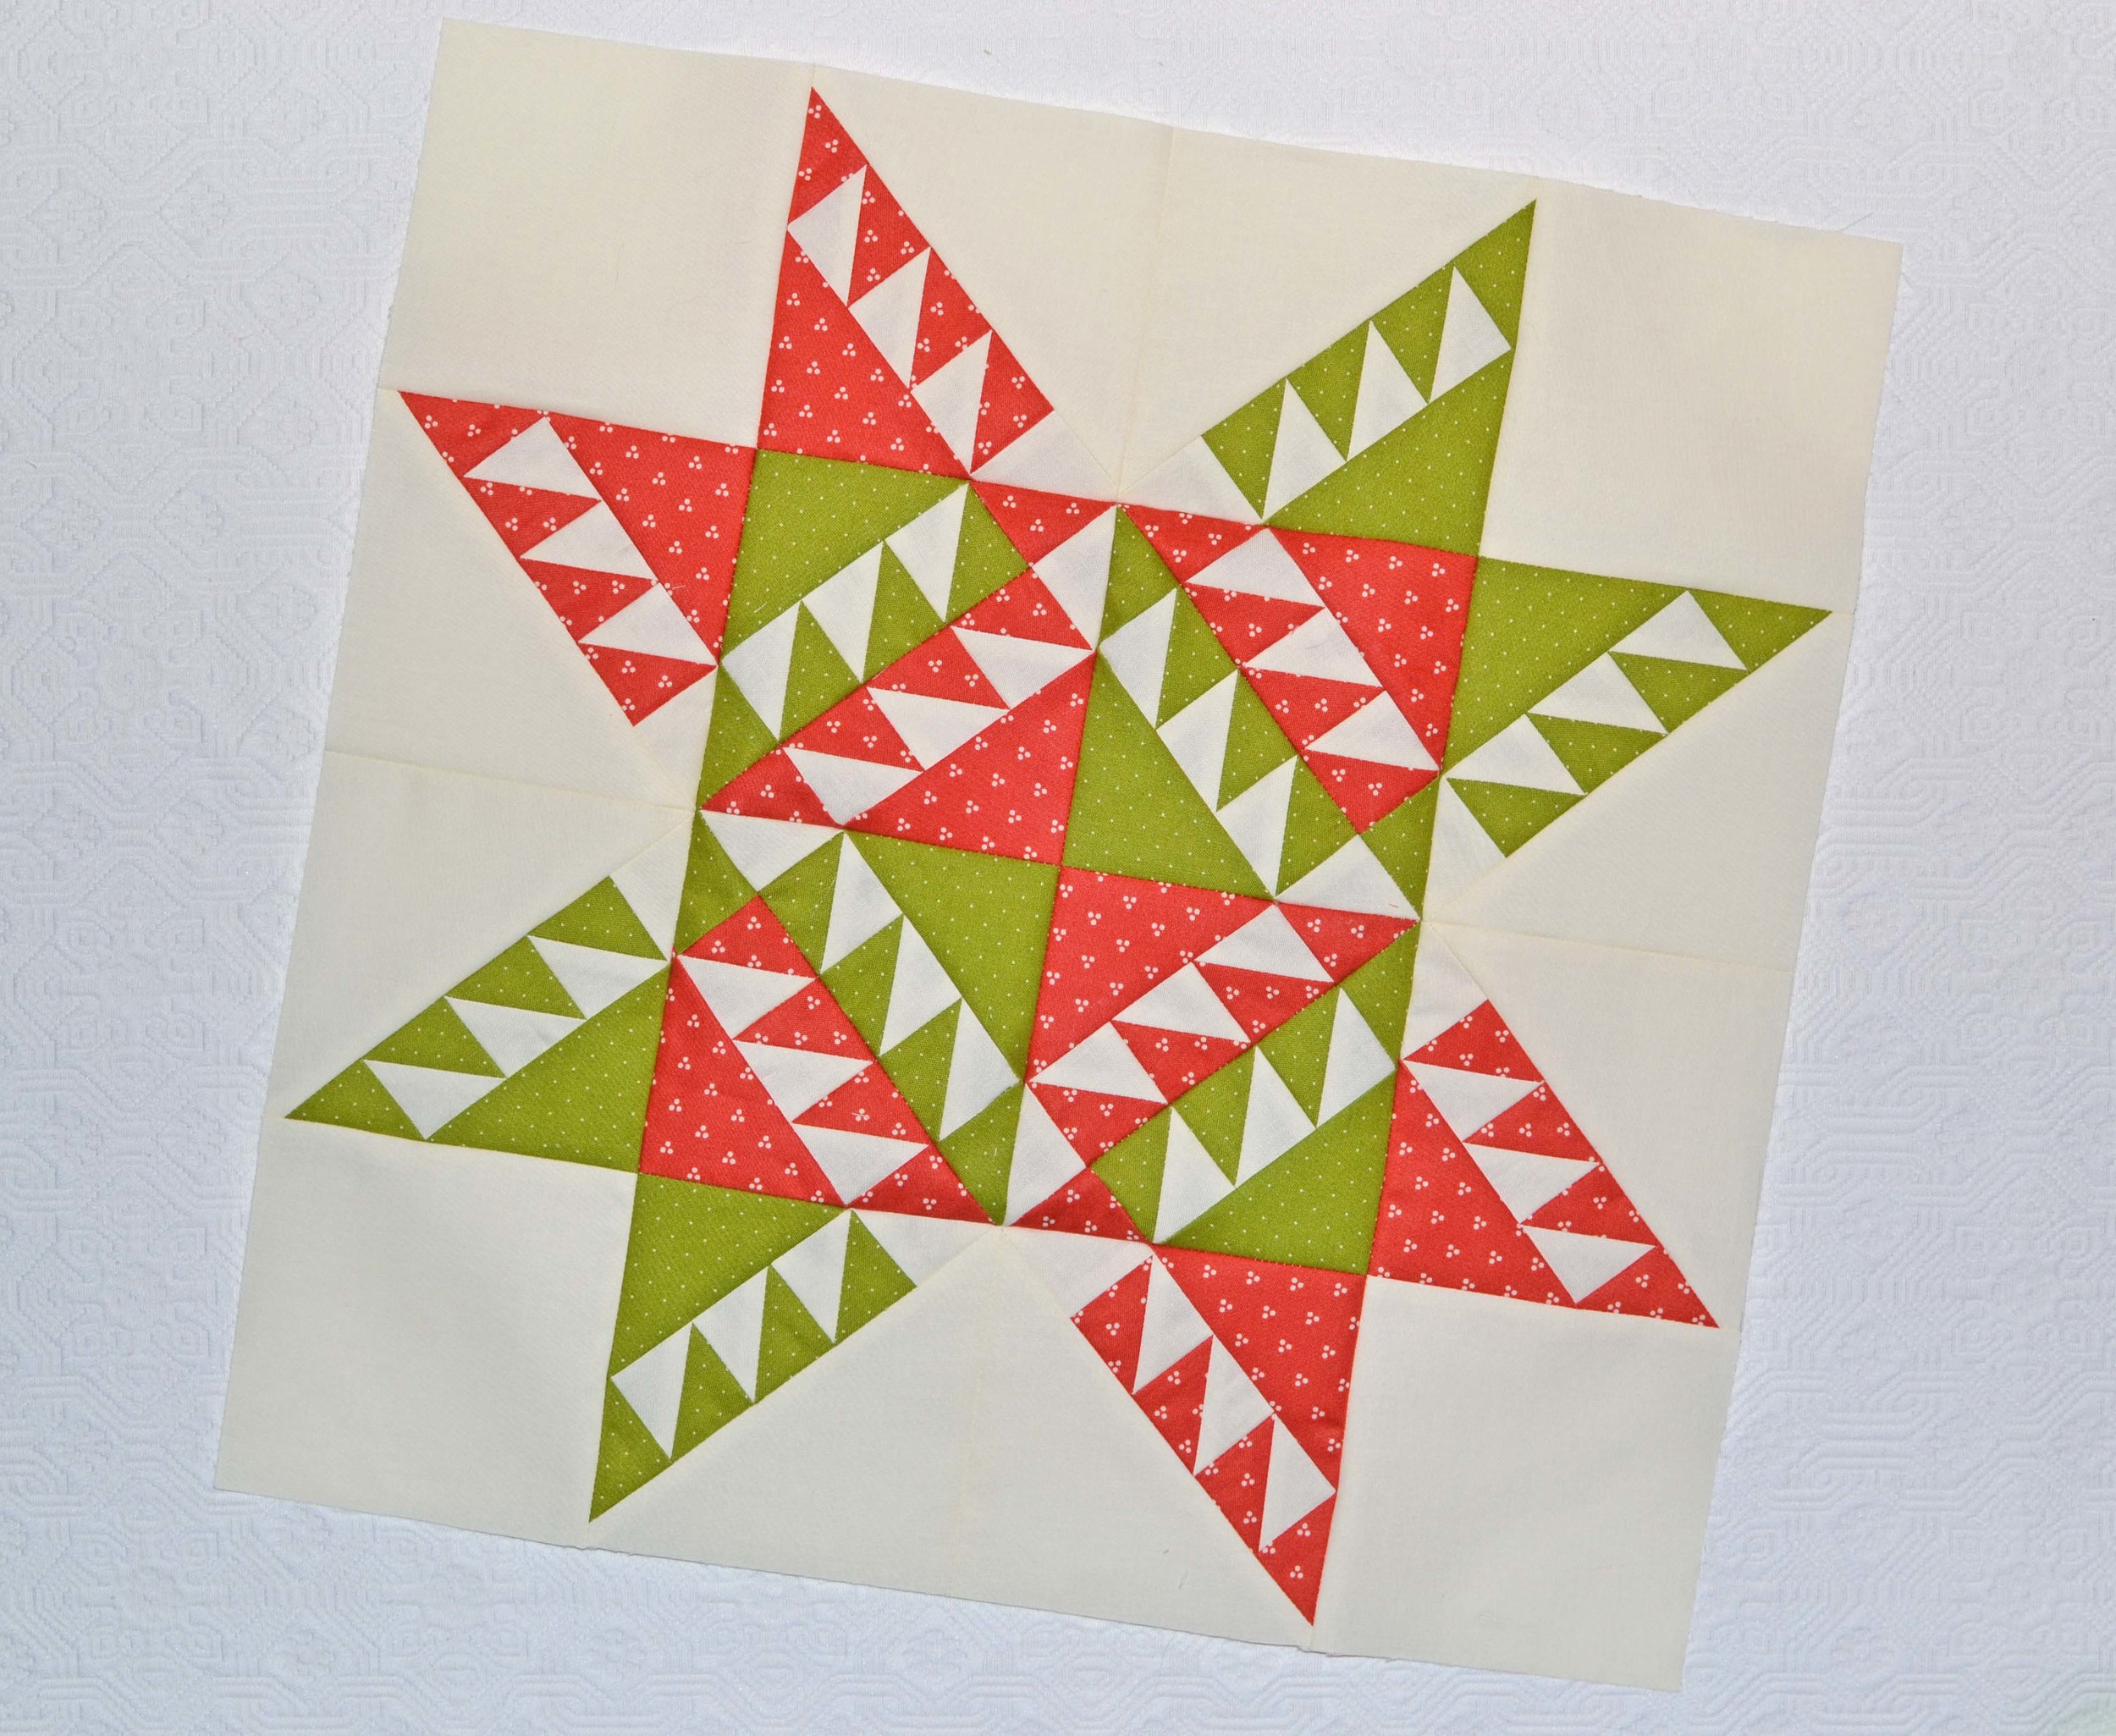
Block 3 Feathered Star
It wasn't so scary after all! Yes, it took me 4 days to make, and no, I don't ever want to make this block again. I think I finished it at maybe midnight a few days ago and was too tired to even feel happy. But I'm happy now. Knocking off the next several blocks was all downhill after the star!

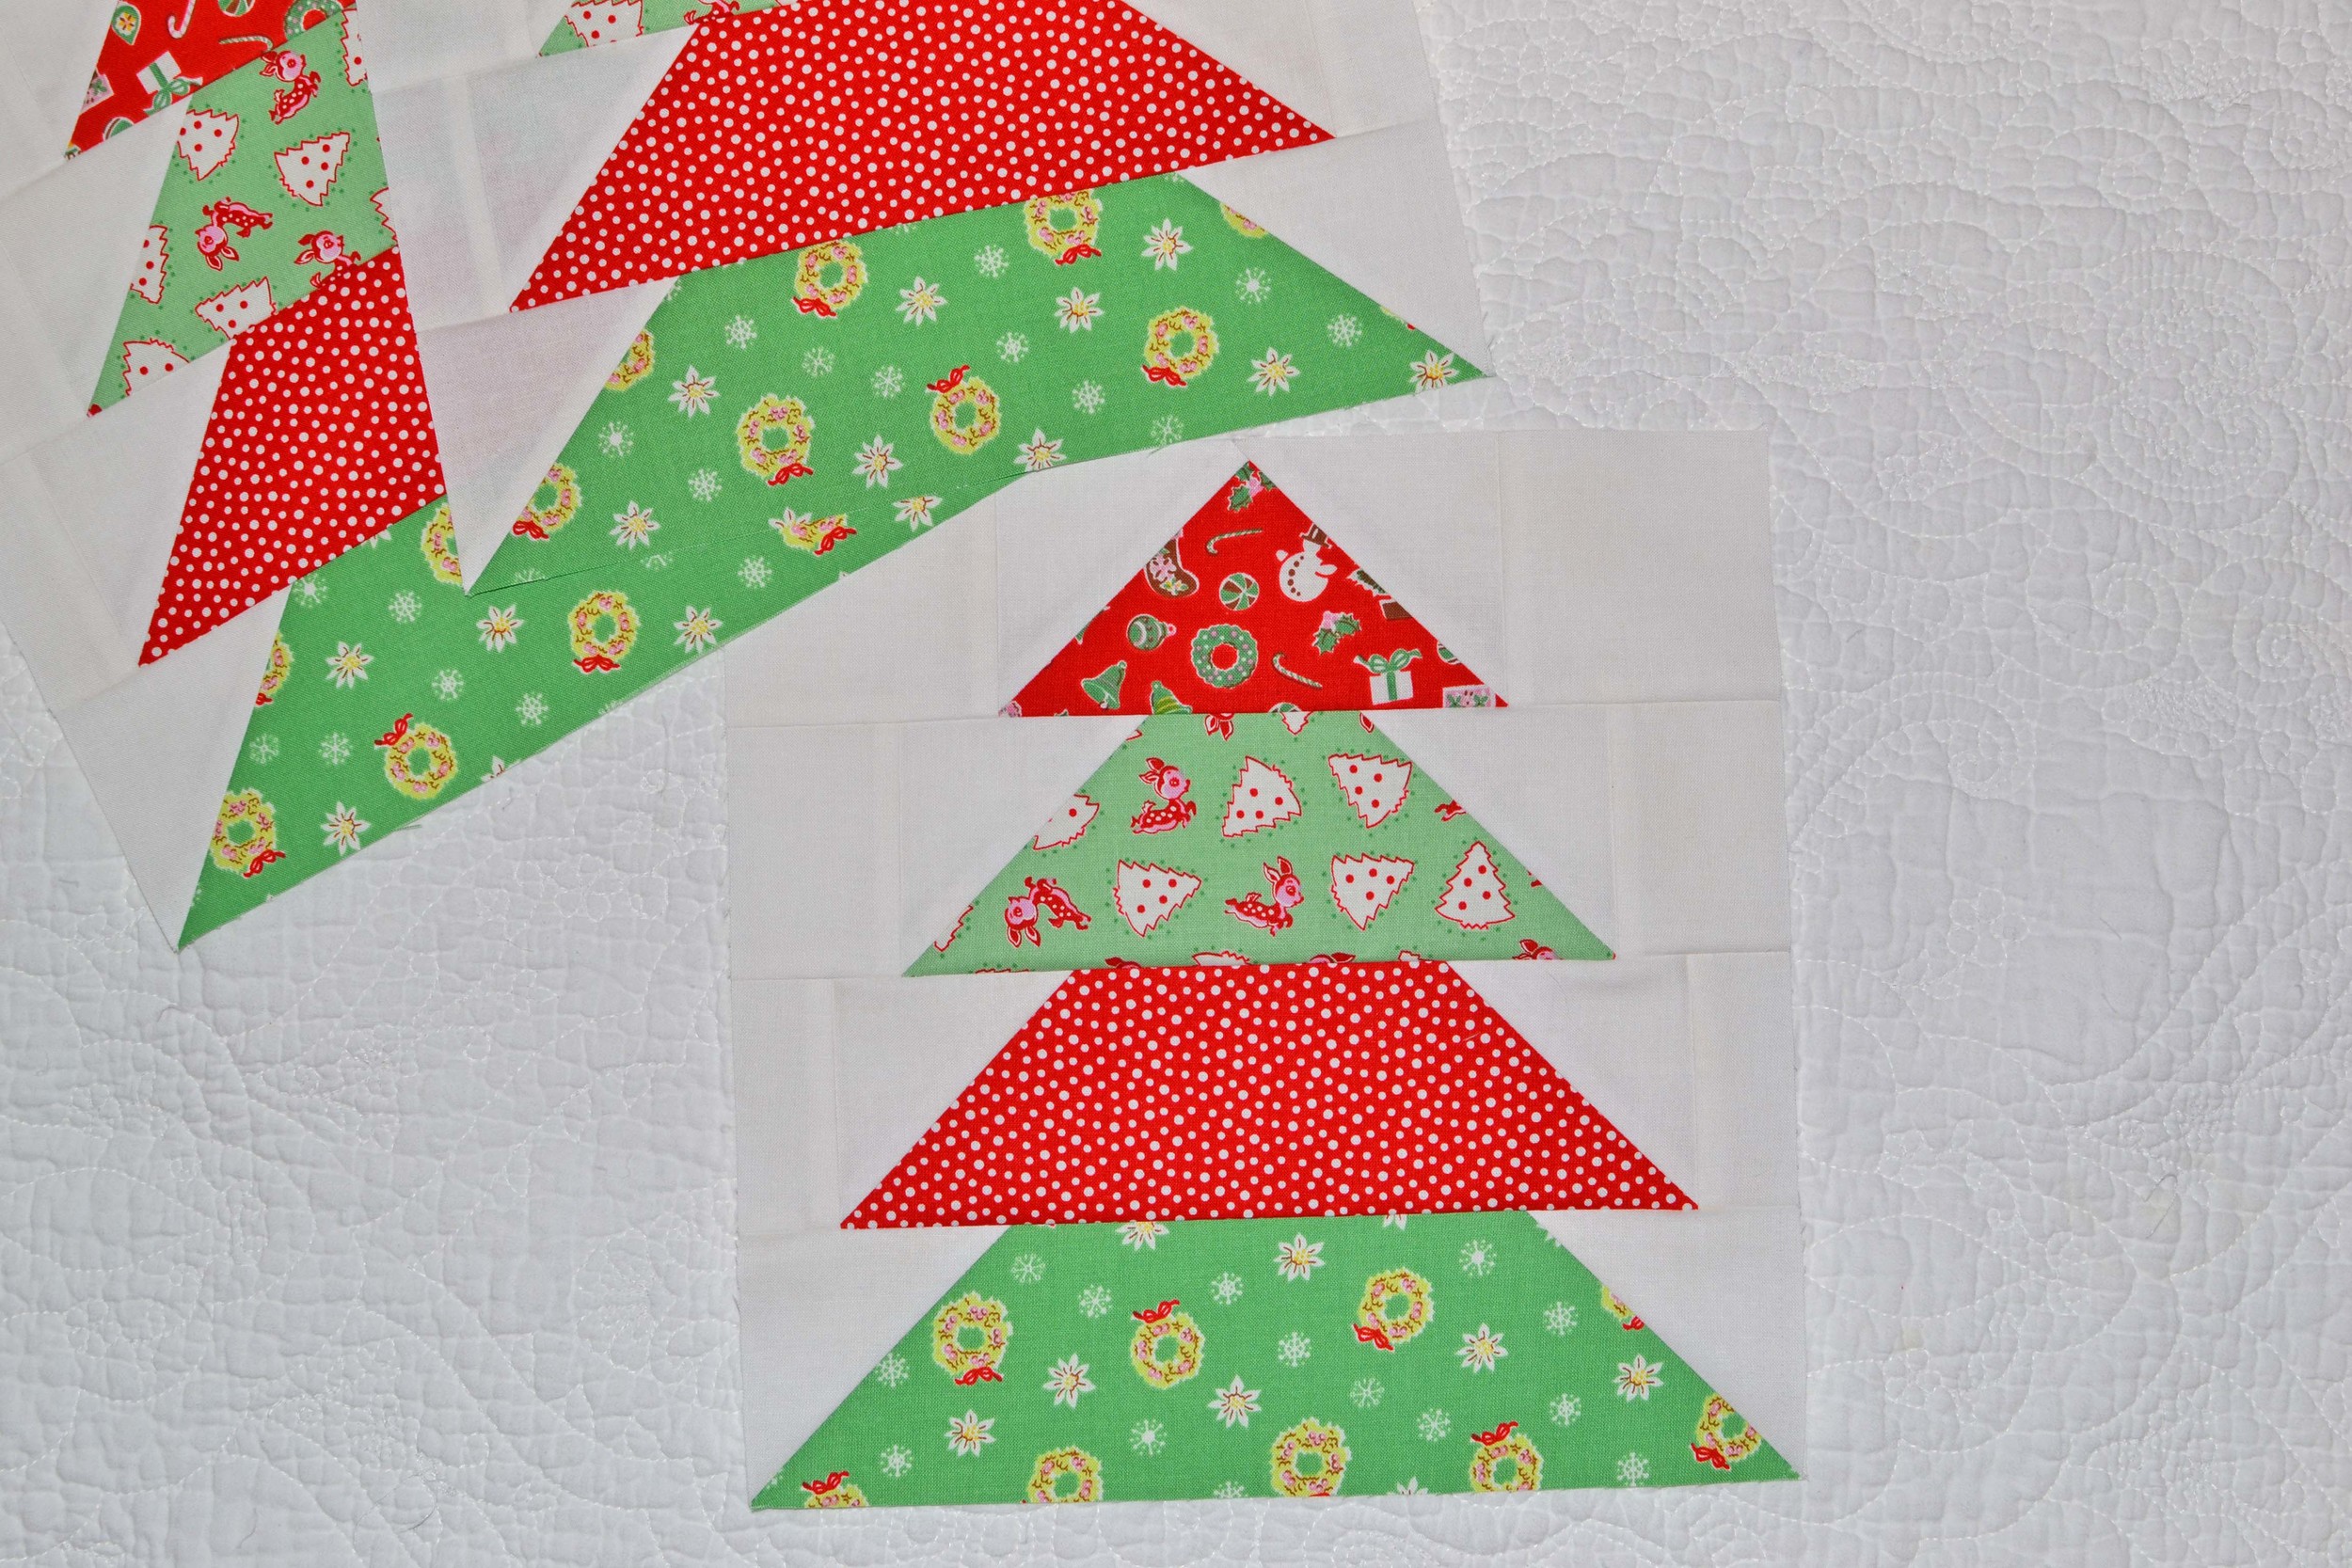
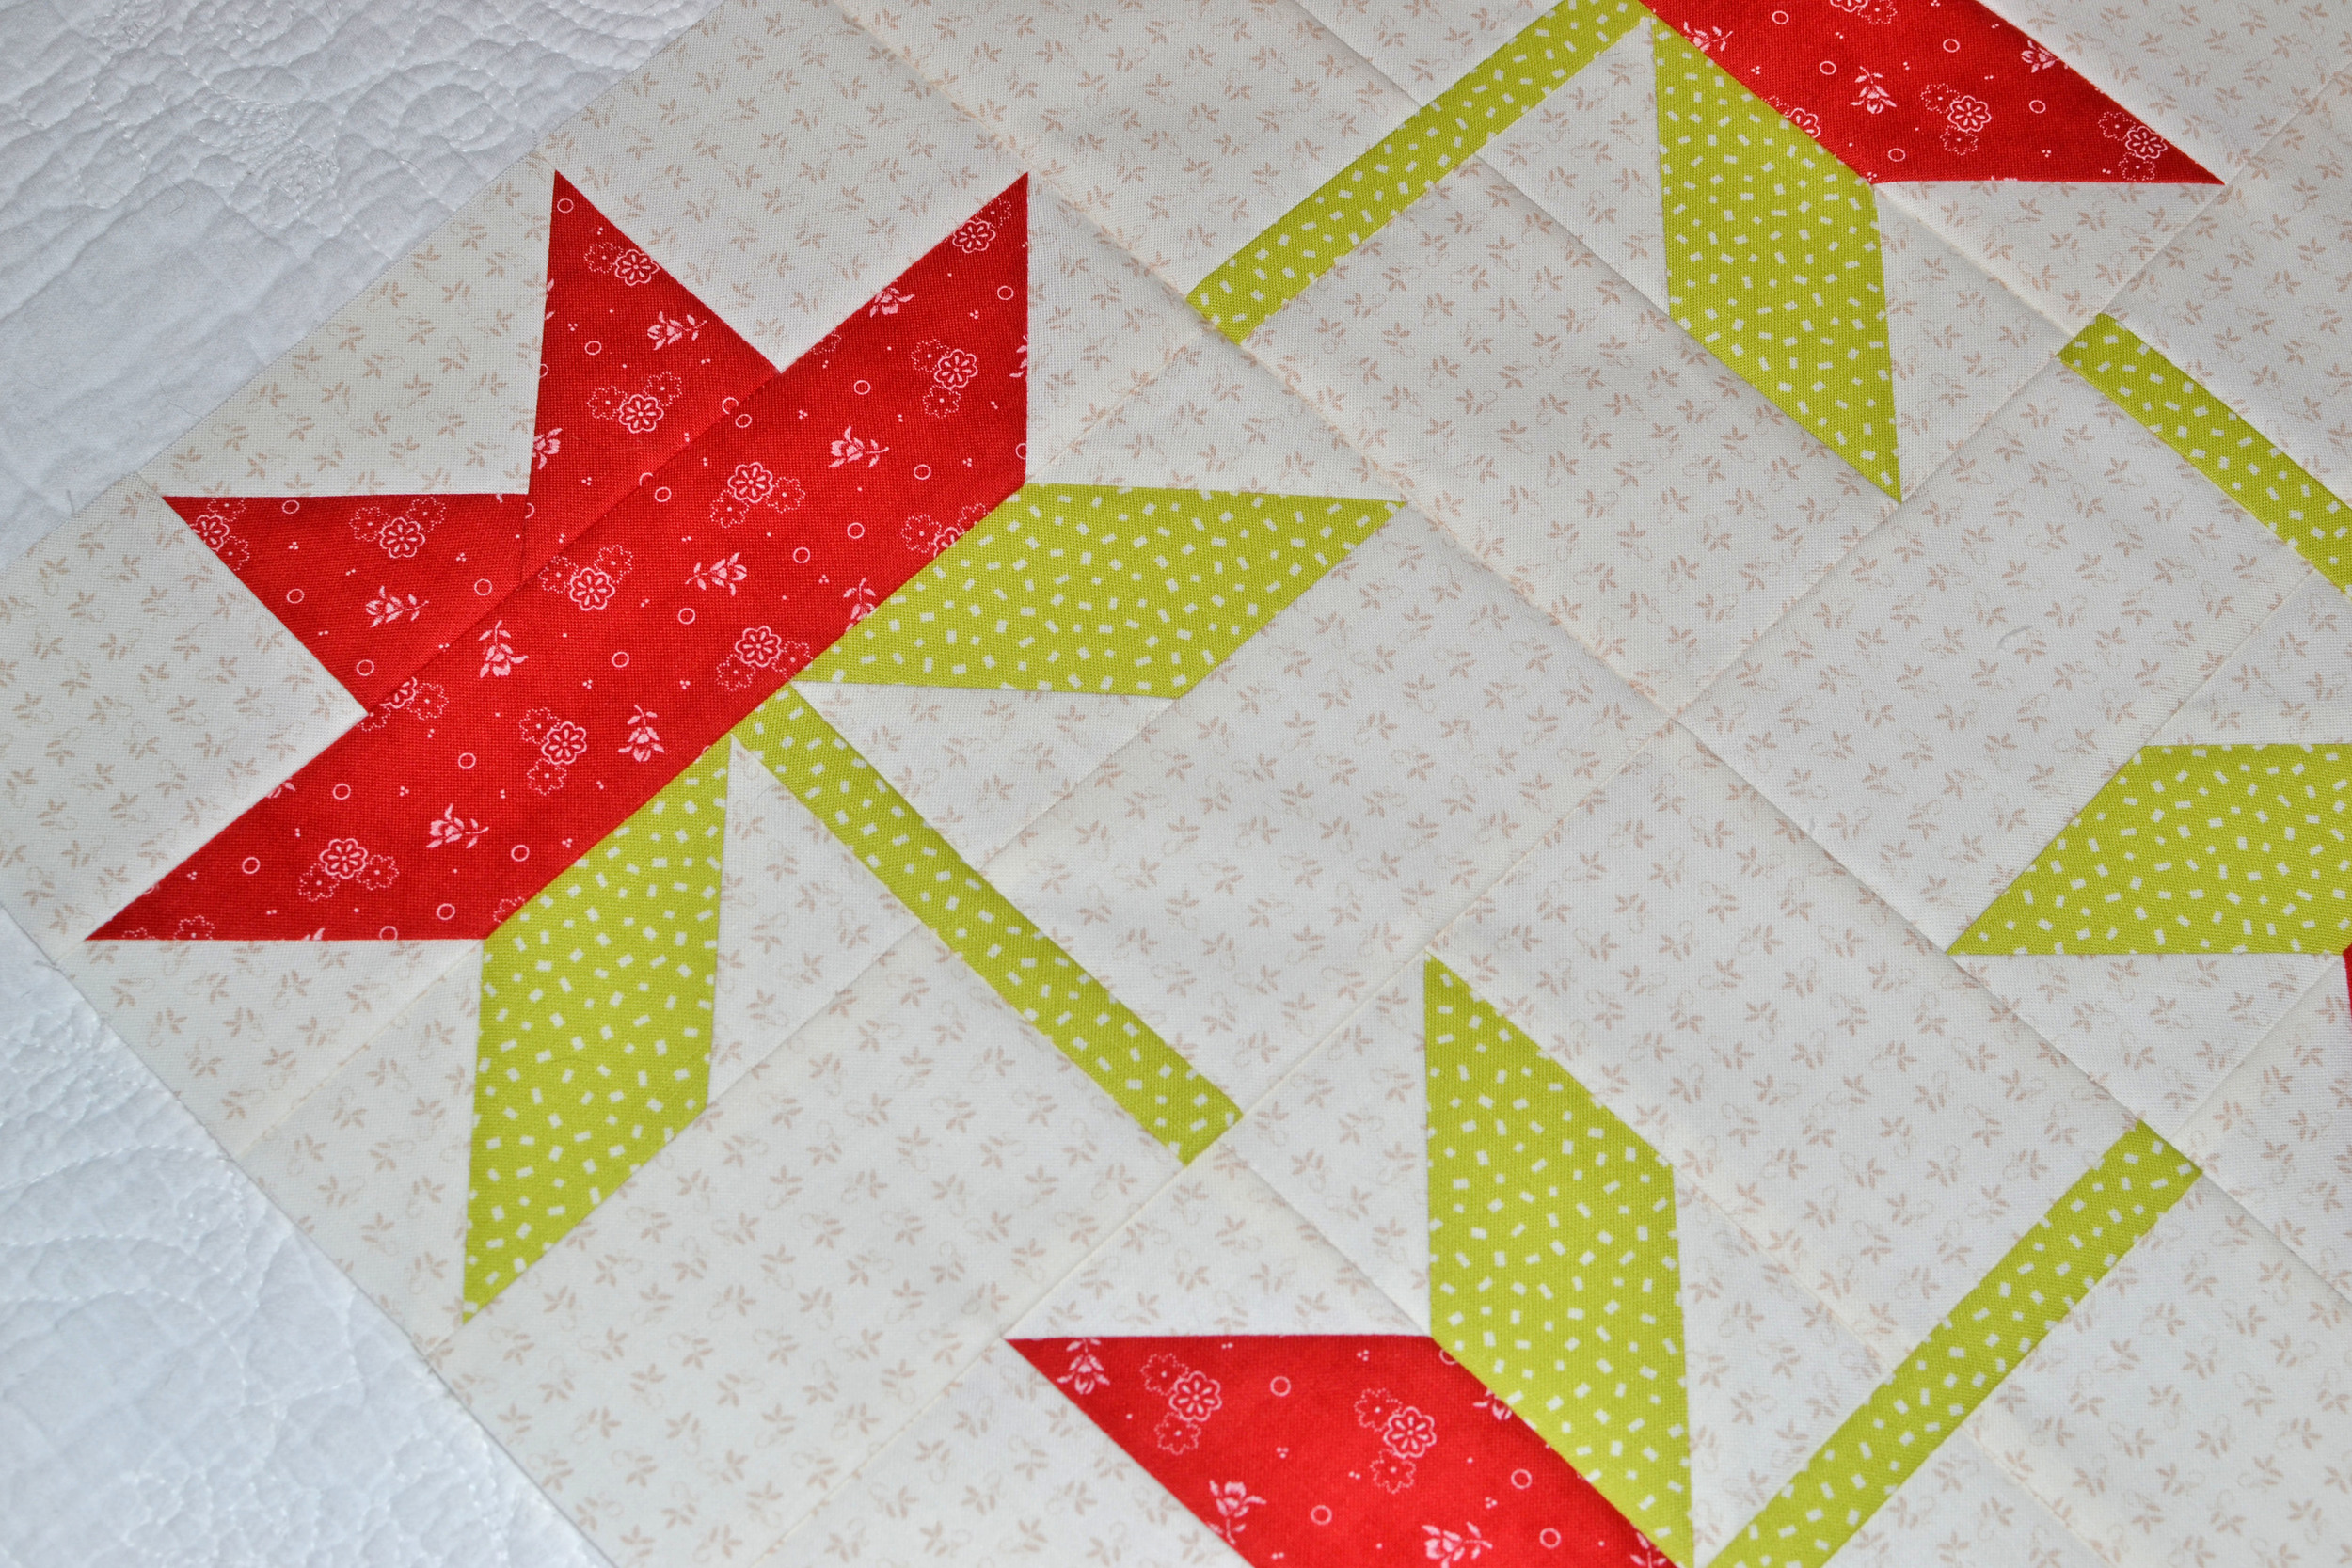
Block 4 Flying Geese Criss Cross

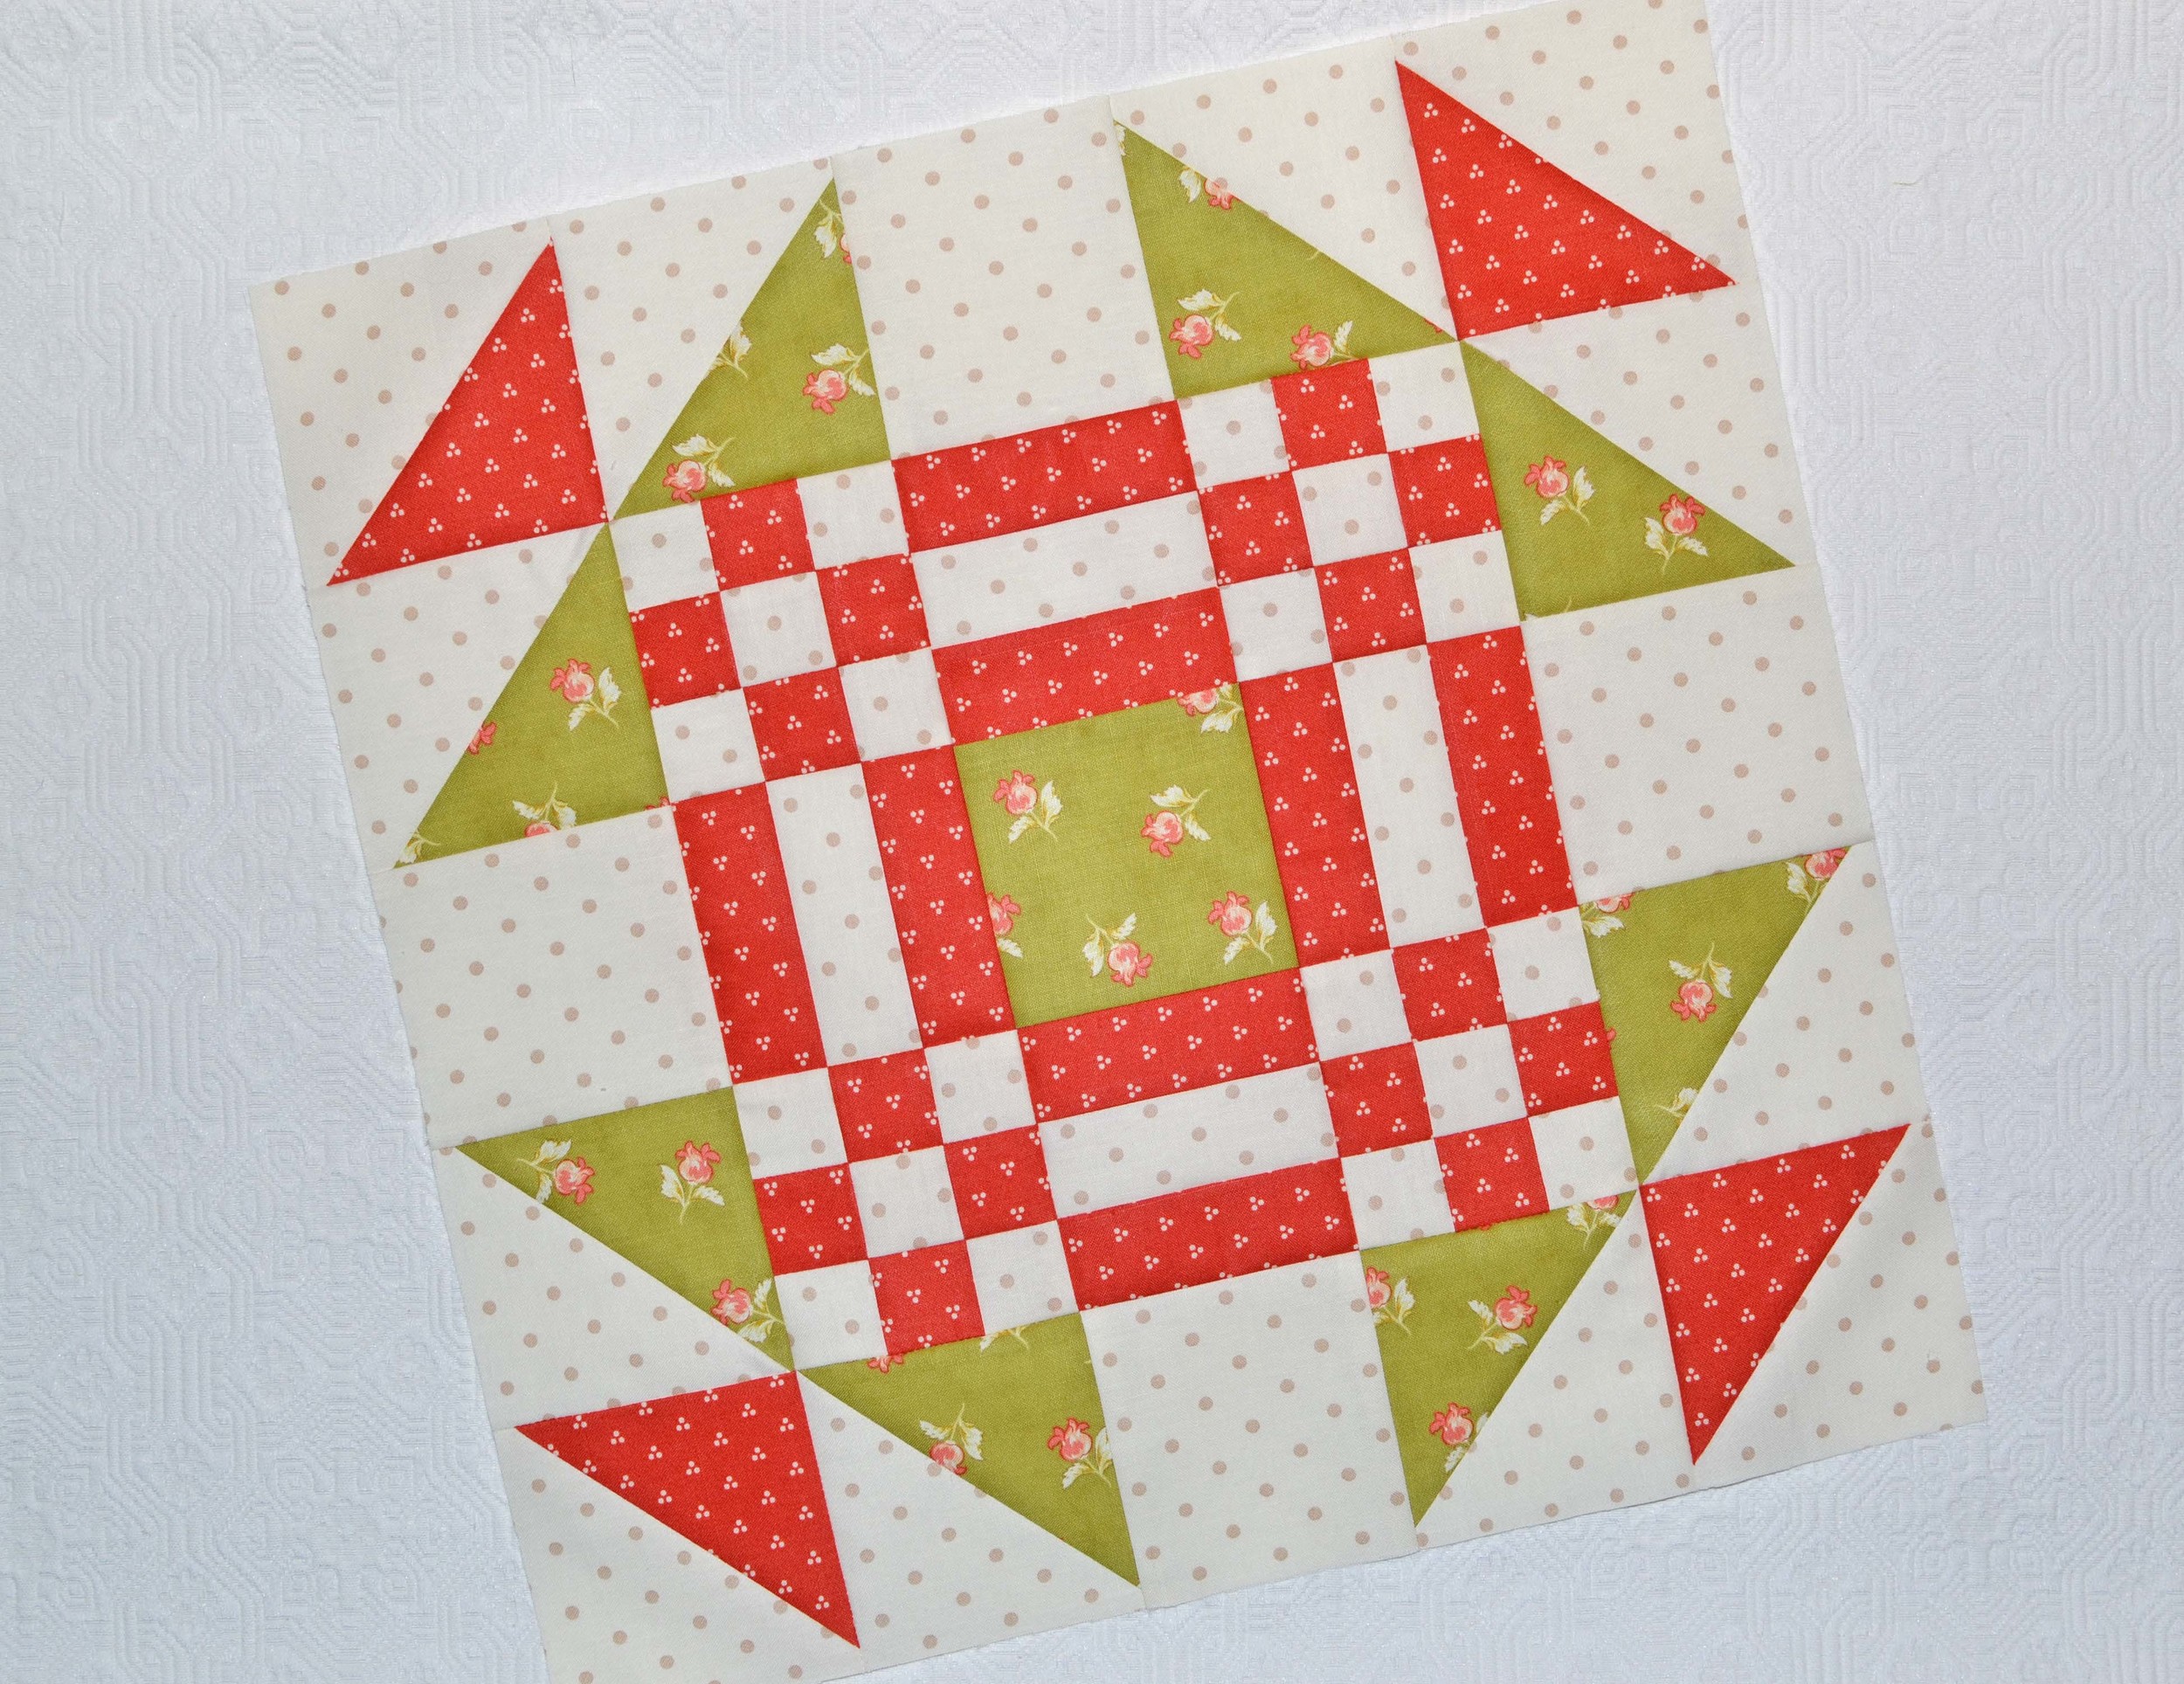
Block 5 Goose In The Pond
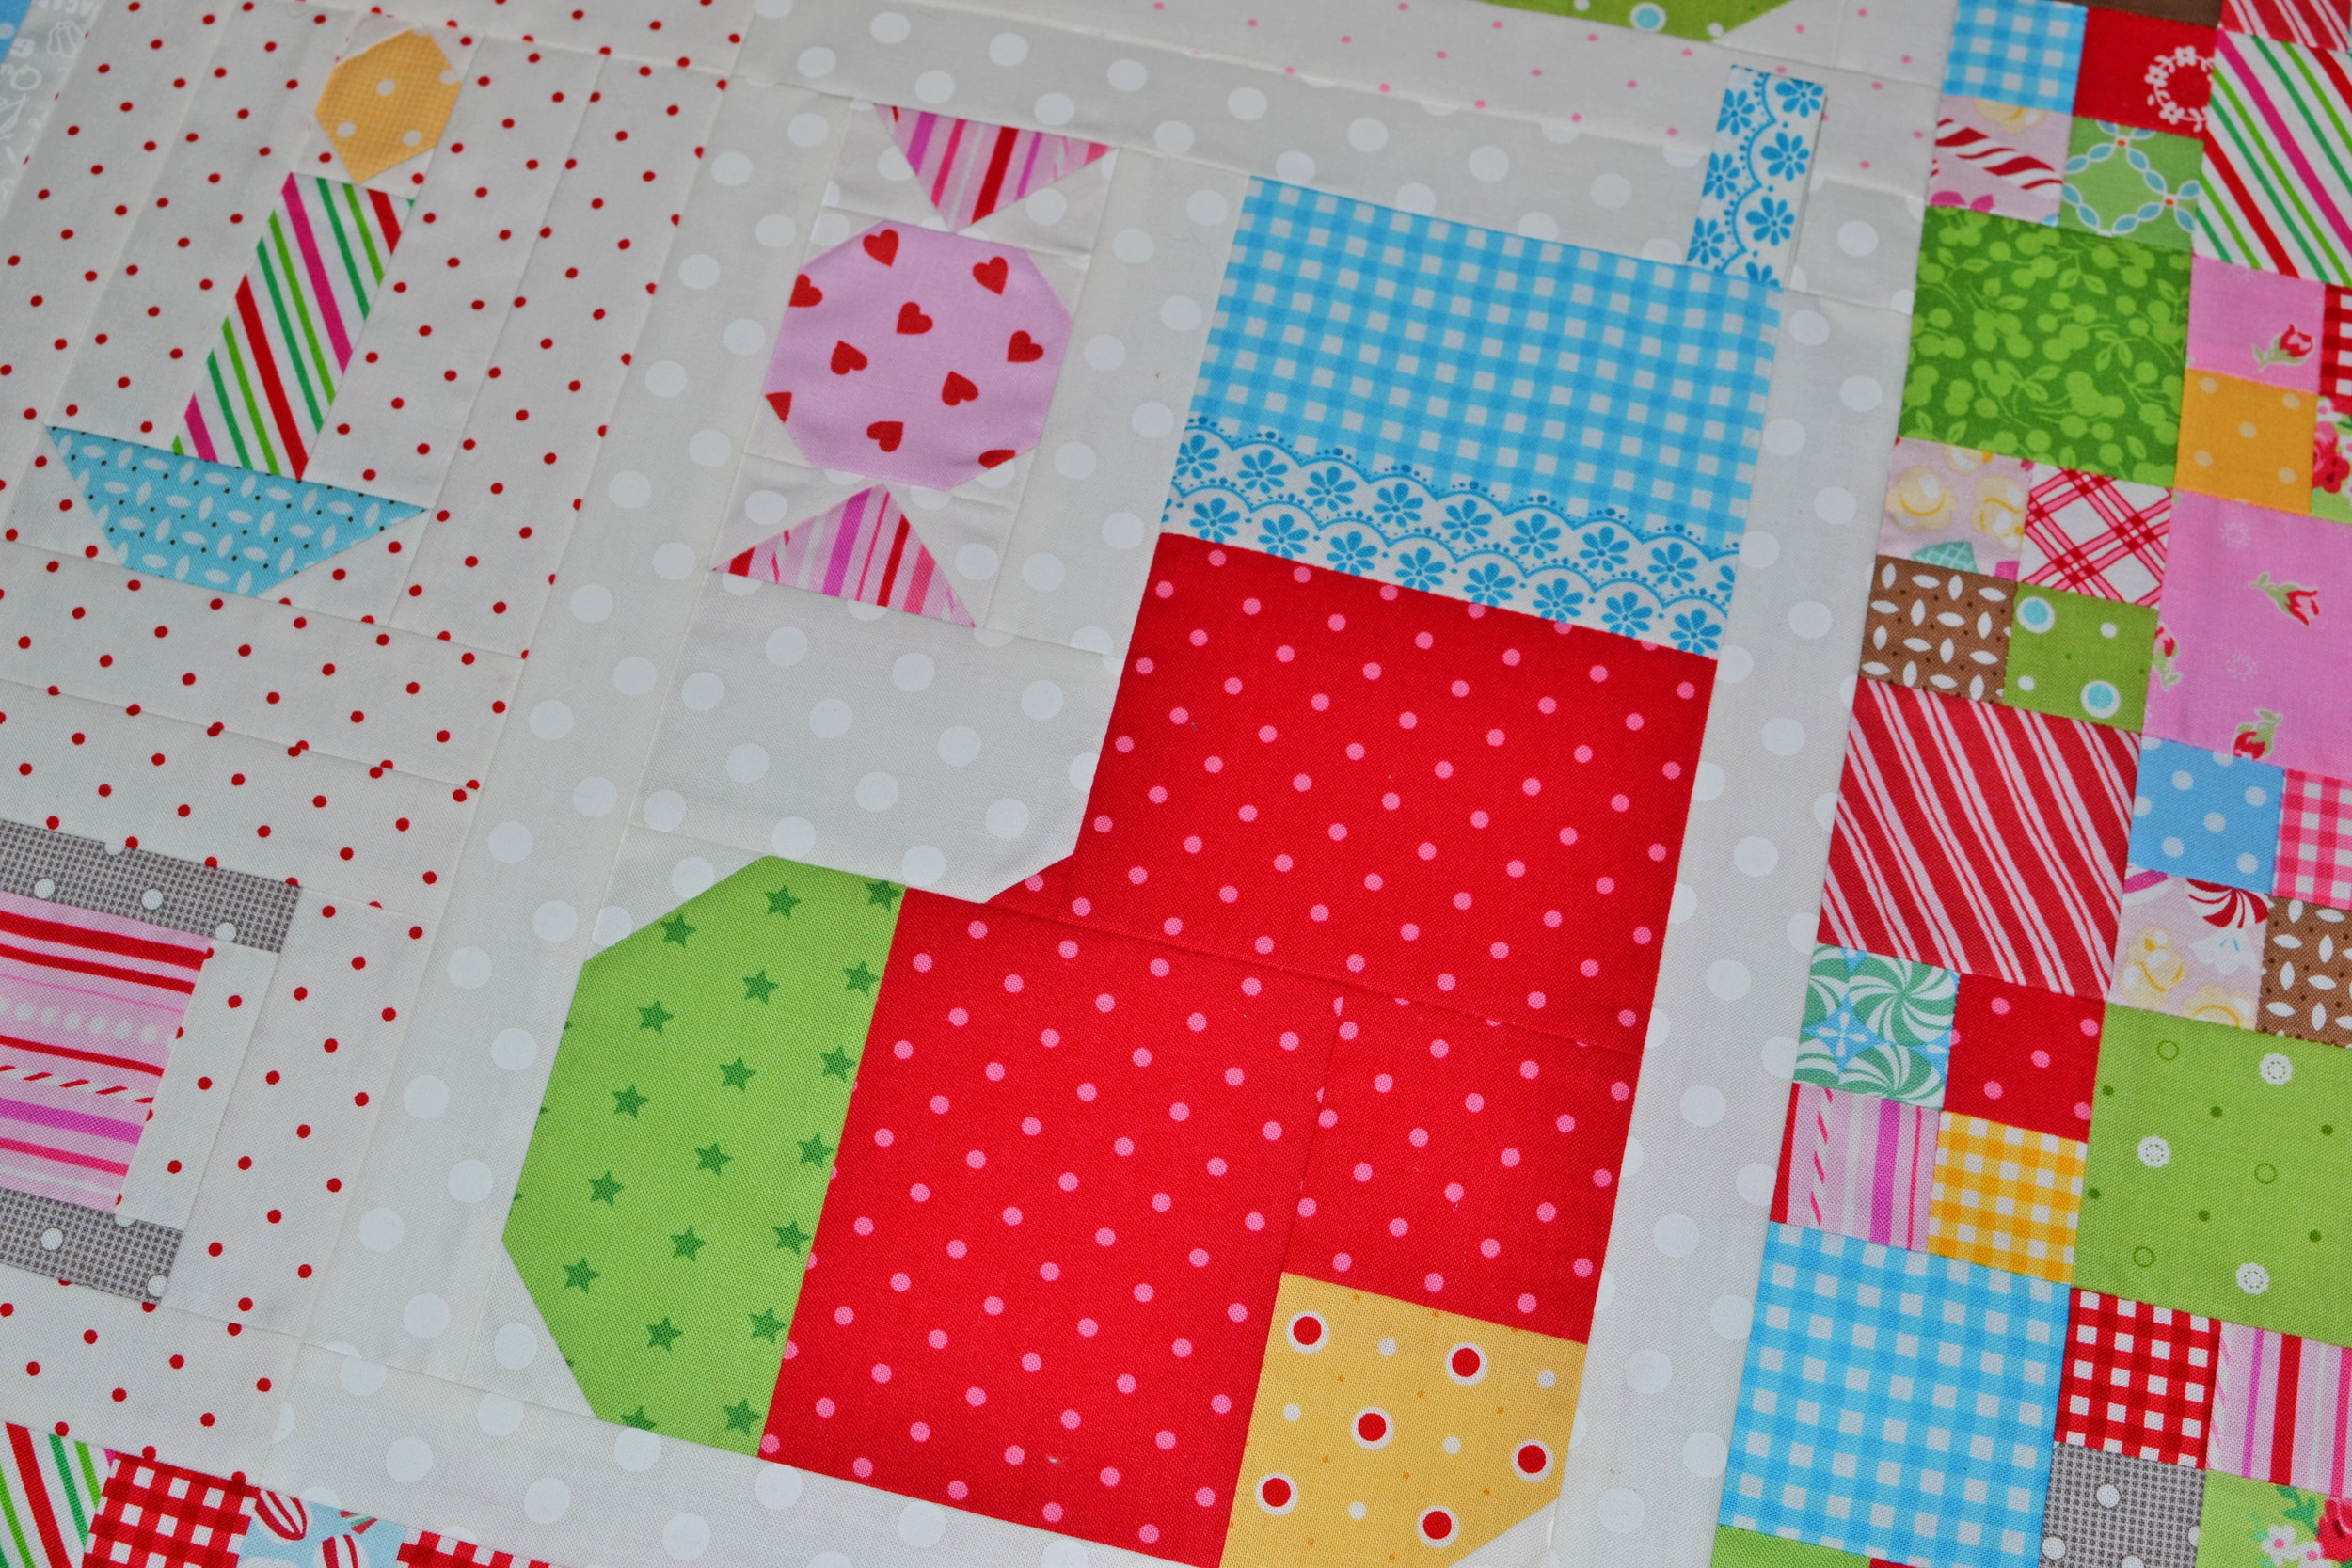
What makes this fun is that there's actually an assortment fabrics from different Moda designers. There are two Minick & Simpson red prints and two Bunny Hill cream prints in the Nine Patchwork block. They all play together very nicely. (I'm not sure what that green confetti print is. I think it could be Sweetwater.)

Block 6 Nine Patchwork

Now the first three month's blocks are done. I'd love to just work on this, but of course, there are other distractions - such as the FOUR other blocks-of-the-month that I'm working on! My goal is to do two blocks each month from now until October and then I can assemble the quilt.
Don't be like me. Don't hide your big, scary stars in a box. We learn to be better quilters when we practice. I gotta remind myself about that! Have a star-filled day!