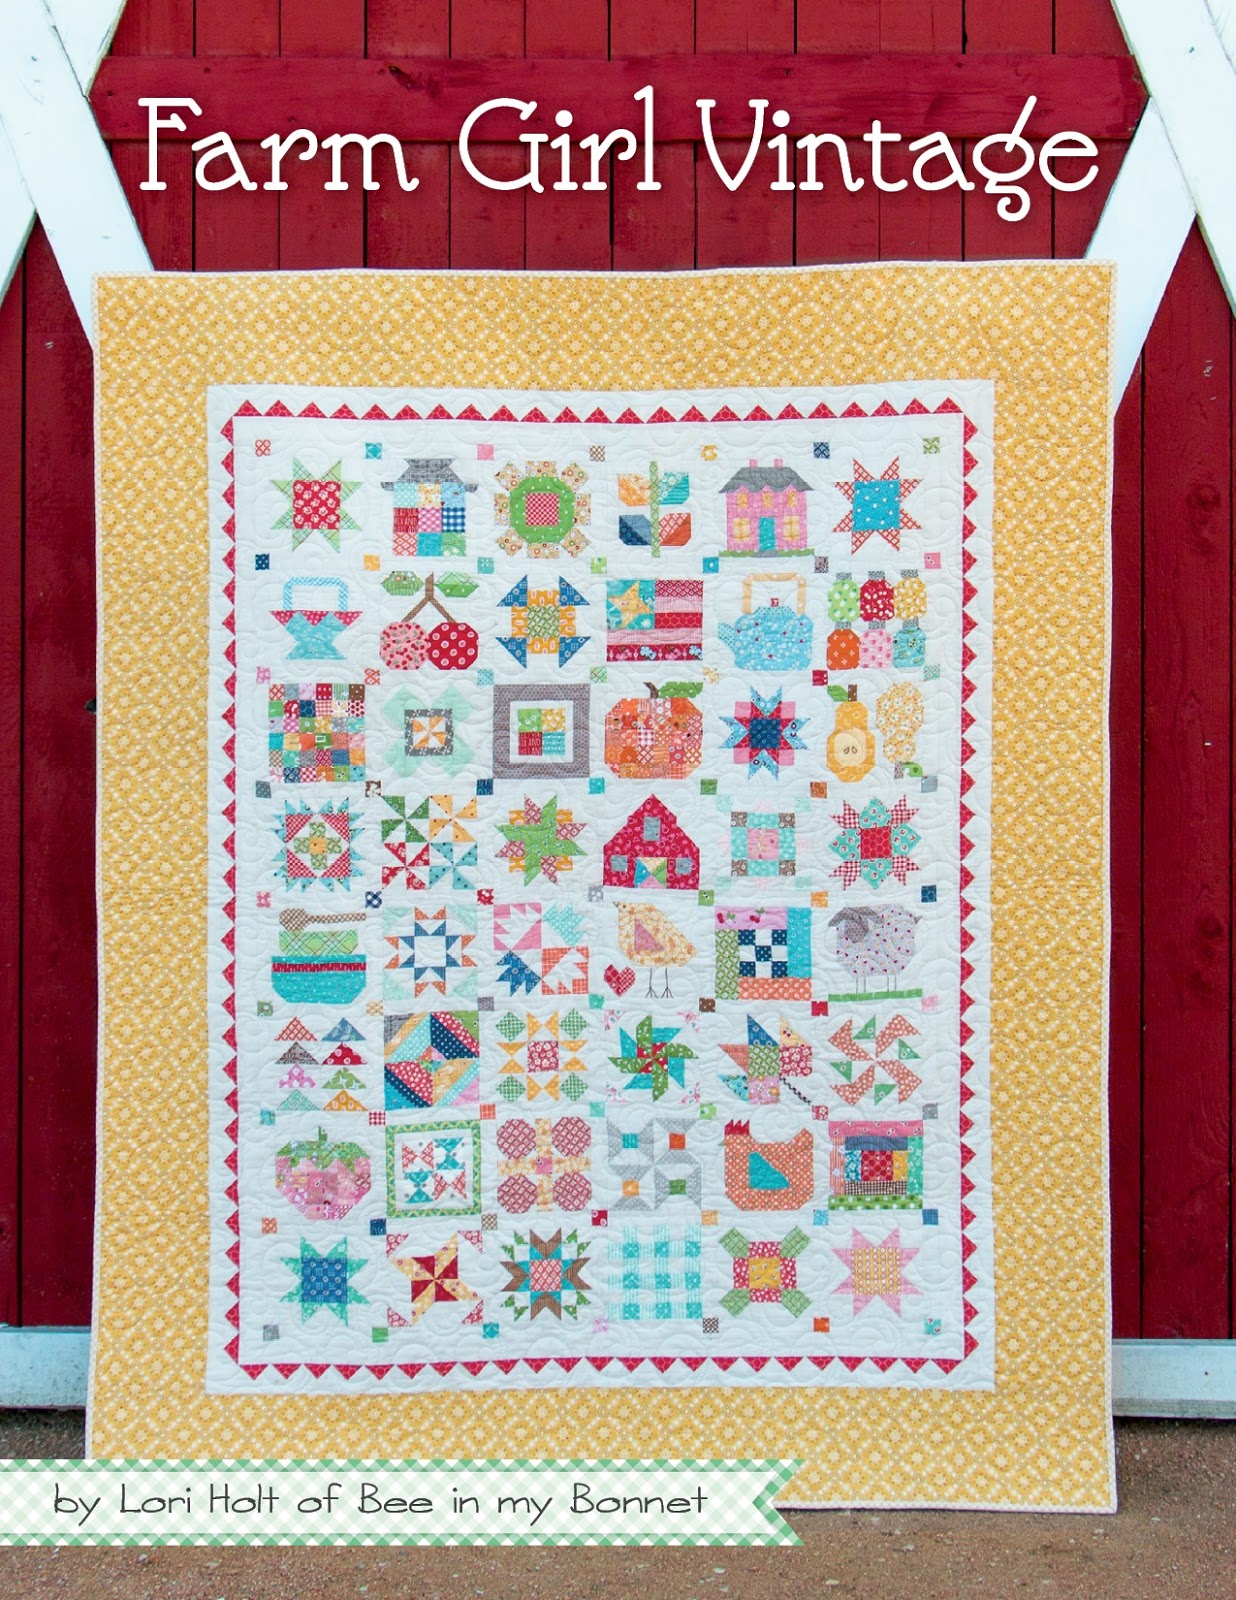
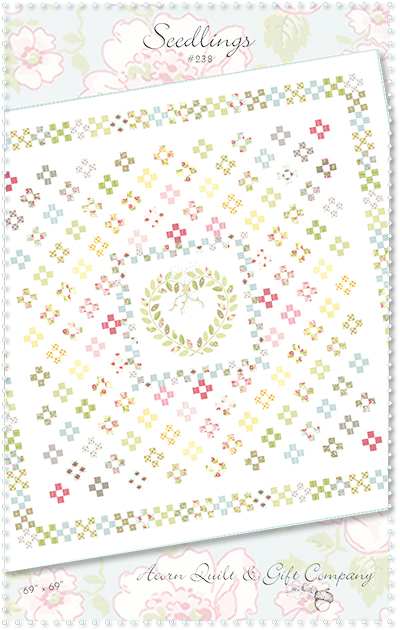
Seedlings

Do you sometimes wonder how we all keep starting MORE new quilts? For me it almost always begins with the fabric. So when the UPS man showed up one day a few weeks ago with a box of Brenda Riddle's upcoming Bespoke Blooms fabric collection for Moda Fabrics, well, I knew that a new quilt was just waiting to be made! 

And those are just a few of the prints. Aren't they pretty? Yes, I can see you nodding your heads. There are also some white-on-whites and some grey-browns. I think that Bespoke Blooms will be in stores later this spring. I even managed to untie the Moda ribbon and mix them in with my collection of Brenda's Ambleside fabrics. I love when collections can be mixed together. I like lots of prints and texture!

I needed a new pattern, and Brenda's website, Acorn Quilt and Gift Company has lots of beautiful vintage-inspired quilt patterns. I saw Seedlings on her home page. Sigh. I needed to make this now! (ps - Brenda is having a sale on her patterns now!)

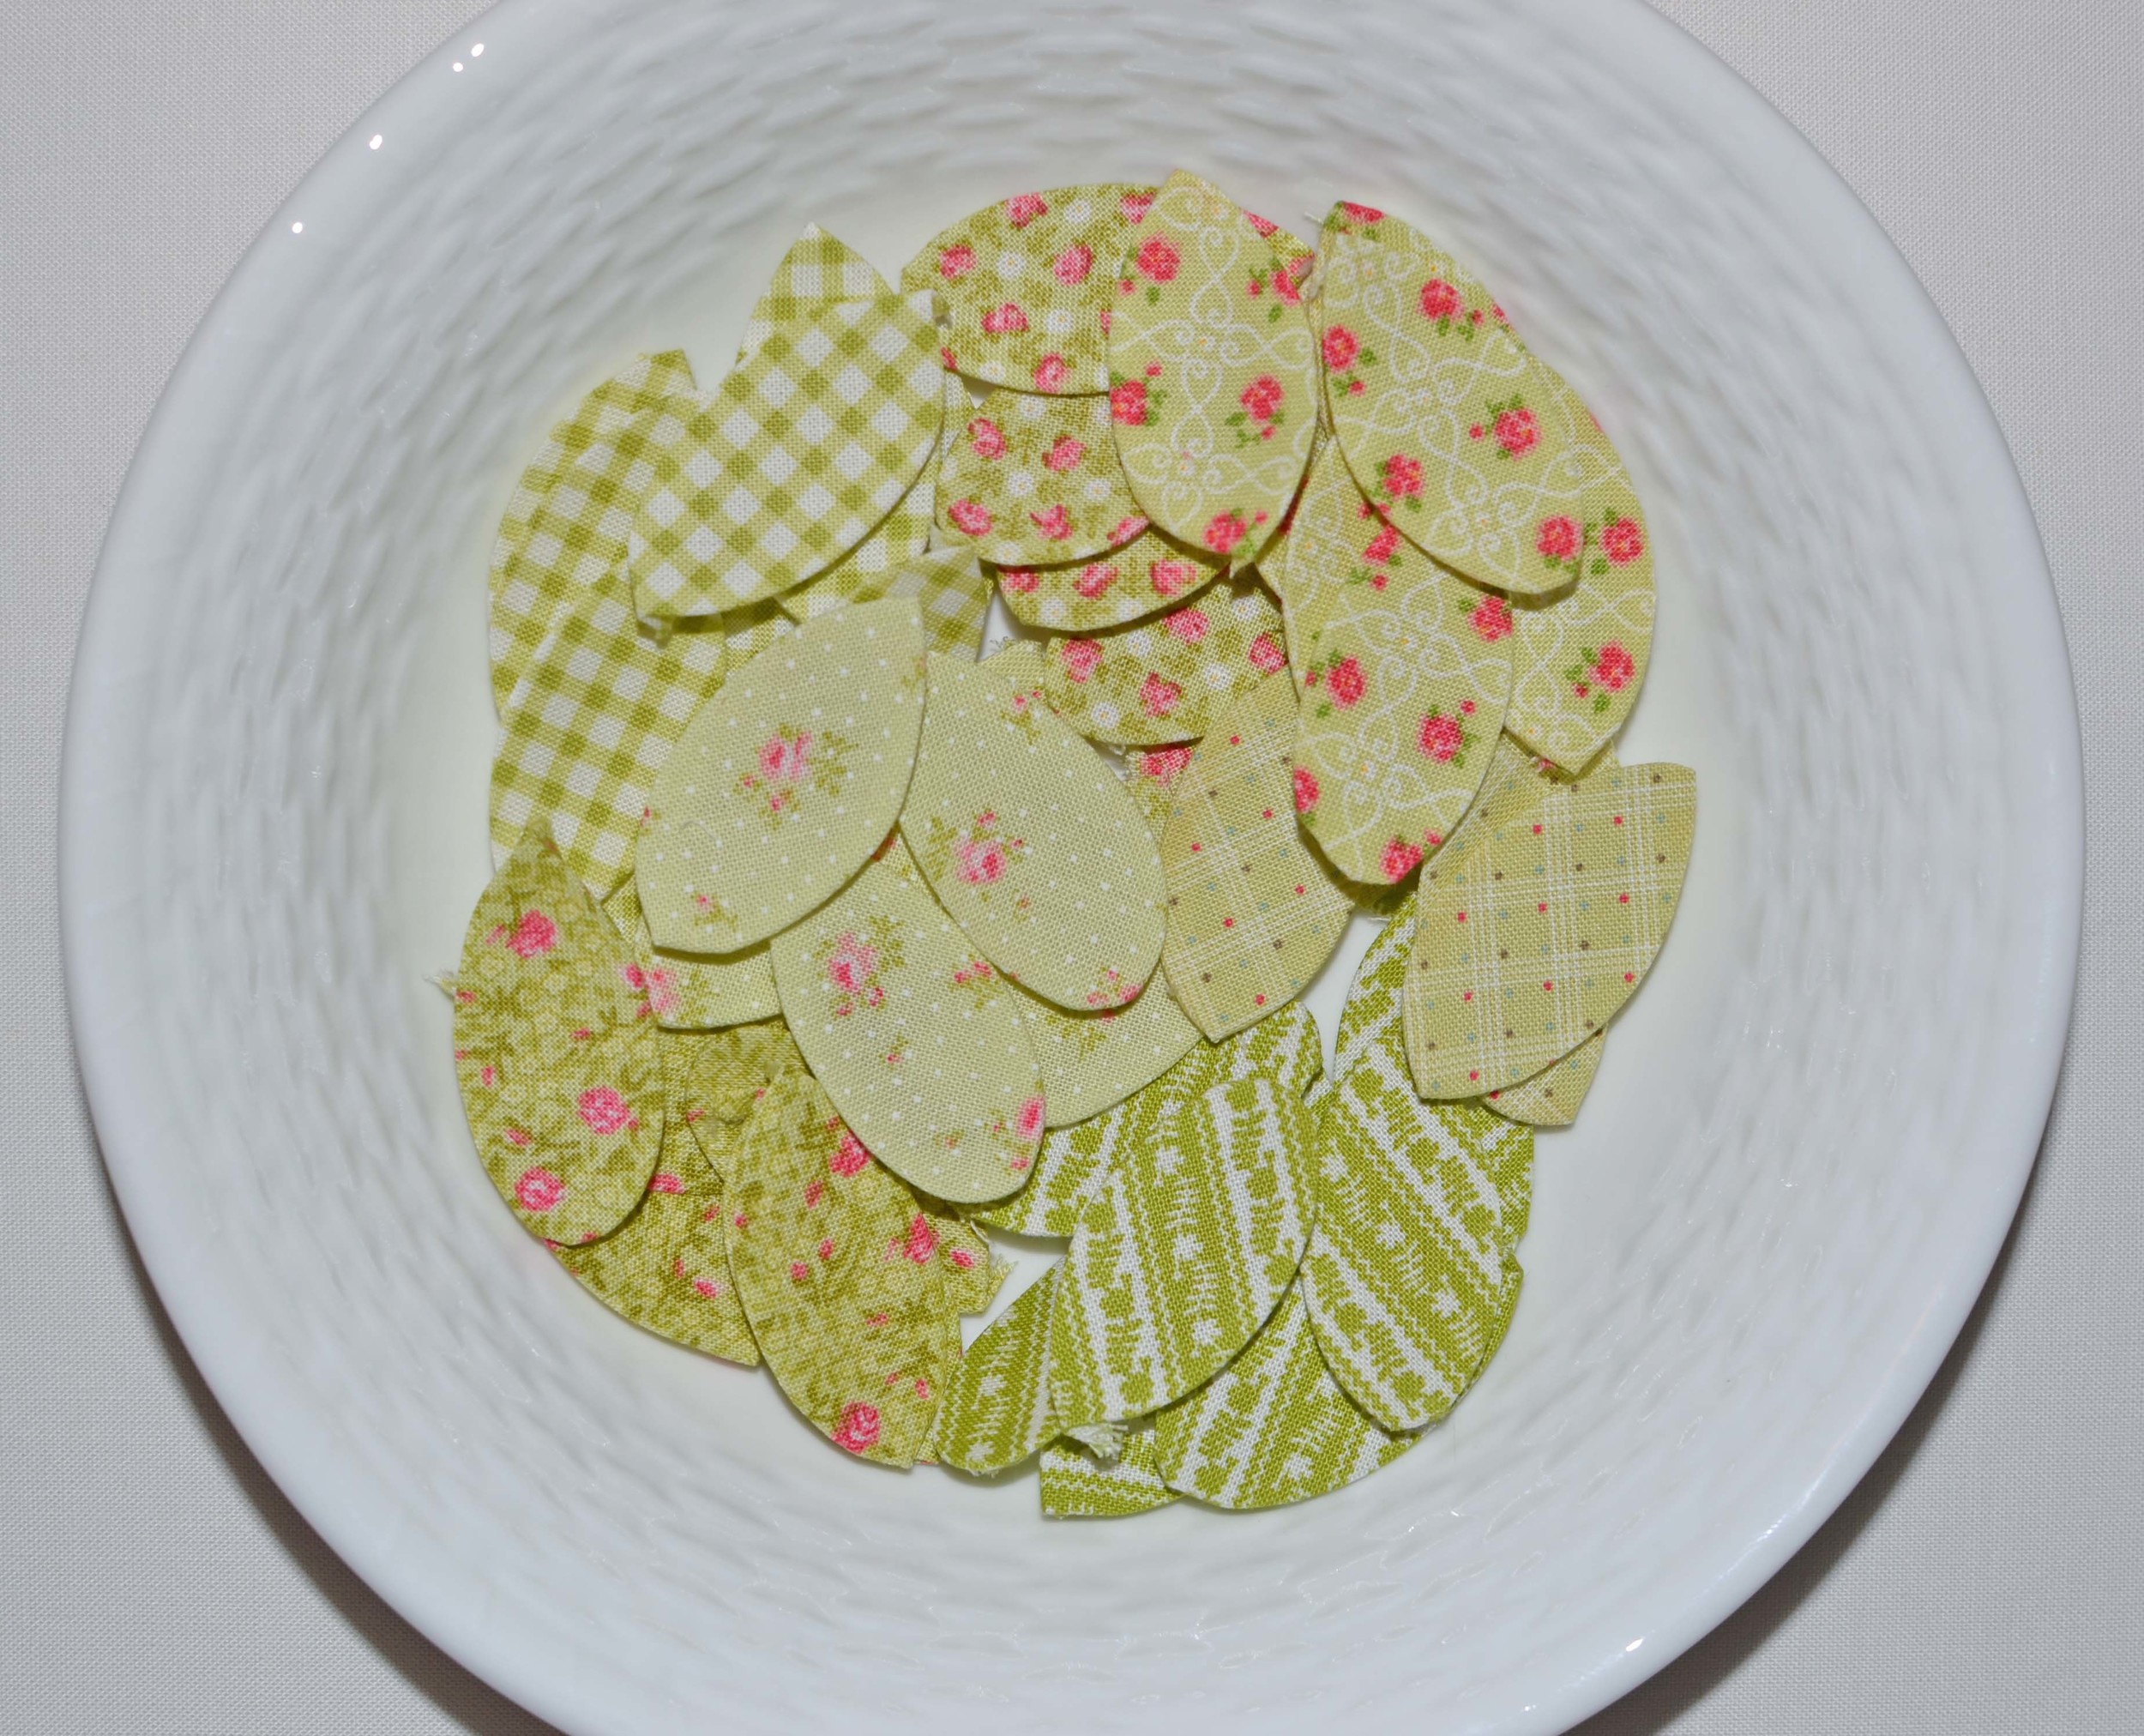
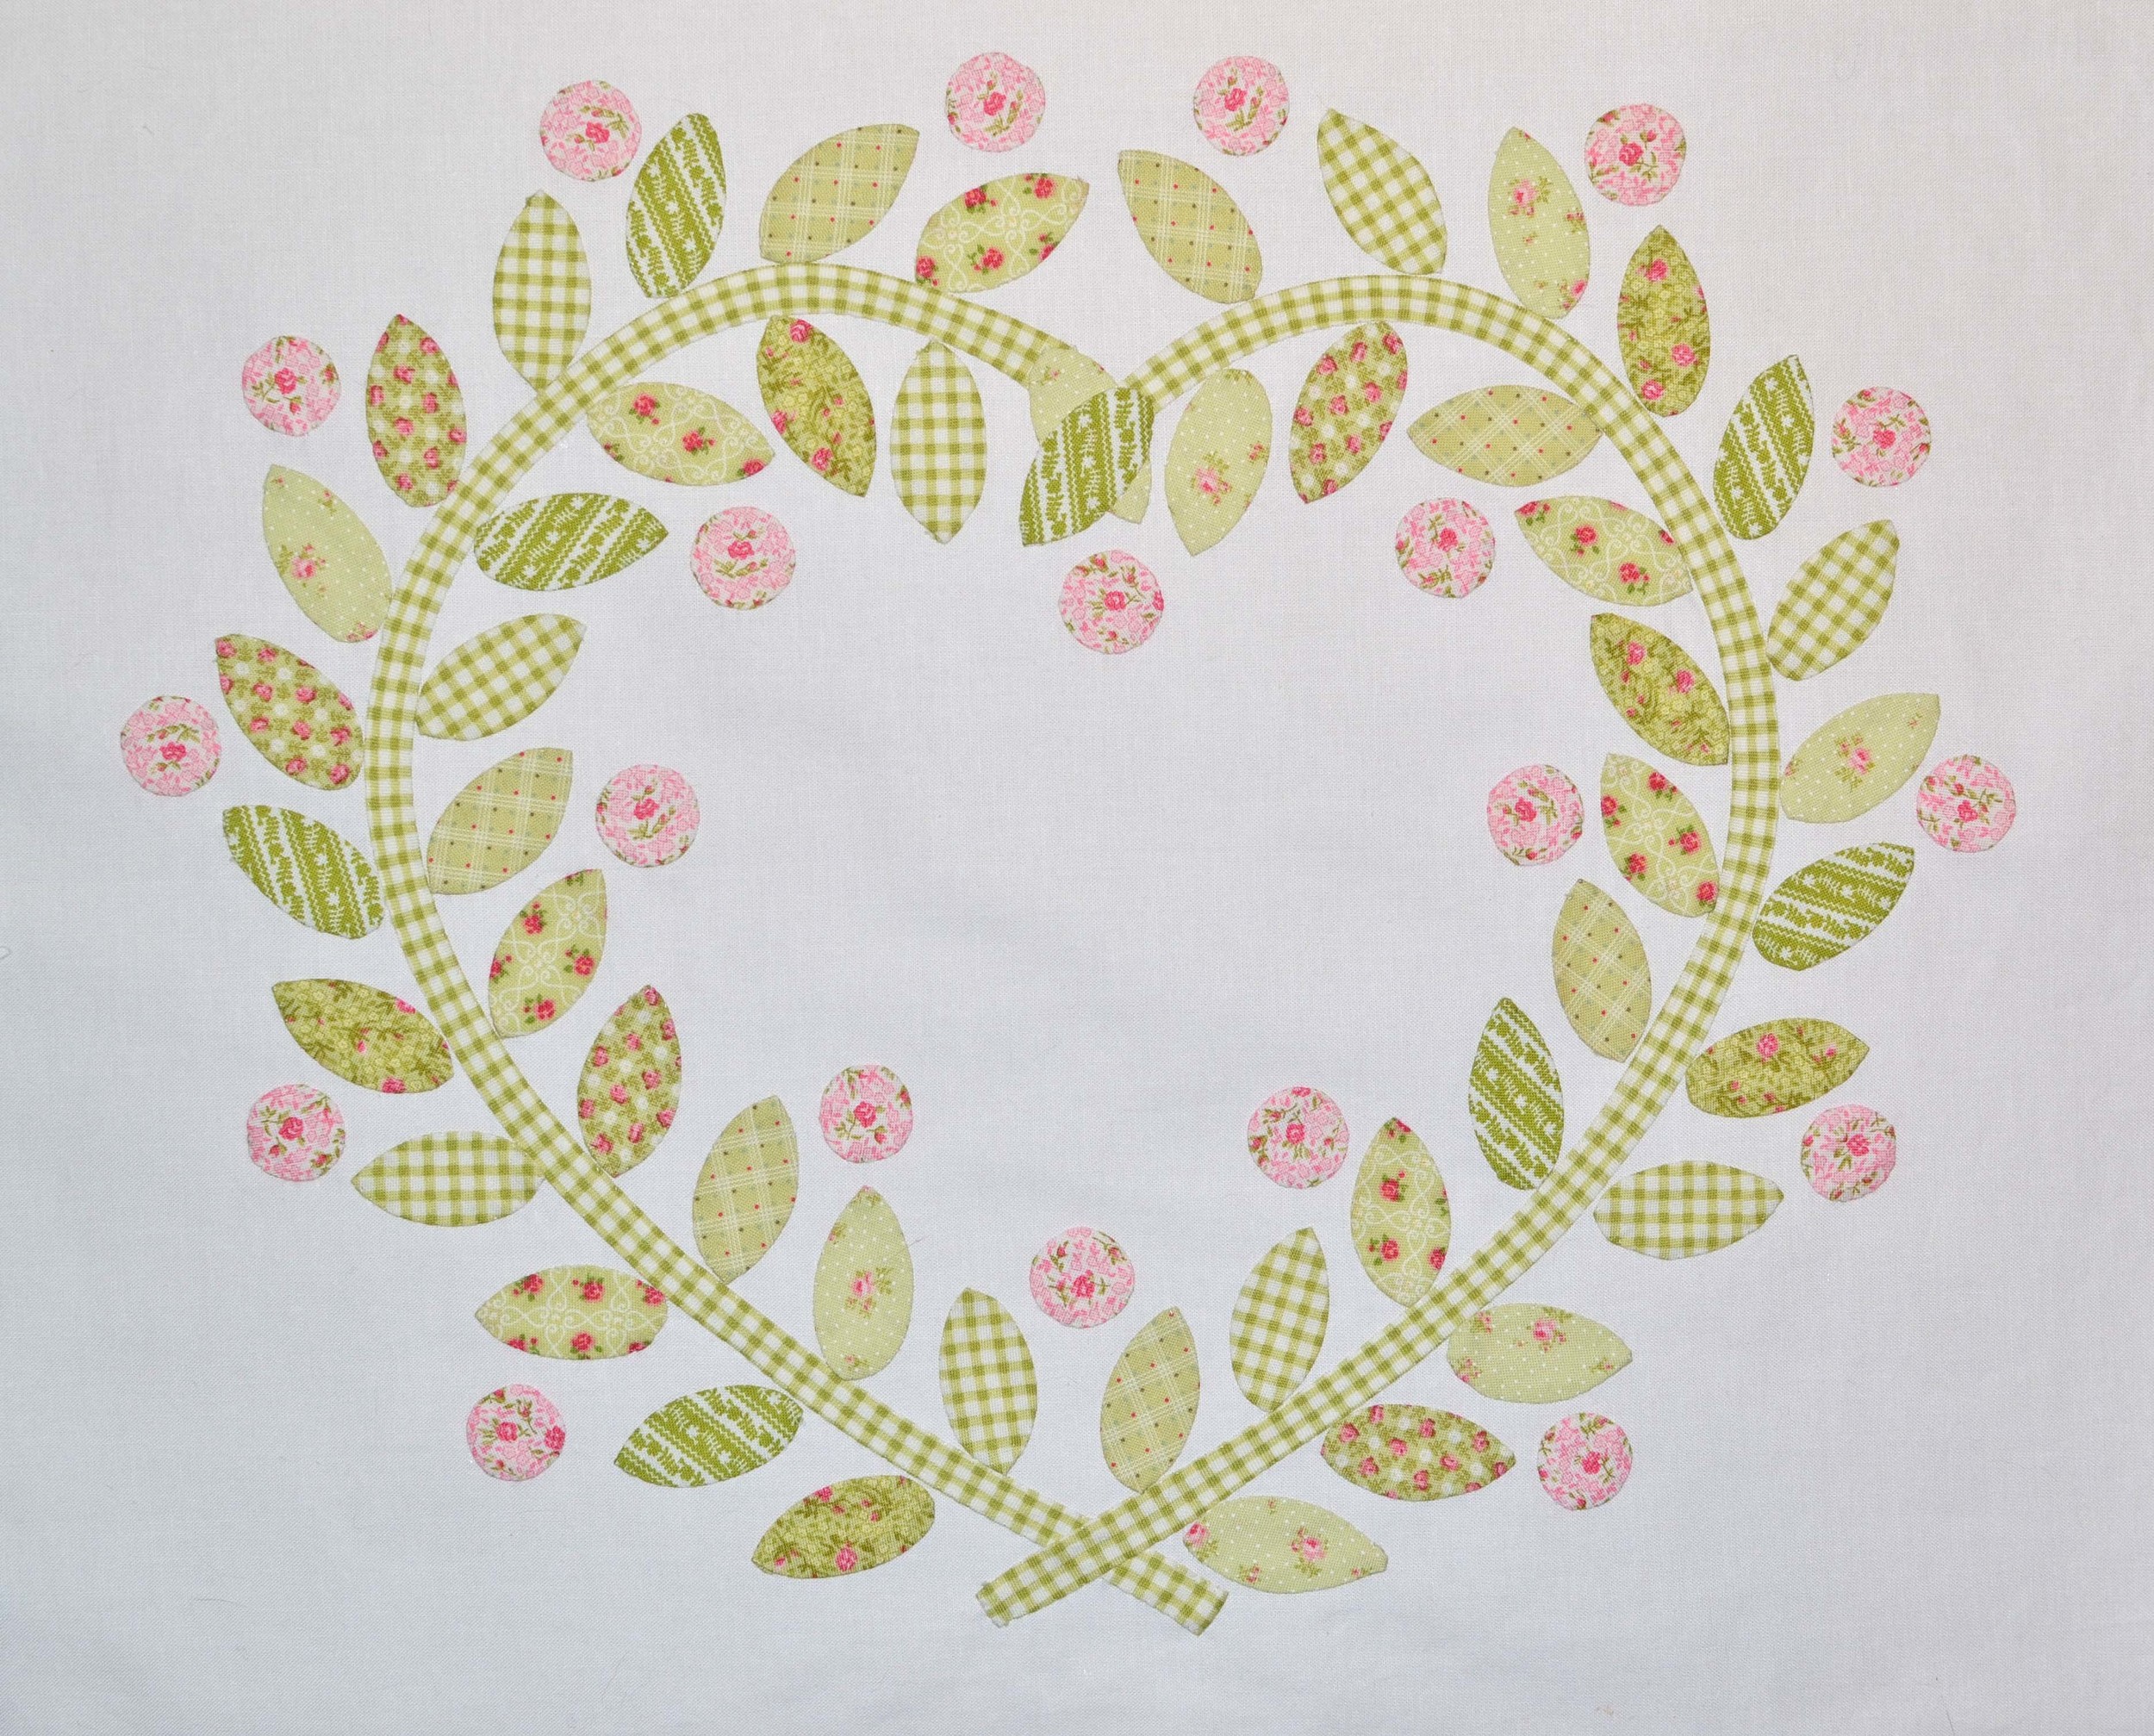
You all know about my phobia of applique. I think I need to stop saying that because I'm actually starting to enjoy applique! Brenda's pattern has fusible applique, but I really wanted mine to be hand stitched for a more heirloom look. I searched for tutorial videos on YouTube, and found two by Jill Finley that were amazingly helpful. I learned how to make bias stems here, and freezer paper leaves here. I just watched them a few times, then paused and replayed them while I made the stems and leaves. 

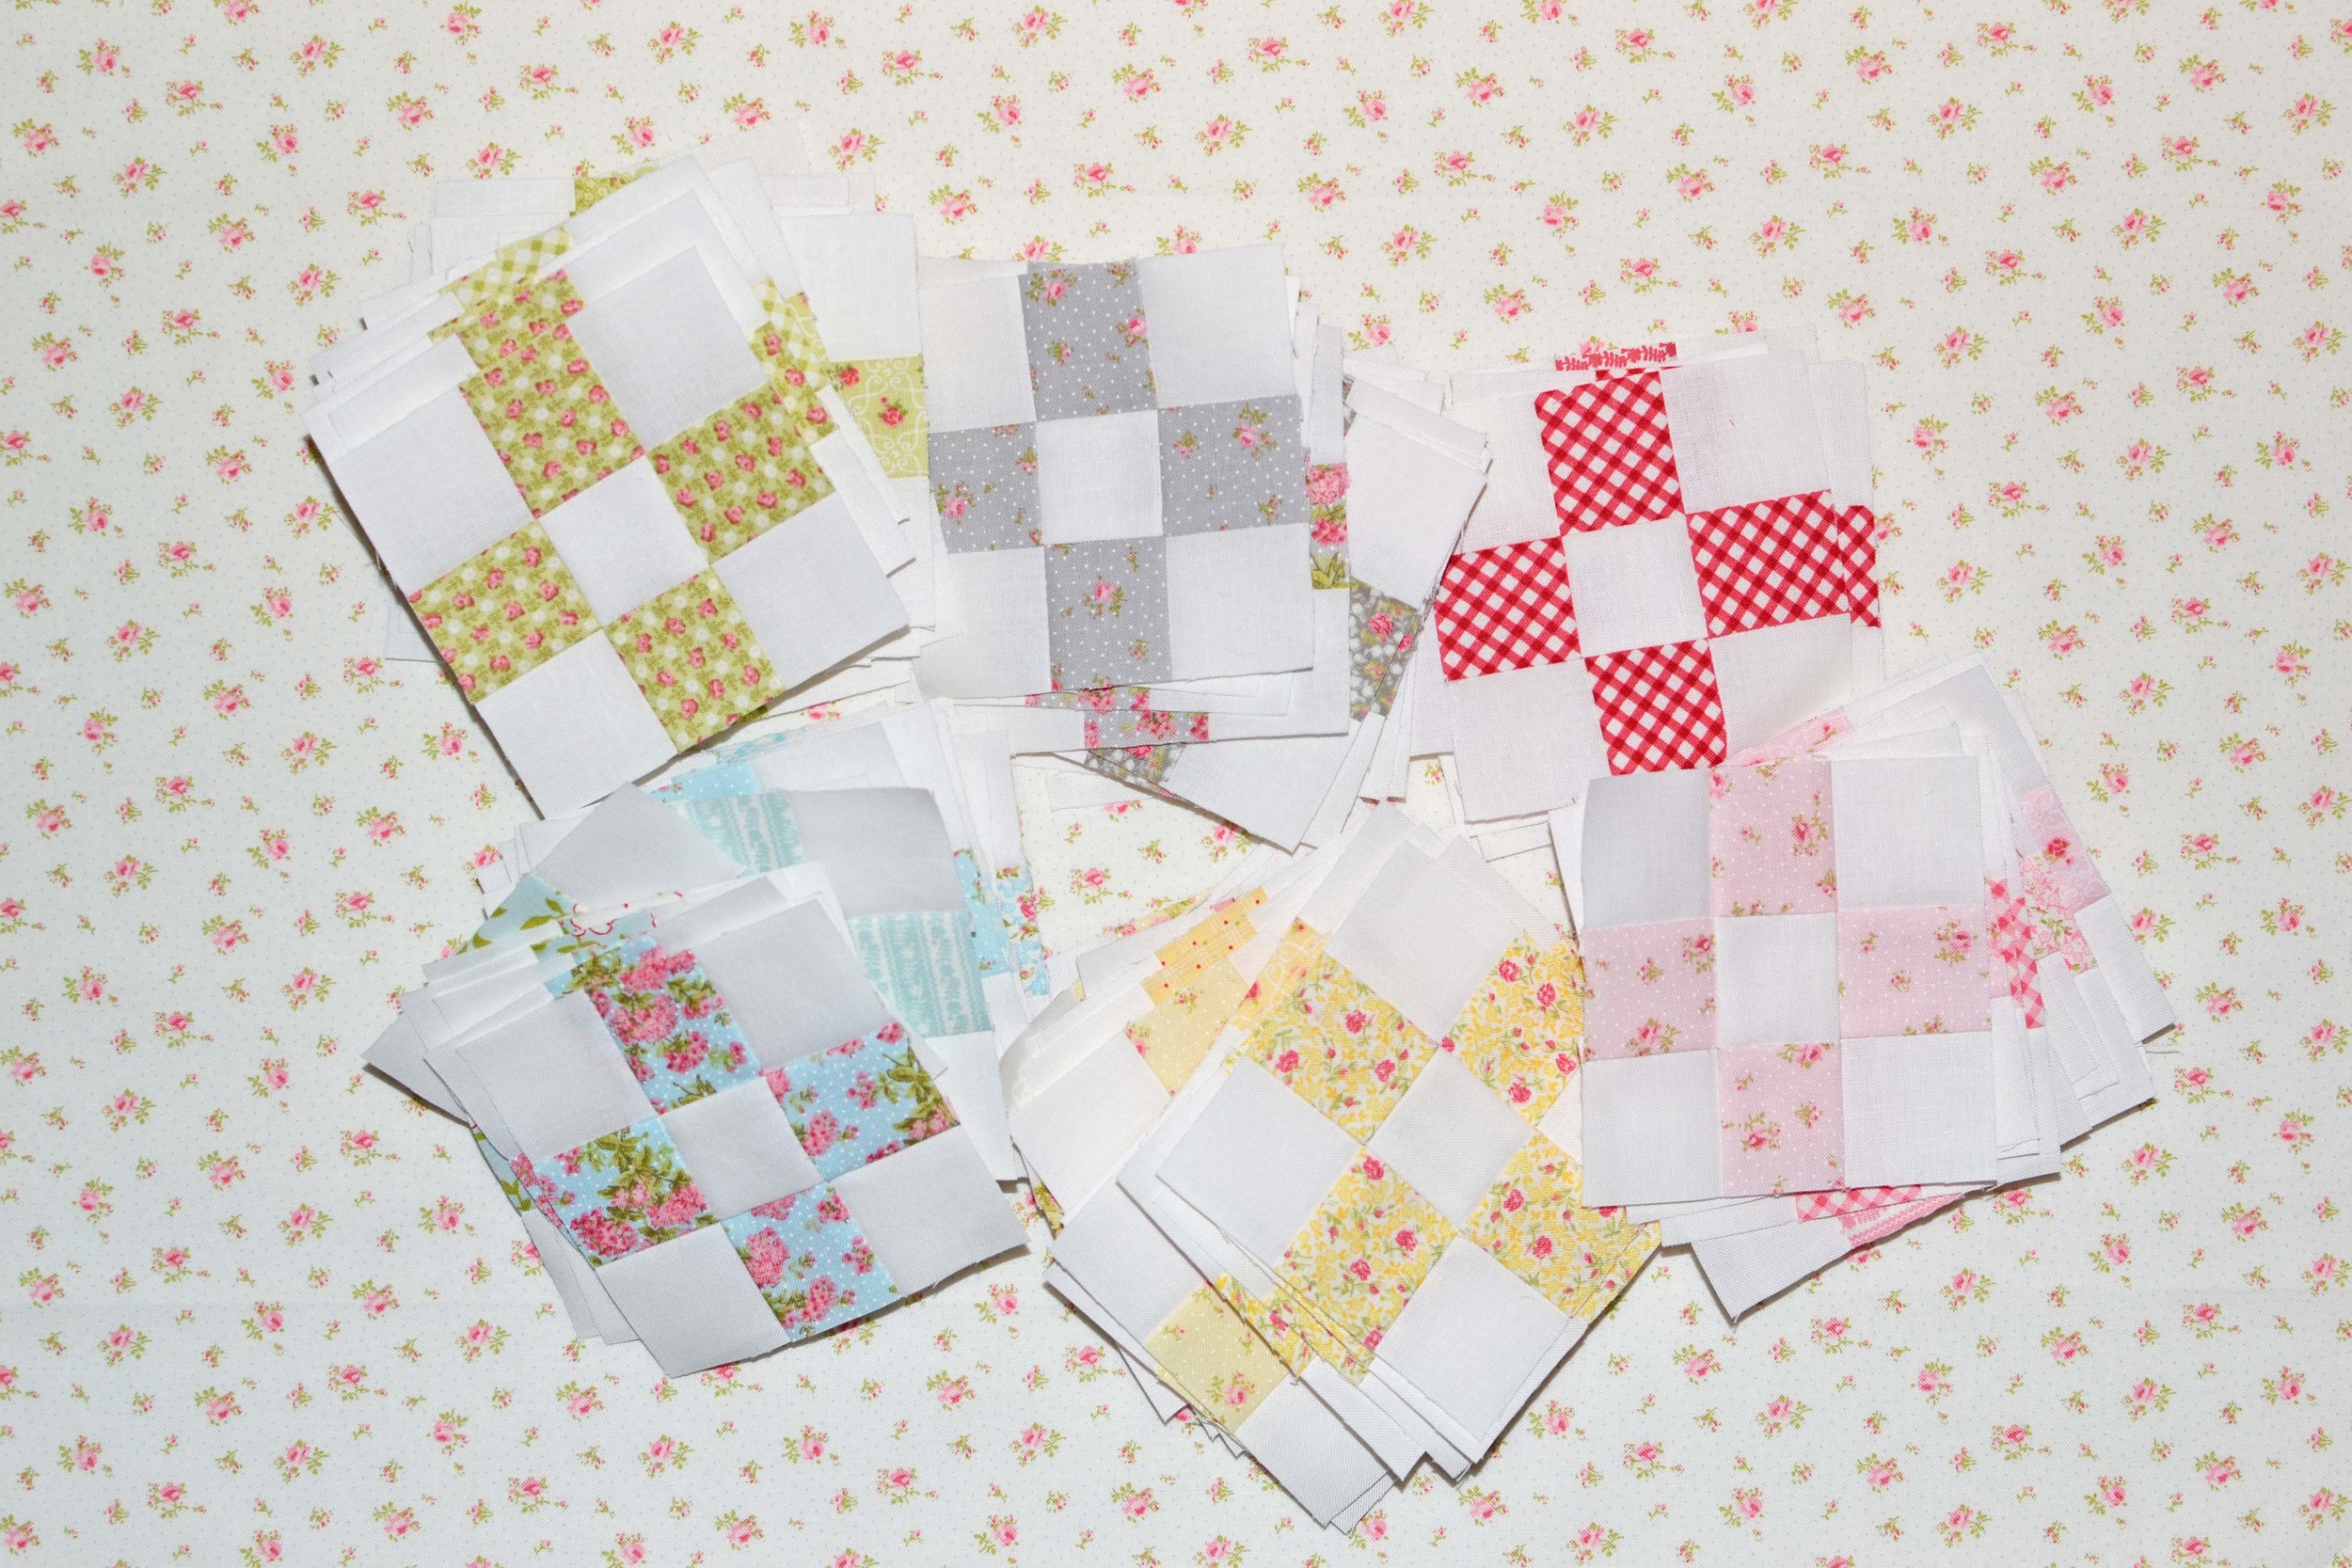
Then came 120 3 1/2" nine patch blocks. There is a peaceful feeling about making the same block over and over and over. I've never made a nine patch quilt!

Ok, it's applique time! Brenda accented her heart wreath with embroidery (and I watched videos about how to do that, too!) but I really wanted to make berries. I traced a dime on freezer paper and used that as my template, then just placed them by eye. (There was plenty of "is this enough berries" and "oh no is this too many berries?" going on here.)

Then came a blue checkerboard border around the appliqued heart. I really had a difficult time with this. All those little seams didn't add up the right length strip, and I spent an entire Sunday doing that one little border. Rip, rip, rip went the seam ripper! (I don't think I got to have my cheeseburger at DQ until 4pm that day!) Adding the nine patches was quick and easy.

I love the way this looks so far. Now it's time to make the 80 nine patches (gulp) for the outer border. Brenda's pattern shows them in alternating blue and green blocks. I'm thinking of doing them in blue and grey. Or blue and pink. But not blue and yellow. And maybe blue and green. Hummm let me go think about this one. Let me know if you have any ideas!

farm girl friday - farmhouse

I'm so happy to be your cowboy tour guide for Farm Girl Friday, week 8! Or as I prefer to think of it, it's Farm Boy Friday!

We are using the Farm Girl Vintage book by Lori Holt for the sew along. And today we are building a farmhouse block!

The farmhouse is my favorite block in the Farm Girl Vintage book. I've always loved house blocks. They have that classic, vintage look, and they can be playful or sophisticated depending on your fabric selection. I've blended Ambleside by Brenda Riddle with Aloha Girl by Fig Tree & Co, both by Moda Fabrics.

First, turn to page 27, then cut and sew, preferably with country farm girl music. I was super happy when I finished the 6" block for my sampler quilt, and I didn't want the fun to end. So I made another block, this time 12" and using Mistletoe Lane by Bunny Hill.

Humm, I think it looks bare. How about if we add a topiary tree?

But why stop there? Let's make another farmhouse and another topiary!

I LOVE them! The two large houses are the beginning of the Farmhouse Lane quilt. The pattern is in the book on page 128. You'll need nine of the 12" houses, six trees and sixteen 6" blocks.  I think it will be the perfect Christmas quilt full of gingerbread houses, ice skates (never mind that I don't skate, even though I stalk the Rockefeller Center ice skating rink every Christmas) and little Christmas trees. But wouldn't it also be a spooky fun quilt in Halloween colors? Or summery with red, white and blue?

I really wanted to make a striped roof. It took me a few minutes to figure how to get the stripes all oriented in the same direction. So now let's talk about how to use stripes on your roof.

The roof is made in four sections. You will need two half square triangles (HSTs) for the left and right portions of the roof. Lori's pattern shows you how to use my very favorite method for making HSTs. But when you make your HSTs using the method shown, the result will be one HST with vertical stripes and one HST with horizontal stripes. You'll need to make a second set using the exact same method, and this will give you a second HST with vertical stripes. (You'll have two leftover HSTs with horizontal stripes, but I KNOW that you can find a creative use for them!)

Thanks for joining me today! I hope that you share your farmhouse blocks on Instagram. Be sure to use the hashtags #farmgirlvintage, #farmgirlfridays and #farmhouseblock when you post your blocks. And you can see all the fun projects that I'm working on, too. I'm @greydogwoodstudio.

Now hop on over to Lori Holt's blog to see her Farm Girl Vintage blocks, and check out the other guest bloggers, too. The full schedule is on the Jolly Jabber blog here.

Until next time, happy farming!

farm girl friday - raising chickens

It's time for Farm Girl Friday! Or for me, Farm Boy Friday. Farm Girl Vintage is the latest book by Lori Holt, and whole bunch of us chickens are sewing along with Lori. This week, I had a big challenge raising my baby chick block. I have a fear of embroidery! Oddly, when I was a kid I remember embroidering mushrooms on burlap. (It was the mid 1970's, so that makes it ok, right?) And when I started to quilt in 1999, I made Christmas stockings of flannel, embroidered with feather stitches, flowers and cross hatching. But then I was traumatized by a redwork project, and I couldn't get my stem stitch to look stem-ish. And, seriously, how does anybody really thread three plies of floss through a tiny needle?!

I knew that I needed to make the baby chick block because my grandfather built a chicken coop in the backyard of his city house. He raised Rhode Island Reds and Leghorns. Of course, my mother vividly remembers her favorite pet rooster, Whitey, who pecked her and then became confined to the barnyard. Now I know why I was afraid of the chickens and I stayed far away! I watched this short video about how to do a backstitch, did a practice piece and then finally stitched the chicken legs. I think he's pretty cute!

The Autumn Star block was fun to make (whew, no embroidery!) and I really love the contrast between the brighter Aloha Girl prints mixed with the more subdued Ambleside.  

The first three blocks make me so happy. This is exactly the look I wanted. Now maybe I'll cheat a little and get started on the blocks for next Friday!

Want to learn more about the sew along? You can join us! More details are on Lori Holt's blog and the Jolly Jabber blog, and be sure to use the hashtags #farmgirlfridays, #babychickblock and #autumnstarblock on social media so that everybody can see your blocks.

Â