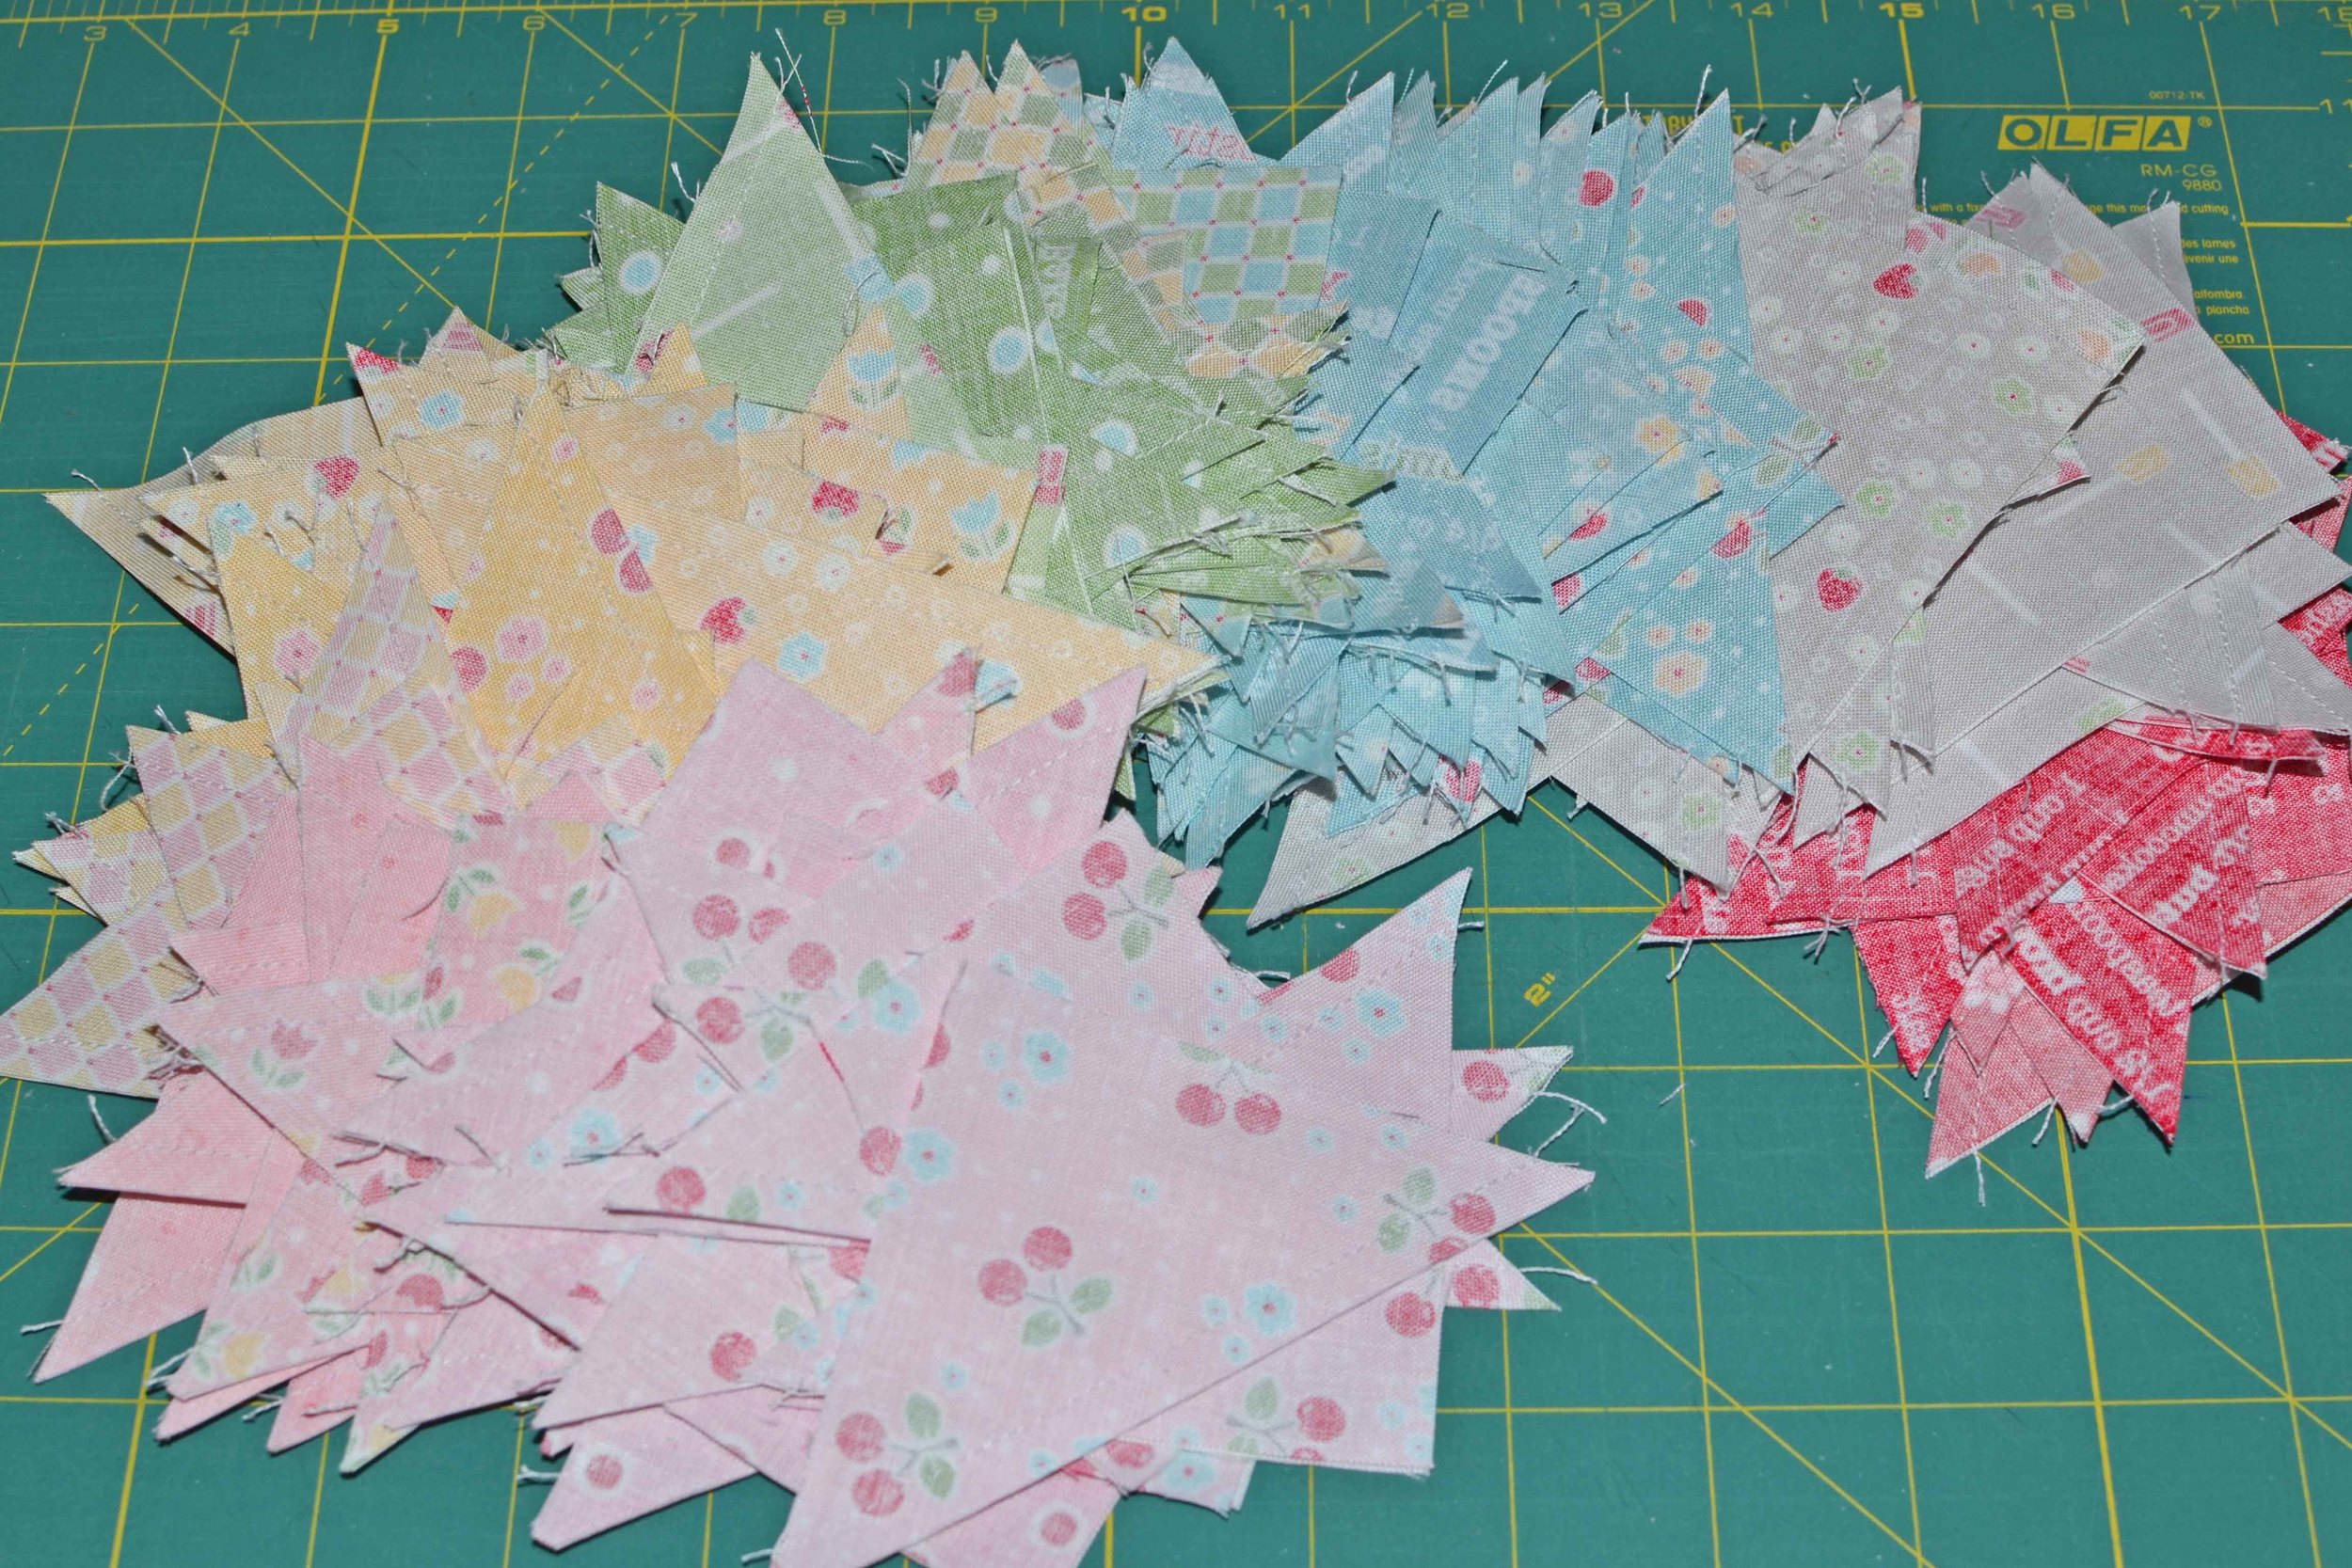
a great granny squared finish!

It's done! The mini Great Granny Squared quilt is finished!

Wow, didn't I just start this a few weeks ago? I made Lori Holt's quilt pattern at half size, and my finished quilt top measures 20x26. It is the perfect size for a standard bed pillow sham!   

I managed to follow all of my own "rules" - I used a colored background instead of white (It's Kona Bluebell), I integrated some white prints that I don't usually use, and I avoided darks. It seemed to take forever to choose a border print. And now I definitely want to make more quilts with pale pastel-y backgrounds! 

Reducing the size by 50% was definitely a challenge. Why can't I just follow the directions?!  Many pieces were cut at 3/4" and 1" and weren't always a pleasure to sew. I'm sure that they would have been really easy if I had done them at full size. There might have been a lot of swearing and seam ripping. And yet every time I finished a block I felt like I had accomplished something (and deserved to eat a New Mexican chocolate truffle).  I like to reinvent!

The Great Granny Squared pattern book can be found here, and each week's customized pattern pdfs can all be found here. My block fabric is an assortment of Pam Kitty Morning, Lori Holt, Atsuko Matsuyama, Bonnie & Camille and Riley Blake.

Did you see that Lori announced another sew along on her blog last week? I already have the pattern!

I'm linking up today with Finish It Up Friday at Crazy Mom Quilts.

back from vacation & back to quilting

Hi everybody! I'm back from a trip to Santa Fe, New Mexico.

It was time for my semi-annual visit to the Land of Enchantment. This was perhaps my 20th visit to Santa Fe in the past 10 years. My first visit was completely on a whim, and I immediately fell in love with the pure blue skies, the historic architecture, the delicious New Mexican cuisine, and the unique cultural blend of Mexico, Spain, American Indian and cowboy. It feels like home to me. 

No trip would be complete without a cooking class at the Santa Fe School of Cooking. This time I specifically wanted to learn how to make biscochitos, the official state cookie. This will be a fun recipe for my new pink Kitchenaid mixer!

biscochitos.jpg

I visited the many historic churches, such as the San Miguel Mission, built in 1610 and believed to be the oldest church in the US.

And then on the full day of snow and HAIL I visited Santa Fe Quilting. Yes, hail in the desert! The shop stocks a large assortment of Southwestern fabrics and patterns. I bought some Paris Flea Market fat eighths and Scrumptious yardage. I was even invited to sit in with the Thursday night hand stitching group! I declined because there were green chile cheeseburgers and parmesan sweet potato fries waiting to be eaten.

I finished most nights with a climb up the mountain to Fort Marcy Park to watch the amazing sunset over the city. I think that it's the most peaceful place I've ever been. I always see "my" rabbits at sunset. Ok, that's probably not so interesting to most of you, but we don't have too many rabbits hopping around Times Square! And on this visit I was, um, stalked by 20 big, black ravens at the top of the mountain, watching me from a telephone line. I could feel the air moving when they flapped their wings, and then there's the loud caaaaawwwww sound. Maybe they were really hungry? I got out of there FAST. I wasn't gonna be their green chile cheeseburger!

I even managed to applique 12 dresdens in my hotel room at night!

And have you seen all those photos of quilt market in Pittsburgh? It looks like there will be some great fabric and patterns coming soon. Carrie Nelson has lots of fun new patterns, and I'm dying over the new Pam Kitty Garden fabric. But right now I need to squeeze in some quality time with my sewing machine. The Great Granny Squared quilt along needs me to catch up!

still dresden-ing

I'm still making slow but steady progress on my Dresden plates. It feels so good to see the finished blocks piling up!

Doesn't it seem like every quilt blogger seems to be writing about how they're getting ready for quilt market? Yes, I'd love to go! I hope to be there someday. But in my real-life work, the cosmetic and fragrance market just wrapped up last week. My retail clients visit New York seasonally to see what's coming soon in the cosmetic and fragrance industry. And they get to be entertained by my sales pitch! The meetings are actually fun - I enjoy the rush of the performance, but after a full two months of those presentations I am tired. Many times at night all I could manage to get done was some hand applique.  

pam kitty dresdens 003.JPG

I now have 40 blocks done, with another 24 blocks still to go. They'll all have a round red dotty center, and the blocks will be 8" when finished. Now I need to decide - should I rush to finish them, or should I just work on them between the other projects? I wonder how many I can get done this week?

pam kitty dresdens 007.JPG

I'm linking up today with Design Wall Monday at Patchwork Times.

yarn and crochet hook

I've caught up with the Great Granny Squared sew along! I finished the yarn and crochet hook block.

And here it is combined with the yarn basket block.

Making this half size (4 1/2" x 5 1/2") made me crazy. That crochet hook is 1/4" wide! I don't think that I've ever used my seam ripper this much. The back of the block looks like the Bride of Frankenstein, with several rows of stitching, a few thread knots, a few lumpy seams and some extra holes. But only me and my quilter will ever see that. Maybe I should have just used hot glue or staples. That probably would have been less painful. But the extra effort was truly worth it. I'm really happy with the finished block even if it did push me right into eating a  pint of Ben & Jerry's Phish Food. 

Next week we'll receive directions on how to put it all together. But I couldn't resist playing with the blocks. Here's the whole grouping. Definitely worth the all the crazy! And check out the blocks from everybody else at the Flickr group here


great granny squared quilt along - mama blocks

It's the third week of the Great Granny Square quilt along! And this week I made twenty mama blocks.

The Fat Quarter Shop is hosting the Great Granny Squared sew along using Lori Holt's book, and the blocks will be set to make Mama's Crochet Quilt. I'm having fun working on my blocks... except that oops, I missed last week's block. Maybe I was too busy making strawberries! This week's little granny squares were super easy to make. I once again downsized the original pattern, so my blocks measure 3 1/2" instead of 6 1/2". I usually like to make these from my precut 1 1/2" strips, but I ran out of them last week. So yes, I individually cut all these squares. The fabric prep and cutting took more time than the actual sewing!

I sure am learning about color value with this quilt! Working with a pale Kona Bluebell background is a nice challenge. I like the freshness that the blue brings to the project. Several fabrics with similar values had to be edited out because they didn't have enough contrast. 

And now my cute little blocks will get packed up, awaiting next week's assembly instructions!

more strawberries

If you're joining me today from Sherri's and Sinta's blogs, welcome! I'm glad that you hopped over to see the finished mini Dwell pillow. It was a fun project to work on. Just scroll on down to my entry from a few days ago to read all about it.  

I'm currently adding to my strawberry collection for the Strawberry Social quilt! I've made another ten berries this week.

Red, ripe strawberries.

Not-quite-ripe pink strawberries.

And the, um, confused berries. 

The striped strawberry and double strawberry were interesting experiments. I love the stripe and double berry fabrics. I wasn't sure that they would look good when chopped into tiny pieces for the berry cap, so I substituted similar fabrics. And now I think that those two berries just look confused! They might find themselves on the back of the finished quilt. (Hey, that's better than the way I treat imperfect real strawberries!)

I am loving how the whole berry bunch looks grouped together! 

The finished Strawberry Social quilt has 25 berries, but I'm determined to keep on sewing. How big can I make this quilt? The pattern is by Margot Languedoc and can be purchased from her website. I'm sewing with an assortment of Pam Kitty Morning, Lori Holt, and Riley Blake ginghams, and I plan to add some Flower Sugar into my next batch. 

Thank you for stopping by today!

strawberry social

I'm getting a jump on summer with my new Strawberry Social quilt!

I first fell in love with this pattern last summer when I saw Pam's version. Seriously, I love it. And then it started popping up around the internet. The pattern is by Margot Languedoc's The Pattern Basket. I bought the pattern immediately, but I was busy working on Christmas quilts (in July!) and just couldn't look at any more red and green fabric. Well, last week I thought of this pattern as I was stirring fresh strawberries into my morning oatmeal. You know that moment when strawberries are almost TOO ripe and the fragrance completely fills your kitchen? 

It's another excuse to use my favorite color combination! I started with three strawberries and got hooked. 

It just makes me happy working on these. I can imagine the upcoming crop of strawberries that I'll pick up at the farmer's market in Union Square. Isn't everything better with a strawberry? Ice cream, pancakes and waffles, jams, shortcakes with whipped cream, pies, cheesecake (like this one from Juniors in Brooklyn). I even like the freeze-dried strawberries in Special K!

And now for the technical part. Margot's pattern has a tricky method for making that leaf section. I couldn't understand how the technique could possibly work. I finally just trusted the pattern and started sewing. It's genius, really. The sub-units are made larger than needed and trimmed using a square ruler. All of the seams nest perfectly. The finished quilt needs 25 strawberries. I really want to just keep sewing and see how large I can get this! I have yards of the perfect backing, so that's taken care of (it's a red and white recipe print!) But what if I deplete my pink, green and red stash?! 

If you'd like to make a quilt like this, I found a few kits online. There's a Pam Kitty version at Fat Quarter Shop and a  beautiful version at Shabby Fabrics which resembles the original pattern. Or just dive into your scraps like I did!

mini dwell pillow!

Oh happy day! It's finished! Presenting the mini Dwell pillow!

This is my first entry into the "A Year Of Schnibbles" sew along hosted by Sinta and Sherri... except that it's not a Schnibbles! This month's assignment was to make a mini quilt using a Thimble Blossoms pattern. I made 3 extra houses and adjusted the borders so that I could finish with a 20" square. I've used an assortment of my happy fabrics from Lori Holt, Pam Kitty Morning, Bonnie & Camille and Atsuko Matsuyama. 

The little houses are all hand quilted in the ditch - nearly every seam is stitched. The hand quilting was fun for hours... and then I just wanted it to be finished, NOW. 

I spent a few days auditioning backing and binding fabrics. I am so happy with this butter floral and red gingham from Pam Kitty Picnic. That gingham is scarce! I needed to do a big internet search to find it. And I picked up a new, fluffy down pillow insert from Pottery Barn. 

So happy! I think that more pillows will be in my future!

I'm linking up today with Finish It Up Friday at Crazy Mom Quilts.

great granny squared quilt along!

I've joined another quilt along! This one uses Lori Holt's new "Great Granny Squared" book. I had to do this, right?! This will be a short quilt along, only 5 weeks. And on week one I made a...

great granny squared 019.JPG

Lori's finished quilt measures 40" x 52" but of course I am going to put a twist on it. I am doing it half-sized! My finished top will be 20" x 26". There's a lot of cutting prep for this block! I'm lucky that I had these nifty Alphabitties to keep me organized. (Remember Alpha Bits cereal? Yum!)

Working with all those 3/4" pieces made me a little crazy. This block measures 6" x 8". And I'll admit that there's one flaw that I picked out twice... and then decided that I'd stop stressing.

I have a few little guidelines for this quilt. I'm not calling them rules so that I won't feel guilty if I break them!

First, I was determined to use a colored background. That's something that I don't usually do. But I think that I'm relying on white and white-on-white and wanted to try something new. This pale blue is from Kona.

Next, I am going to avoid darks. That's right. No navy and no black!

And finally, break out the whites! I'm going to incorporate some white prints. I love them, but I feel that they disappear when used on a white background. Or at least that's what I tell myself. 

I'm using mostly Pam Kitty Picnic (again!) and a few pieces of Scrumptious. 

There's time for you to join the group, too! Other Great Granny Squared baskets are being added to the Flickr group here, and you can read more details about the sew along at Lori's blog and at the Jolly Jabber.

hand-quilted houses

I'm getting reacquainted with hand quilting! I spent several hours this weekend working on the mini Dwell houses.

It's been years since I last did any hand quilting. I taught myself how to do it by reading books and magazines, and by studying museum quilts. All of my early quilts were hand quilted. The second quilt that I made was covered with Baptist fans! Maybe I was too new to the hobby to be scared away by all that handwork! I've relied on the artistry of longarm quilters for the past ten years, and I do love the additional design elements that they bring to my quilts. But it is rewarding to know that I can still do this on my own. Well, those first few stacked stitches were a bit rough, but I got back into the groove quickly.

My brass thimble with the recessed tip is like an old friend. I'm glad that it still fits! I remember that it took me quite awhile to find one that would fit my larger fingers. 

I like to baste in a pastel color that won't distract from my design. Here I have basted in mint green, and I am using white quilting thread. All of the vertical and horizontal sashing has been quilted in the ditch, and I'm now going back and quilting the roofs, doors and pinwheels so that they'll pop. 

I think that this will be done soon! 

I'm linking up with the Monday Design Wall at Patchwork Times today. Hop on over to see what other quilters are working on this week.

easter

Easter always holds special memories for me. It was one of my favorite holidays as a child. After the wake-my-parents-up-before-dawn egg hunt there was always church. I'd wear my new Easter outfit - a lavender dress shirt and beige trench coat were favorites. There were the family dinners with many aunts and uncles. My grandmother's large dinner table was set with an Easter lily and eggs dyed with red onion skins, and kielbasa was always on the menu.  We would often visit Seaside Park, still in our Easter outfits, with my photographer grandfather documenting the trip. The park was designed by Frederick Law Omlsted just after the Civil War. He also designed NYC's Central Park, which is just three blocks from my current home. And Seaside Park has a statue of Elias Howe, an early pioneer of sewing machines. I find these links between my hometown and my current home fascinating!

A walk through the Brooklyn Botanic Garden yesterday was the perfect link to the Easter Sunday memories of my childhood. Magnolias were slightly past their peak, cherry blossoms were just starting to bloom, Daffodil Hill was awash with yellows, a few early tulips peeked out, and happy pansies and grape hyacinths provided small blue dots. But the visit also packed an important reminder about Easter's message of hope and renewal, with signs of new life and opportunities everywhere. 

Happy Easter!

half square triangle happiness

I actually like to sew half square triangles! And that's a good thing, because the border of my Mixing It Up quilt needs 184 of them (Ok, that's a lot of HSTs. Almost too many.)

mixing it up beater pieces 007.JPG

I make them by pairing squares, marking a line from corner to corner and then sewing 1/4" away from the line. I've tried all of the other methods but I really prefer this one. I always cut my squares slightly larger than pattern specifications and then trim them down to the exact size. If the pattern says to cut squares 2 7/8", I cut them to 3 1/4" or even 3 1/2".

Ready for trimming!

Ready for trimming!

This gives me larger squares than I really need. I trim them down to the exact size using the diagonal line on my 6" square ruler as a guide. I like how my components are accurate after trimming. This method also lets me focus on the cute parts of the prints - I sort of fussy trim them to capture the flowers, cherries, strawberries and spatulas.

All that trimming can be calming once I give in to the monotony. I just have to watch out for that rotary cutter and my fingers!

And three hours later I ended up with a big pile of scraps and 184 2 1/2" HSTs! 

All lined up, like cookies on a baking sheet. I love this Bake Sale fabric from Lori Holt (and a few pieces of Polka Dot Stitches, too). And now I can make the mixer beater blocks for my border!

mixing it up borders

It's border time again! Wow, I just finished borders for the Quilty Fun sampler, and here I am working on MORE borders! These are for the "Mixing It Up" quilt that I've been making for the past few weeks. 

mixing it up border and japanese magazines 002.JPG

These 5" blocks are called "beater blocks" and will form the second border surrounding the mixers and spatulas. Lori Holt's pattern says that the blocks are designed to look like "a beater twirling into the batter mixing up something yummy." I couldn't agree more. When I was a kid, licking the beaters was my favorite part. I probably liked the beaters even more than the finished cake! Mom always saved a beater for me, and she or my brother got the other one. I need 46 of these blocks... so that's a LOT of half square triangles that need to be sewn!

I spent some time this weekend at the Kinokuniya Japanese bookstore in NYC. I love that store! The street level has English language fiction and art books. The upper level has manga books and a cafe. But my favorite is the lower level, which has tons of Japanese magazines, cards and craft supplies. The level of detail in these magazines is beyond amazing. (Looking for a dozen different magazines on men's workboots? How about ten guides to garnishing your sushi?) This is where I go to find magazines like Cotton Time, Quilts Japan and Patchwork Tsushin.

The quilts shown in these magazines are more classic than what is currently popular in the US (no acid yellow and grey combos here, and most prints are smallish), with an almost obsessive focus on miniaturized blocks - Dresdens, hexagons, log cabins, granny squares and rail fences. There's so much cuteness - I want to make everything on the cover of this copy of Patchwork Tsushin! The store also has a very large section of Japanese books on embroidery, cross stitch and quilting.

I finally bought this Log Cabin book. I had been stalking it for the past few months, so it was just time to buy it! I love that cover quilt as well as many of the unique block settings shown inside. Look at that fun house border! The magazines and books are entirely in Japanese, but they're great for inspiration. Now maybe if I do one house block each month I can be finished in a few years. 

I'm linking up today with Design Wall Monday at Patchwork Times. Check out what other quilters are working on this week!

mini dwell blocks done!

Presenting all 12 mini Dwell blocks!

Yes, I only needed nine blocks. But I just couldn't stop sewing! In the past few days I added more yellow and blue to my lineup. I was trying to get an even distribution of color. And remember how I wanted to try lavender and lilac? Nope... that was just too much.

My twelve blocks will result in a more square-ish quilt instead of a 13" x 15" rectangle. I also changed Camille's pattern slightly by omitting the really simple houses. These are a mix of assorted fabrics by Lori Holt, Pam Kitty Morning, Bonnie & Camille, and Japanese prints. 

I have to tell you about why I chose the bird toile background. I have had a long fascination with toile. I had toile Bicentennial curtains in my bedroom when I was a boy. My bathroom is papered in black and white toile. My bedroom has black and white toile drapes and toile shams (gotta block out that ugly security gate on the fire escape window!). My living room has toile chairs and pillows. They're well worn, but still toile. And there was a gold and white toile duvet cover years ago, shredded by my former cat housemates! Yikes, that's a lot of history with this print! So you see why I hoard all of the Pam Kitty toiles. I'd love to have a toile print like this in pale blue or pink on white. 

And now I need to finish this project in secret. It will make it's reappearance at the May 1 parade on Sherri's and Sinta's blogs. Don't worry, it will definitely be here, too!

dwell mini

Ah, the joy of starting a new project! This time it's the mini Dwell pattern by Camille Roskelley of Thimble Blossoms!

I watched everybody else making their mini Dwell quilts on Instagram a few months ago. Oh, how I wanted to play along! But I had a FEW other quilt projects going on. Too many projects make me nervous - I'm a finisher!

Well, I had the perfect opportunity to make my own mini Dwell blocks! For years I have been wanting to join the "A Year Of Schnibbles" sew along group, hosted by Sinta of Pink Pincushion and Sherri of A Quilting Life. This was going to be my first month. Then an interesting thing happened. This month the group took a break from the Schnibbles patterns, and instead assigned our choice of a Thimble Blossoms mini pattern. I knew immediately what I would make! 

Each house measures 3" x 4" and they are very simple to piece. The finished top is only 13" x 15".

I'm trying to keep my colors all evenly distributed. So there are the red and pink houses, and a blue group, too. I need to add in a bit more green and yellow in my future blocks to get the balance right, and I'm even playing with some lavender and lilac fabrics. 

I love these houses with the pinwheel centers. I did my favorite pink and green color combo house, and I just couldn't resist making my own signature pink and grey "Grey Dogwood" house!

Six blocks done and three more to make. I have an idea for the setting that's a little different from the pattern. Actually, I could just keep making them. I certainly have enough fabric. Can you imagine a huge quilt with hundreds of these? I can! But the project is due at the end of April, so I think that I'll need to control myself!

quilty fun finale!

The Quilty Fun sampler is finished!

Wow, it's hard to believe that this twenty week project is done! And I can honestly say that I have enjoyed every step of the way. With one exception. Borders. I hate piecing borders! "Borderline, borderline, feels like I'm going to lose my mind." But I think that black dotty postage stamp border is pretty cute!

quilty fun final 016.JPG

This might be the first time that I've ever planned my whole color scheme around a border. I always knew that I wanted to have a Pam Kitty Morning black print in the border. Of course, I settled on the one black print that wasn't already in my stash! I found exactly one seller on Ebay who still had a few yards. I made sure to incorporate some black into each week's blocks so that it would all tie together at the end.

I modified the pattern to create four buzzy bees at the center instead of one larger bee. Now I am four times as likely to get stung...

The clever block patterns appear in the Quilty Fun book by Lori Holt. Lori sure does have some great ideas! Print fabric is an assortment of all three fabric lines by the wonderful Pam Kitty Morning - Pam Kitty Picnic, Pam Kitty Love and Pam Kitty Morning. This was also my first quilt with a white-on-white print, which is Sweet Things by Lakehouse. 

I rushed to get my sampler completed this week, because this is the final week that prizes will be awarded by the Fat Quarter Shop. This week's two prize winners will each receive a fantabulous LARGE box of Aurifil's Bee in my Bonnet Happy Colors thread. And I'm not gonna lie. I WANT that box of thread! That sure was motivation to complete this quickly.

There's a new quilt along starting next week! Yay! That's right, Lori Holt has a new Great Granny Squared quilt along! This might be the perfect excuse for me to go shopping for some new fabric after I find out more details on her blog next Monday.

Check out everybody else's finished Quilty Fun samplers at the Flickr group. I'm also linking up today with Crazy Mom Quilts "finish it up Friday."

Thanks for stopping by!


fully blended

I had a very productive weekend! Sometimes forty eight hours of rain isn't so bad. All of my "Mixing It Up" blocks are done! This is a pattern by Lori Holt for Bee In My Bonnet, and I also used an assortment of Lori's fabrics, but mostly "Bake Sale."

I love that recipe print, and I cut it to focus on my favorite recipes. Marshmallow brownies, yummy pink frosting and mom's sugar cookies.

Nine spatulas, with more recipes that I love. Lemon meringue pie! Coconut layer cake!

And I have a funny little story. I've already told you about how I don't think that I can fit a Kitchenaid mixer into my little city apartment. It's bigger than my counter! It weighs 30 lbs! I don't have storage space! But I've wanted one for as long as I can remember. Well. On Saturday at midnight, guess what QVC's "today's special value" item was?  Yes, it was the Kitchenaid 4.5 quart, tilt top mixer with extra bowl, dough hook, scraper and splatter shield. And so, at 12:45 am when they announced that the pink was almost sold out, I bought it. A pale pink Kitchenaid mixer. And I had just finished piecing the pink mixer block, so it was meant to be. I'm not sure where I'll store it, but it will be kept busy making lemon meringue pie, coconut layer cake and pink buttercream!

Check out what projects other quilters are working on at today's Patchwork Times Design Wall Monday.

putting it together

The big Quilty Fun assembly continues! Bit by bit, putting it together. Those words come to my mind every time I'm on the verge of completing a quilt top. They're actually lyrics from Stephen Sondheim's Tony Award winning musical "Sunday in the Park with George," which is a fictionalized account of Georges Seurat's painting "A Sunday Afternoon on the Island of La Grande Jatte" with Mandy Patinkin and Bernadette Peters. I didn't see the original production in the 80's, but I was lucky to see the amazing revival on Broadway in 2008.

And bit by bit, I enjoy putting all the parts together. It's fun to see all of the blocks from the past 19 weeks finally turning into a finished work.

Here are this week's buzzy bees in their floral frame.

Happy houses and SPRING flowers. I am SO ready for spring! It's been in the mid to high 20's here in NYC this week, and super windy. And this weekend we'll have rain - does that count as April showers?

Here are two of the first blocks - apples from week 1 (in October!) and baskets from week 4. That was before I started my blog!

Honeycombs and cocoa cups! The colors of the cups were inspired by two of my favorite mugs - a red and green Santa mug that was a gift from my father a loooong time ago, and a piece from my collection of Spode Blue Geranium.

I've had a few questions here and on Instagram about the pattern. It's actually completely rotary cut! No paper piecing!

My scalloped border fabrics from Pam Kitty Morning are picked out and ready to sew as soon as Lori Holt publishes the pattern next week. And I might have something tricky planned for the bonnet label, too!

There are several other amazing versions of this quilt happening over at the Flickr group. I love to see how different this top can look in other fabrics. 

(P.S. Happy 84th birthday to Stephen Sondheim. Thanks for the music!)

buzzing around with quilty fun

The bumble bees have arrived! It's week 19 of the Quilty Fun sew along.

I miniaturized the pattern and made a quartet of bees instead of a solo bee. Each bee is half the size of the original block (roughly 6" instead of 12"). My calculations were all done on bright bee-yellow Post-It notes, and then discarded after cutting. The blocks went together really easily, but I may have complained a little when I had to sew the 3/4" easy-corner-triangles onto the sides of the heads. 

quilty fun bees 002.JPG

I'm so happy with my collection of little bees flying around in a circle. Just wait until they see that they're about to be surrounded by a bunch of colorful blocks! Lori Holt posted instructions on how to assemble the quilt top yesterday, and so, I'll have the top completely joined together within the next few days! All that will be left is to piece the borders and label. Yay! 

still mixing it up

Remember the new Mixing It Up quilt that I started last month?

Mixing It Up is a pattern by Lori Holt, and it FINALLY gave me a reason to cut into my stash of Lori's Bake Sale fabric. Plus, I'm adding some leftover Polka Dot Stitches and Sew Cherry. I whipped up two mixers and three spatulas a few weeks ago. Well, I missed working on this project! Time to mix up another batch!

These blocks are super easy and fast to put together after the prep work is done. And they're a BIG 15" square so only 6 mixer blocks are needed for a 64 x 69 quilt.  

I've been having fun strategizing future fabric combinations. I keep a photo on my iPhone of my ideas. There will definitely be a mixing bowl made from that red recipe print, fussy cut to focus on the "Marshmallow Brownies" and "Yummy Pink Frosting."  

And then there are the cute, non-melting spatulas. I have spatula-print spatulas! I wish that this fabric came in yardage, but it was only available as a panel of four fat quarters.

Thanks for stopping by for a snack. And now I'm off to mix up some more mixers!